 Largest Ceiling
  CALL :
  About us
 FAQs
FAQs Gallery
 Contact


 Ceiling Planks
 2×2 PVC Ceiling Tiles
 Styrofoam Ceiling Tiles
 Wall Mural
 3D Wall Panels
 Crown Moldings
 Faux Wood Beams
 Other Products
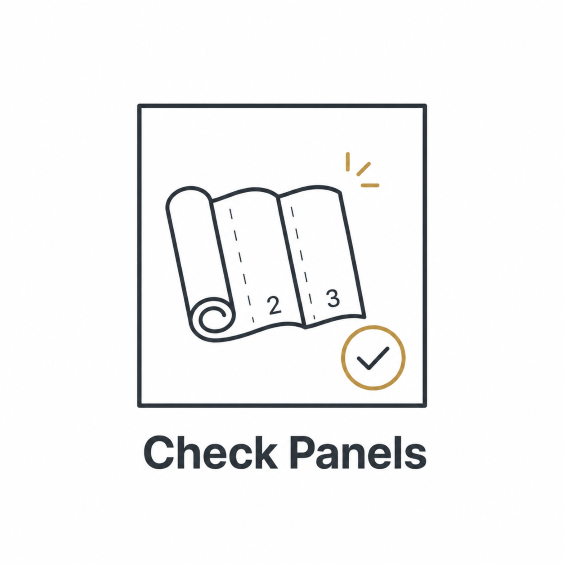
Before starting, unroll the mural panels and check the order of the strips. Make sure all panels are present and that the image matches correctly from one panel to the next.
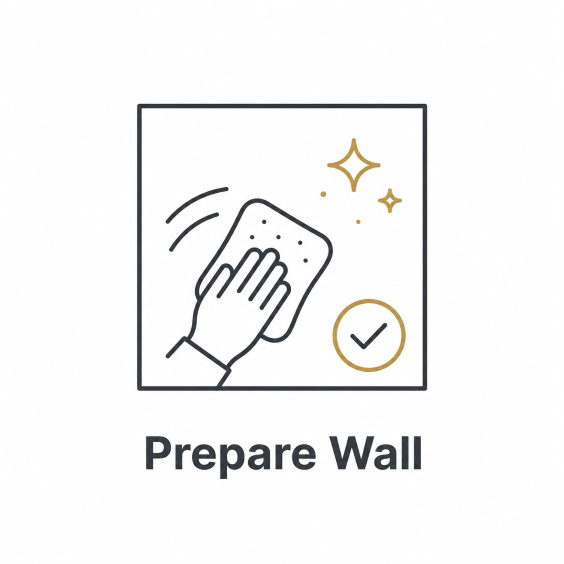
The wall must be clean, smooth, dry, and properly prepared. Do not install the mural over rough, dusty, greasy, peeling, or freshly painted surfaces.
New or repaired drywall should be primed and sealed before installation. If the wall is dark and the mural has light colours, we recommend painting or sealing the wall in a lighter colour first.

Measure both the wall and the mural before installation. Use a level and pencil to mark a straight vertical guideline for the first panel. Starting straight is very important — the first panel sets the direction for the rest of the mural.

Most photo murals are pre-pasted. Wet the backing with lukewarm water as directed in the instructions included with your mural. Make sure the backing is fully and evenly activated before placing it on the wall.
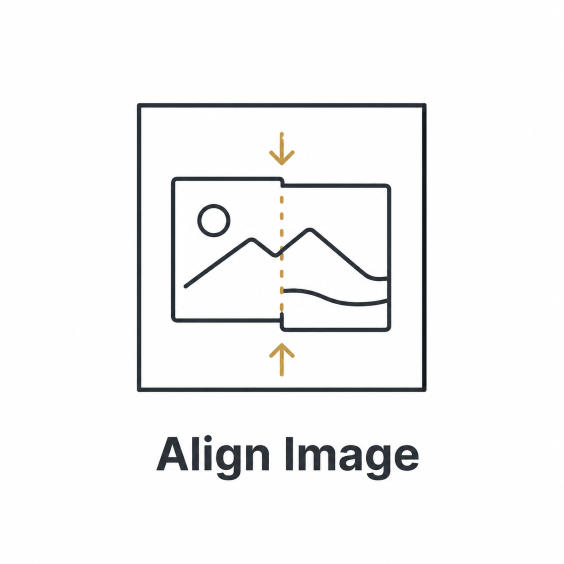
Position the first panel using your guideline, then install the remaining panels one at a time. Carefully match the image between panels before smoothing them down.
Each panel should slightly overlap the previous one. Do not install the panels edge-to-edge unless the included instructions specifically say otherwise.

Once the panels are positioned and aligned, trim the excess material at the ceiling, baseboard, and side edges using a sharp utility knife and a straightedge.
Wipe away any excess adhesive with a clean damp cloth. Do not scrub the mural surface.
Important Notes
- 6 mm overlap
- Most mural panels are designed to overlap by approximately 6 mm. This overlap is intentional and helps the image line up properly.
- Slight Expansion
- The mural material may expand slightly after wetting. This is normal and should be considered when positioning the panels.
- Use Gentle Pressure
- Smooth the panels gently from the centre toward the edges. Pressing too hard may push out too much adhesive or damage the surface.
- Sharp Blade Recommended
- Always use a sharp utility knife for trimming. A dull blade can tear the mural instead of cutting it cleanly.
- Detailed installation instructions are included with each mural order. Please read them carefully before beginning installation.
