


Installing faux brick wall panels is a simple DIY-friendly project. The panels are lightweight, easy to cut, and can be installed directly onto most clean, flat interior wall surfaces using construction adhesive.
Before You Start:
Make sure the wall is clean, dry, and free from dust, grease, loose paint, or peeling material. The surface should be flat enough for the panels to sit properly against the wall.
For best results, plan your layout before applying adhesive. A little planning now can save a lot of creative vocabulary later.
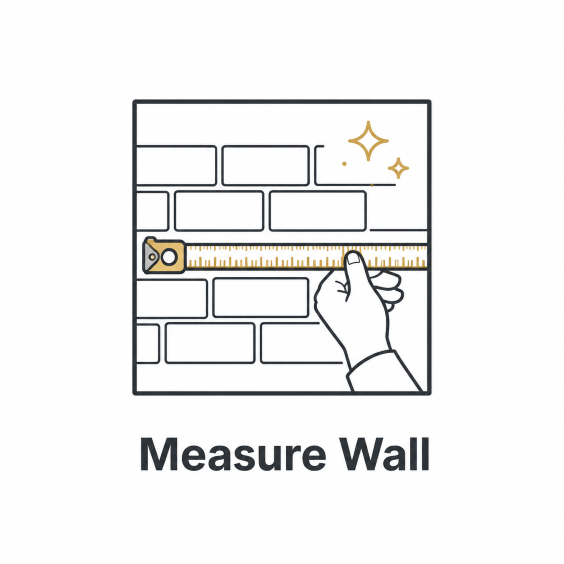
1. Measure the installation area carefully and decide where your first panel will start. Use a level if needed to keep the first row straight.
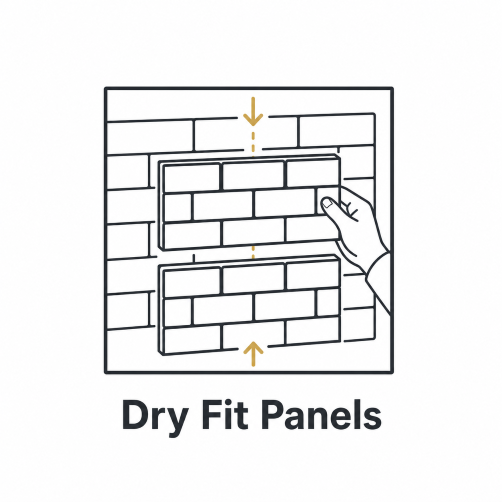
2. Place the panels against the wall without adhesive first. Check how the pattern lines up and decide where cuts will be needed around corners, outlets, trim, or the end of the wall.
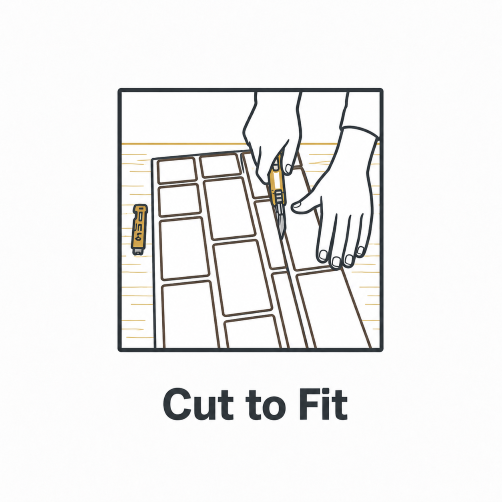
3. Cut the panels as needed using scissors, a utility knife, tin snips, or another suitable cutting tool. Test the fit before applying adhesive.
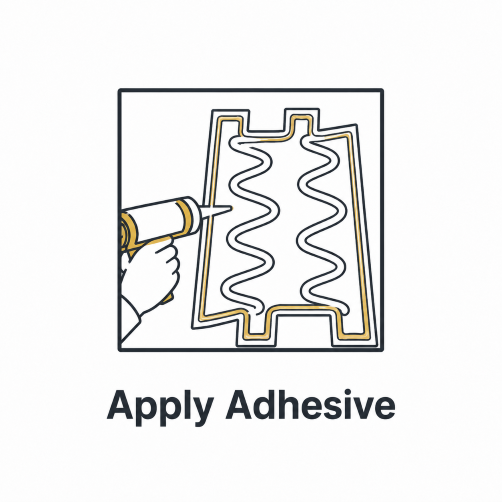
4. Apply construction adhesive to the back of the panel. Use adhesive around the perimeter and through the middle of the panel so it bonds evenly to the wall.
Place the panels against the wall without adhesive first. Check how the pattern lines up and decide where cuts will be needed around corners, outlets, trim, or the end of the wall.
Place the panels against the wall without adhesive first. Check how the pattern lines up and decide where cuts will be needed around corners, outlets, trim, or the end of the wall.
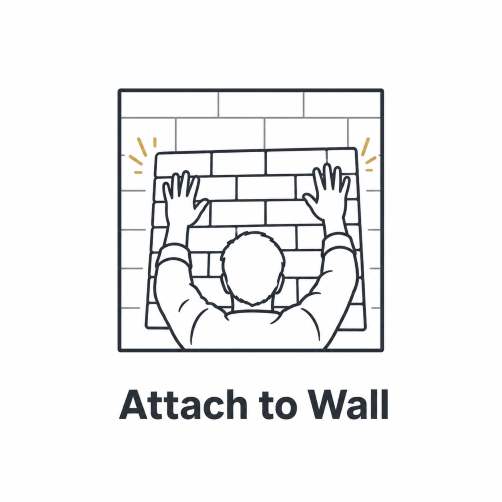
5. Press the panel firmly onto the wall and adjust it into position. Continue installing the next panels, making sure the brick pattern lines up as you go.
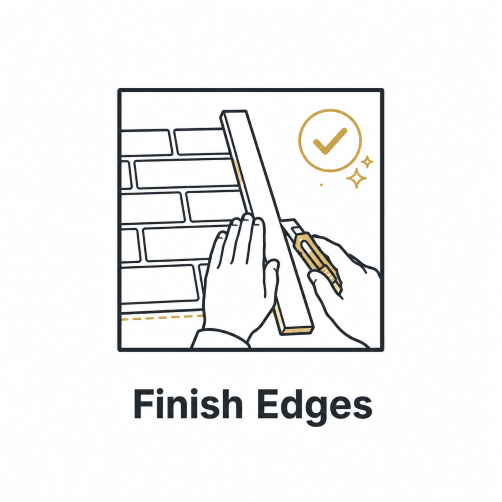
6. Trim any remaining edges as needed. Wipe away excess adhesive before it dries. Once installed, check that all panels are firmly attached and seated flat against the wall.
Important Notes
Use a construction adhesive suitable for your wall surface and panel material.
Do not install over dusty, loose, wet, greasy, or uneven surfaces.
Always test fit panels before applying adhesive.
For outlet areas, turn off power before cutting or working around electrical boxes.
Painting, caulking, or touch-ups are optional depending on the look you want.
