 Largest Ceiling
  CALL :
  About us
 FAQs
FAQs Gallery
 Contact


 Ceiling Planks
 2×2 PVC Ceiling Tiles
 Styrofoam Ceiling Tiles
 Wall Mural
 3D Wall Panels
 Crown Moldings
 Faux Wood Beams
 Other Products
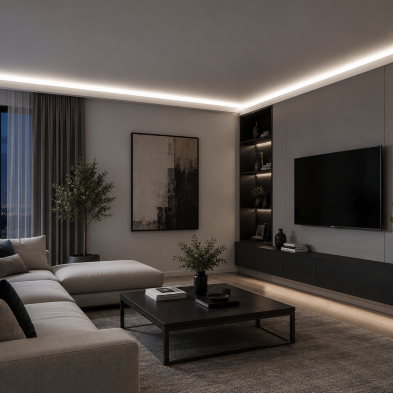
You will need the following tools and accessories for the job:
- Adhesive
- Miter saw
- Measuring tape
- Paintable caulk
LED-ready crown moldings are installed with adhesive and can be painted after installation.
These basic instructions apply to both styrofoam and high-density polymer LED-ready moldings. Please note that the cutting method and material-specific requirements may be different depending on the molding type.
LED strips, transformers, controllers, and wiring are not included and should be purchased separately.
Before You Start
Make sure the wall and ceiling surfaces are clean, dry, and free from dust, grease, loose paint, or peeling material.
Plan your layout before applying adhesive. Decide where the LED strip, power supply, and wires will go before installing the moldings. It is much easier to plan the wiring now than after everything is glued in place — because walls are famously bad at second chances.
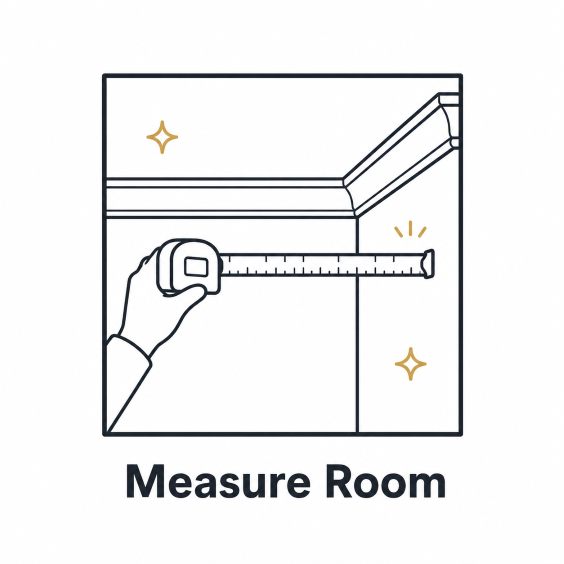
1. Measure the Room
Measure the walls where the molding will be installed. Mark your layout and decide how each piece will be positioned around the room.
Check the corners, wall lengths, and any areas where the molding will need to be cut or joined.
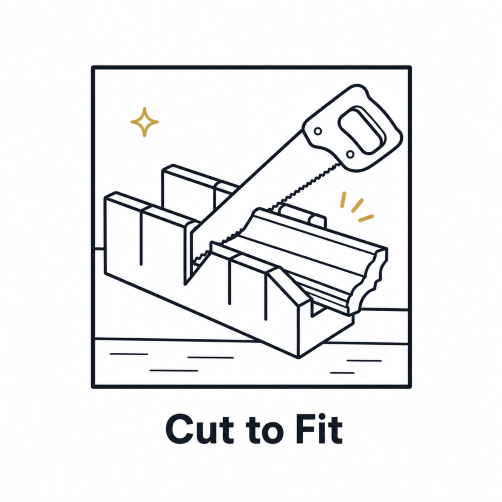
2. Cut to Fit
Cut the molding pieces to the required lengths and test fit each piece before applying adhesive.
For styrofoam moldings, pieces may be cut with a miter box or suitable cutting tool.
For high-density polymer moldings, use a miter saw only. This material is much harder than styrofoam and should not be cut with a utility knife, scissors, or hand saw.
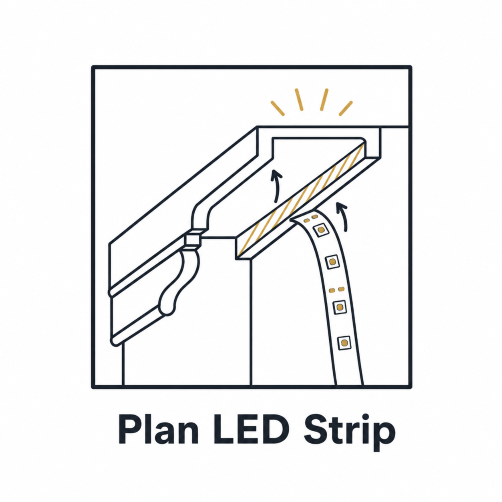
3. Plan the LED Strip
Decide where the LED strip will sit inside the molding and where the power connection will be located.
For best results, we recommend applying self-adhesive reflective tape inside the LED channel before installing the LED strip. This can help improve light reflection and create a cleaner, brighter lighting effect.
Install and test the LED strip according to the LED manufacturer’s instructions before final molding installation.
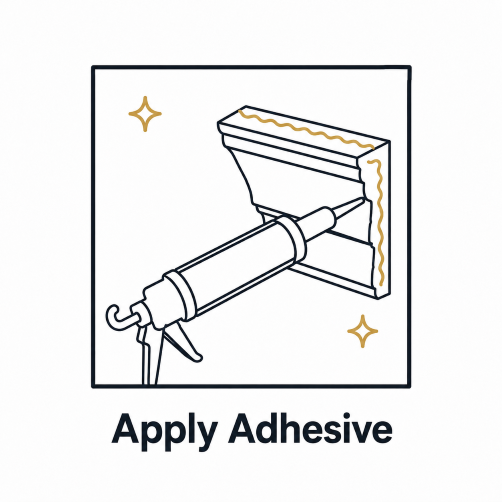
4. Apply Adhesive
Apply adhesive to the contact edges of the molding — the areas that touch the wall and/or ceiling.
Use an adhesive suitable for your molding material and installation surface. For styrofoam moldings, use foam-safe adhesive only, as some solvent-based adhesives may damage the material.
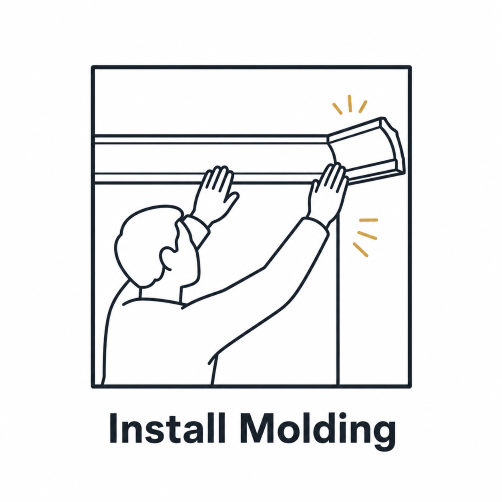
5. Install the Molding
Press the molding firmly into place and adjust it before the adhesive sets. Continue with the next pieces, keeping the profile aligned as you work around the room.
Use painter’s tape, small finishing nails, or temporary supports if needed while the adhesive cures.
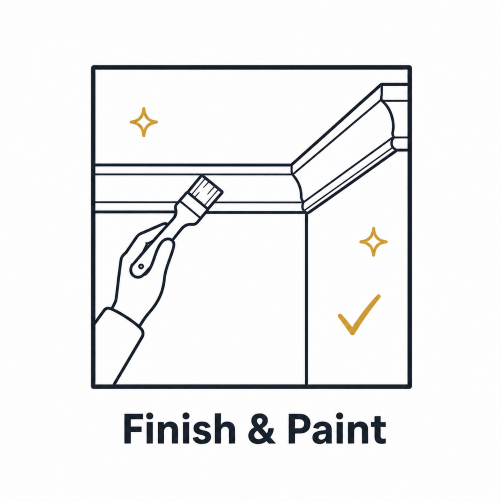
6. Finish and Paint
Fill small gaps, seams, or corner joints with paintable caulk or filler if needed.
Once the adhesive and filler are fully dry, paint the molding if desired.
For styrofoam moldings, use water-based paint only. Do not use solvent-based paint on styrofoam.
For high-density polymer moldings, use paint suitable for interior trim and follow the paint manufacturer’s instructions.
- Important Notes
- LED Strip Not Included
- The molding is LED-ready, but LED strips, transformers, controllers, and wiring are sold separately.
- Reflective Tape Recommended
- Before installing the LED strip, we recommend applying self-adhesive reflective tape inside the LED channel. It helps reflect the light better and improves the overall cove lighting effect.
- Cutting Method Depends on Material
- Styrofoam moldings are lightweight and easier to cut. High-density polymer moldings are harder and should be cut with a miter saw only.
- Use the Correct Adhesive
- Use adhesive suitable for your molding material and wall surface. For styrofoam moldings, use foam-safe adhesive only.
- Test Lights First
- Always test the LED strip before final installation and before hiding wiring.
- Plan Wiring in Advance
- Decide where the power supply and cables will go before installing the molding.
- These moldings are intended for interior decorative use.
