Largest Ceiling
  CALL :
POLYSTYRENE CEILING TILES INSTALLATION VIDEOS
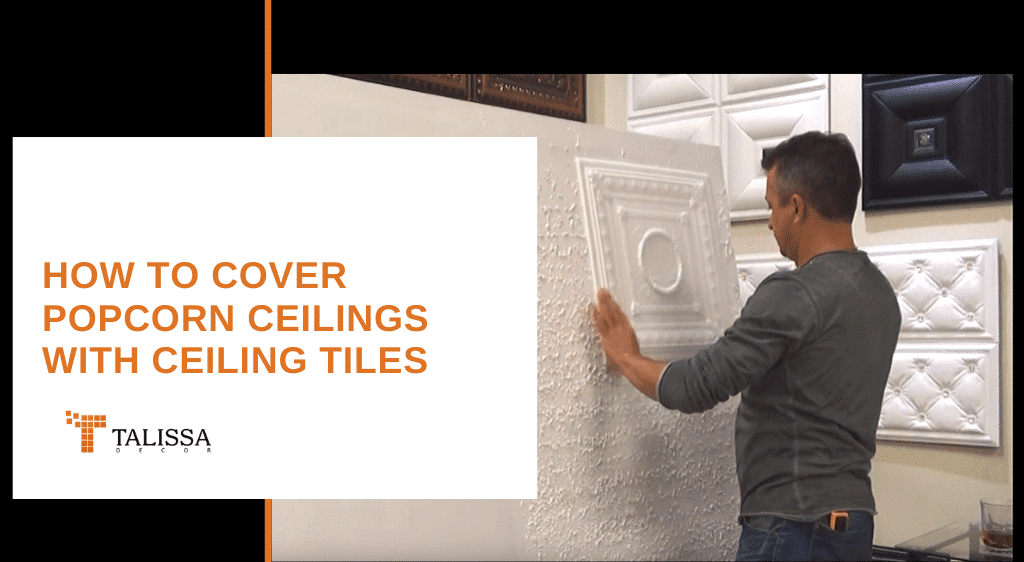
Our Polystyrene Tiles can be installed over popcorn ceilings or any flat solid surface. No special tools or experience needed! See how easy it is!
HOW TO USE STYRO PRO GLUE
Styro Pro Adhesive is perfect for installing our polystyrene ceiling tiles. It is water based, easy to apply and holds for as long as you need it!
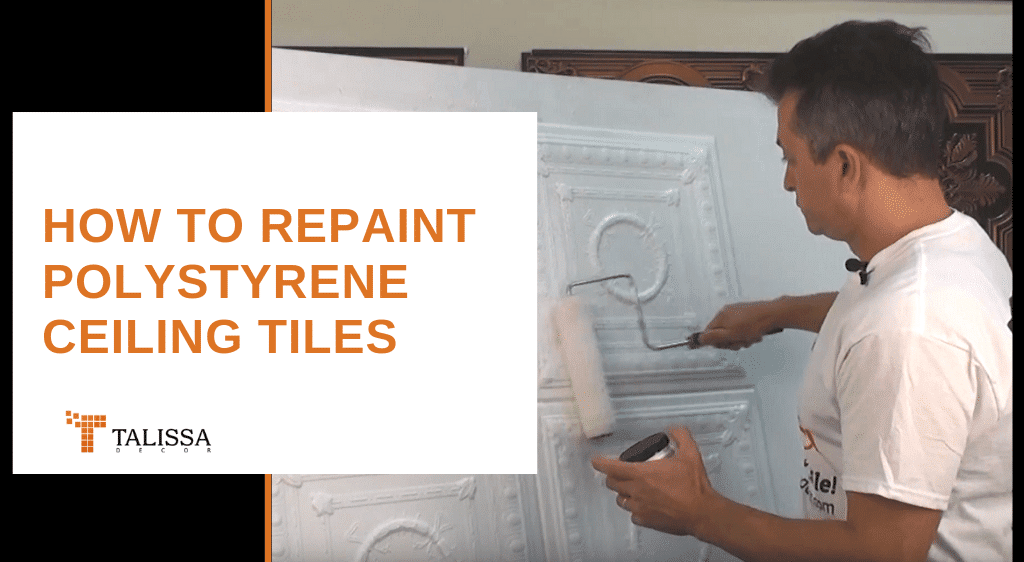
HOW TO REPAINT CEILING TILES
Styrofoam ceiling tiles can all be painted to the color of your choice! You can easilypaint over them to get an impeccable finish!
STEP BY STEP GUIDE TO INSTALLING STYROFOAM CEILING TILES
Here’s a step by step tutorial on how to install styrofoam ceiling tiles and the tools you need to finish the job. Don’t worry, it’s extremely easy and fun!

STEP 1: PREPARE THE SURFACE
Remove loose plaster, paint, wallpaper etc. Draw a chalk line in the middle of the room (preferably through a light fixture electrical box).
STEP 2: APPLY THE ADHESIVE
We recommend Styro Pro or Acryl Pro. Installing the tiles over popcorn ceilings requires more adhesive vs. plain drywall or plywood ceilings.
STEP 3: INSTALL THE FIRST TILE
Just like on the picture, position the tile so that it covers one quarter of the light box. The overlapping part should be cut off.
STEP 4: INSTALL THE FIRST ROW
Try to be as straight as possible. Follow the chalk line from step 1.
STEP 5: WORK YOUR WAY TO THE SIDES
First install whole tiles. Do the cutting last.
FIRE COATING AND PROTECTION
Here at Talissa Decor, we take safety very seriously.All of our products are fire rated, which were tested and certified by Intertek Testing Services. All certificates can be accessed on our website.
CHECK OUT OUR OTHER TUTORIALS
With our easy guides, it won’t be long before you realize how easy and fun it can be to transform your ceilings. All you need is your imagination and our video tutorials.