 Largest Ceiling
  CALL :
  About us
 FAQs
FAQs Gallery
 Contact


 Ceiling Planks
 2×2 PVC Ceiling Tiles
 Styrofoam Ceiling Tiles
 Wall Mural
 3D Wall Panels
 Crown Moldings
 Faux Wood Beams
 Other Products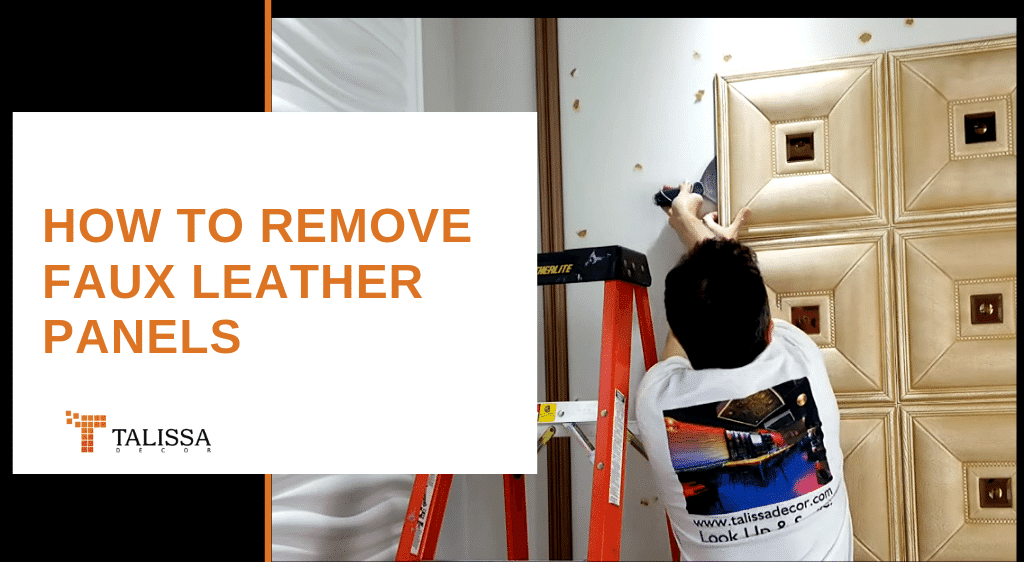
VIDEO: How to Remove Faux Leather Panels
Removing faux leather panels is as easy as installing them. These particular panels were installed 5 years ago, and they still look intact and brand new! Faux leather panels are our most sought after wall decor solutions because of their durability, ease of use and beautiful designs. After removing the panels. there’s no damage to the walls or the panels themselves. You can easily remove the glue with a putty knife from your panels and reapply them in a different area. It couldn’t get more simple than that! Discover our world of stunning wall decor by visiting https://www.talissadecor.com/
How to Remove Faux Leather Wall Panels
- Start at a corner or seam. Slide a flat pry bar or wide putty knife gently behind the panel edge.
- Work slowly along the glued area. Apply steady pressure rather than yanking, so the panel releases from the adhesive in one piece.
- Use a heat gun on stubborn spots. A little warmth softens most construction adhesives and makes the panel easier to lift.
- Scrape residual glue off the wall with a putty knife once the panel is off.
- Patch and sand any marks left behind before painting or installing a new wall treatment.
Ready for a fresh look? See our full 3D wall panel collection for what to put up next.
A Few Things to Know Before You Start
Most faux leather panels use a construction adhesive that bonds hard within 24-48 hours, so removal is easiest the sooner you tackle it after installation. If the panels have been up for years, expect the glue to be more stubborn, which is where the heat gun step really helps. Keep the heat moving rather than holding it in one spot, since too much direct heat can mark drywall or damage paint. If you’re planning to reuse the wall right away, a coat of primer over any patched or sanded spots will keep the new finish looking even.