 Largest Ceiling
  CALL :
  About us
 FAQs
FAQs Gallery
 Contact


 Ceiling Planks
 2×2 PVC Ceiling Tiles
 Styrofoam Ceiling Tiles
 Wall Mural
 3D Wall Panels
 Crown Moldings
 Faux Wood Beams
 Other Products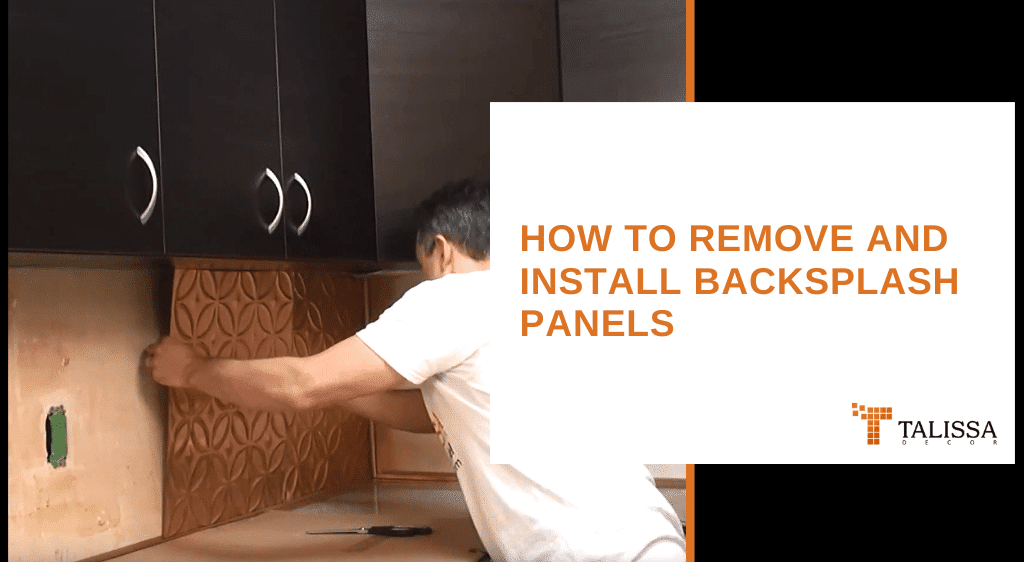
VIDEO: How to Remove and Install Backsplash Panels
The removal of backsplash panels is a fairly simple task. We have made a complete video tutorial on how to remove and replace backsplash panels in your kitchen. Part 1 will show you how to remove the panels, while part 2 will deal with the installation of new panels. For more tutorials, guides and tips on quick fixer-uppers and great DIY home design products, visit www.talissadecor.com.
How to Remove and Install Backsplash Panels
Removing an old backsplash panel:
- Slide a putty knife behind an edge or seam and work it loose gradually.
- Use a heat gun on any spots where the adhesive is holding firm.
- Scrape off any leftover glue and wipe the wall clean.
Installing a new backsplash panel:
- Measure your space and trim the panel to fit with scissors or a utility knife.
- Apply construction adhesive around the edges and in a few interior dabs.
- Press the panel firmly against the wall for about 30 seconds.
- Wipe away any glue that squeezes out at the seams right away, before it sets.
See the full backsplash and wall panel range for kitchen and bar projects.
A Few Things to Know Before You Start
Backsplash panels go up near stoves, sinks and prep areas, so it’s worth wiping down the wall with a degreaser before gluing anything new in place; cooking residue can weaken adhesive bond over time. Measure twice before cutting, since kitchen backsplashes often have to work around outlets, switches and cabinet edges. If you’re replacing a full backsplash, install from a corner or the most visible section first, so any small trimming differences end up in a less noticeable spot.