 Largest Ceiling
 CALL :
 About us
 FAQs
 Gallery
 Contact



 Ceiling Planks
 2×2 PVC Ceiling Tiles
 Styrofoam Ceiling Tiles
 Wall Mural
 3D Wall Panels
 Crown Moldings
 Faux Wood Beams
 Other Products
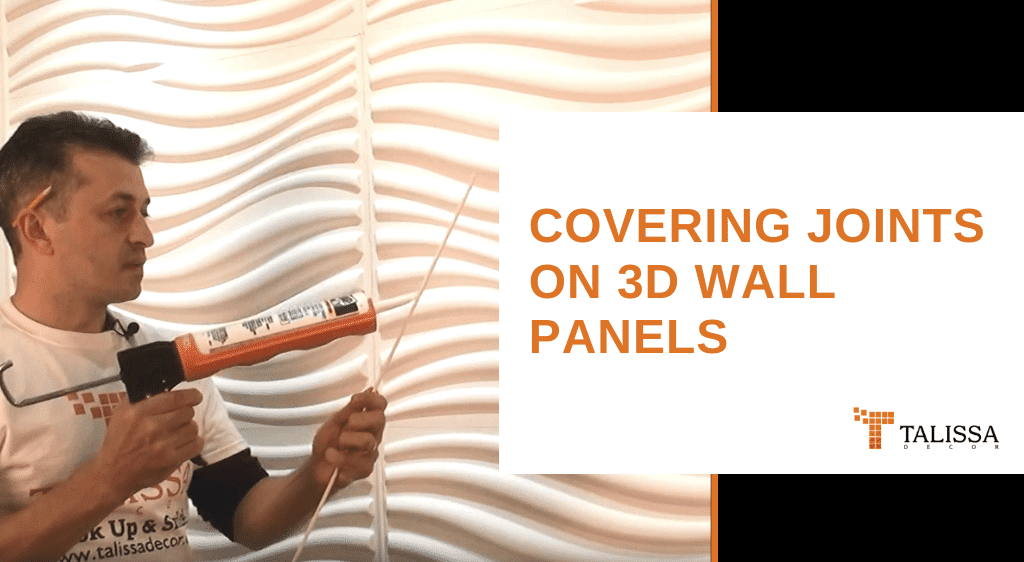
VIDEO: Covering Joints on 3D Wall Panels
3D wall panels are a simple, modern and unique solution to interior decor. With just a little bit of effort, you can create a vibrant, inviting atmosphere in both commercial and residential spaces. But how do you give your walls that impeccable finish? We’ve decided to let you in on a little trick and show you how you can cover up the joints quickly and repaint them in no time.
Why the Joints Show
Plant fiber and PVC panels butt up against each other edge to edge. Even a well cut wall leaves a hairline seam where two panels meet, and once the light rakes across the texture that seam is the first thing you notice. Filling and painting it makes the wall read as one moulded surface instead of a grid of squares.
Covering the Joints, Step by Step
- Finish installing all the panels first and let the adhesive cure overnight, so nothing shifts while you’re filling.
- Wipe the seams with a dry cloth to remove dust.
- Fill each joint with white drywall compound or a paintable filler. Press it in with a putty knife or your finger and scrape off the excess so the pattern isn’t buried. The video shows a quicker shortcut for the same job.
- Let the filler dry fully, then sand it lightly with fine sandpaper until you can’t feel the seam.
- Prime the whole wall. Primer evens out the filled spots and the panel surface so the topcoat looks uniform.
- Paint with a water-based latex paint in the colour you want. Two thin coats hide better than one thick one.
Two Things to Avoid
- Don’t use solvent-based or spray paint on foam panels. It softens the material.
- Don’t overfill the joints. A thin, flush layer sands cleanly; a thick one cracks.
Find the DIY home design products for your next project at Talissa Decor’s online shop: https://www.talissadecor.com/. Planning an accent wall? See our accent wall project with 3D wall panels.