 Largest Ceiling
  CALL :
  About us
 FAQs
FAQs Gallery
 Contact


 Ceiling Planks
 2×2 PVC Ceiling Tiles
 Styrofoam Ceiling Tiles
 Wall Mural
 3D Wall Panels
 Crown Moldings
 Faux Wood Beams
 Other Products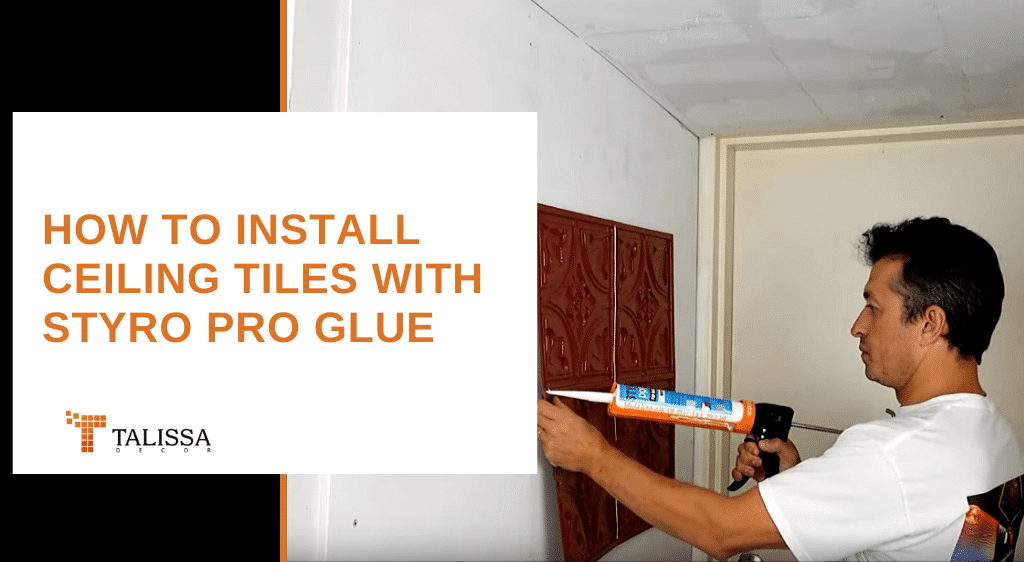
VIDEO: How To Install Ceiling Tiles Glue with Styro Pro
DIY installation of ceiling tiles doesn’t have to be a straining task. The Styro Pro adhesive available at our online shop is one of the best, top-quality solutions for a durable hold of your favourite decorative ceiling tiles, 3D wall panels and faux tin ceiling tiles. The Styro Pro glue for ceiling tiles and wall panels is non-toxic, water-based and completely odour free, so you can complete your project in no time and with ease. The glue is strong enough to hold styrofoam and faux tin ceiling tiles, but can also be used to install our beautiful faux leather panels (which weigh about 2 pounds). At Talissa Décor, we offer solutions that will make even the most prosaic room incredibly sophisticated. Environmentally friendly and extremely practical, our ceiling tiles and 3D wall panels will fit any decorative concept. Shop decorative solutions here: https://www.talissadecor.com/
How to Glue Up Ceiling Tiles with Styro Pro
- Clean the ceiling. Wipe down the surface so it’s free of dust, grease and loose paint. Adhesive only bonds well to a clean surface.
- Plan your layout. Find the center of the room and snap a chalk line so your first row goes up straight, with even borders on both sides.
- Load the caulking gun. Cut the tip of the Styro Pro tube at an angle and run a zig-zag bead across the back of each tile, with an extra dab in the corners.
- Set the first tile on your guide line. Press it flat against the ceiling and hold for about 20-30 seconds.
- Work outward row by row. Butt each new tile against the last one so the pattern lines up, checking every few tiles that you’re still square.
- Trim border tiles to fit. A utility knife and straightedge handle styrofoam and PVC tiles easily.
- Let the adhesive cure fully (check the tube for time) before painting or touching the tiles.
Browse the full ceiling tile range to find a pattern for your glue-up project.