 Largest Ceiling
  CALL :
  About us
 FAQs
FAQs Gallery
 Contact


 Ceiling Planks
 2×2 PVC Ceiling Tiles
 Styrofoam Ceiling Tiles
 Wall Mural
 3D Wall Panels
 Crown Moldings
 Faux Wood Beams
 Other Products
VIDEO: How To Install Iceberg Wall Panels
VIDEO: How To Install Iceberg Wall Panels
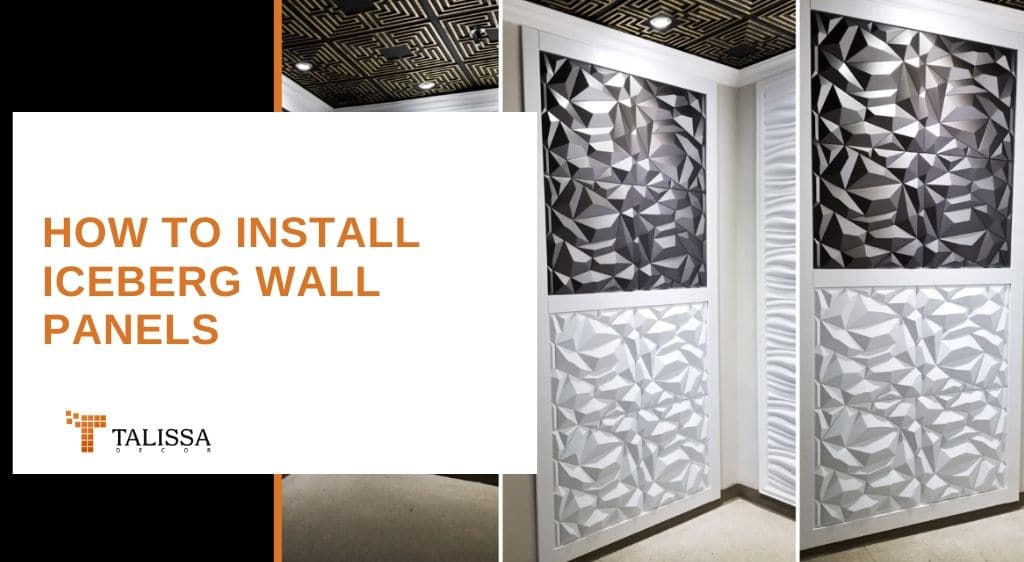
We showed you how to remove faux leather panels in our last video. Now it’s time to do something amazing with our empty wall. For this project we chose our beautiful 3D Iceberg panels that you can find here: https://www.talissadecor.com/product/… Finish your project within just a couple of hours. No special tools or skills needed. Our panels are installed with glue only. You can easily cut them to fit with regular scissors.
How to Install Iceberg 3D Wall Panels, Step by Step
- Prep the wall. Make sure the surface is clean, dry and free of loose paint or wallpaper. A smooth wall gives the glue the best grip.
- Dry-fit the layout first. Lay the panels out on the floor, or hold them up against the wall, to plan your pattern before any glue goes on. This is the step people skip and regret.
- Mark your starting point. Most installs look best starting from a corner or the center of a feature wall, working outward in both directions.
- Apply construction adhesive. Run a bead of glue around the edges and in an X pattern across the back of each panel.
- Press and hold. Set the panel in place and press firmly for 30-60 seconds so the glue grabs.
- Trim as you go. Regular household scissors are enough to trim panels around outlets, corners or trim work.
- Let it cure. Avoid touching or leaning anything against the panels for a few hours while the adhesive sets fully.
Once the wall is done, a quick coat of paint (most of our panels are paintable) lets you match the accent wall to the rest of the room. See the full 3D wall panel range for more finishes and patterns.