GUIDE TO REMOVE POPCORN CEILINGS

While having a popcorn ceiling was considered hip once upon a time, today it looks dated and the texture holds a lot of dust that isn’t easy to get out. Removing a popcorn ceiling can be quite a difficult task that will require some time and patience. Here are 5 quick steps to removing the popcorn ceiling quickly and easily. 

Step 1: Test for Asbestos

You can test your ceiling for asbestos by sending a piece of your ceiling to the health department. If your ceiling does have asbestos rather than removing it you will have to cover the popcorn ceiling which we cover further down this page.

Step 2: Preparation

Before you start the project make sure you prepare by covering your walls and floors with a plastic drop cloth and take all of the furniture out of the room. Also, be sure to shut off the power to any electrical boxes in the ceiling and remove all ceiling fixtures or fans.

Step 3: Wet the Surface

Removing the popcorn ceiling is possible when it is dry, but wetting the surface will make the process a lot easier and will soften the texture. Just wet where you are about to scrape rather than wetting the whole ceiling as the surface may dry before you get to it. If you don’t want to put in the extra effort, you can always cover the ceiling tiles which we cover further down this page.

Step 4: Start Scraping

Once everything is set up, you can begin scraping off the popcorn ceiling. Be sure to round off the corners of your popcorn scraper so you don’t gouge the ceiling or damage the drywall.

Step 5: Fix Blemishes

After you have finished scraping you may have to sand down any small dings or gouges, then you will be ready to paint!

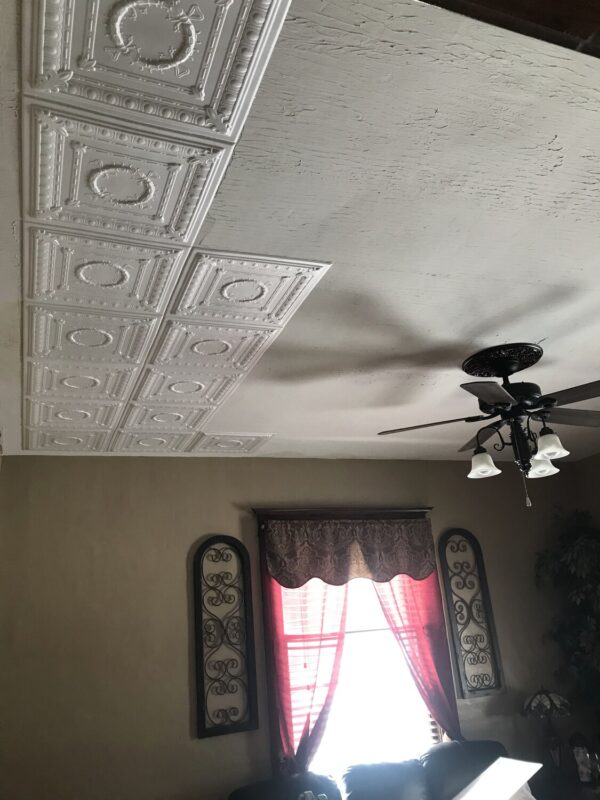
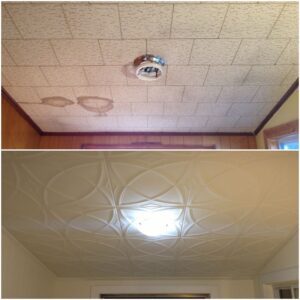
A QUICK GUIDE ON HOW TO COVER YOUR POPCORN CEILING

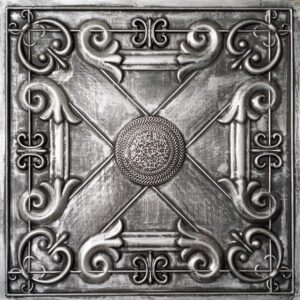
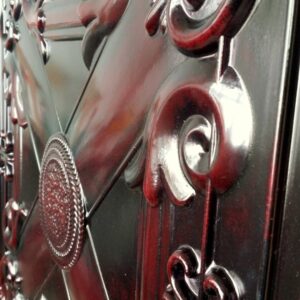
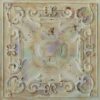
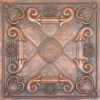
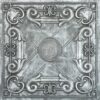
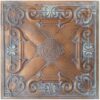
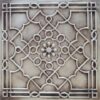
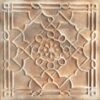
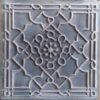
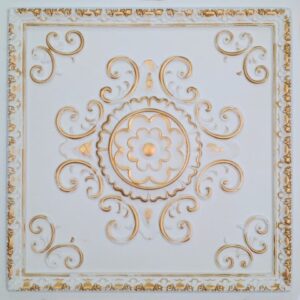
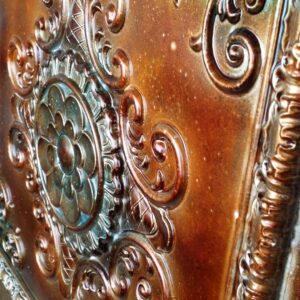
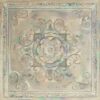
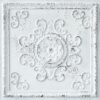
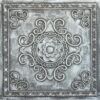
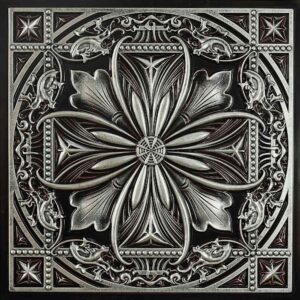
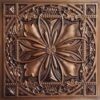
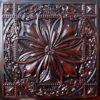
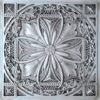
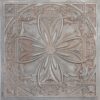
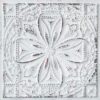
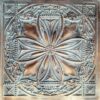
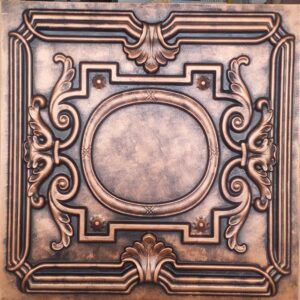
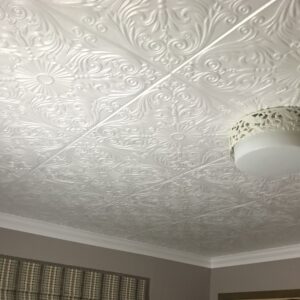
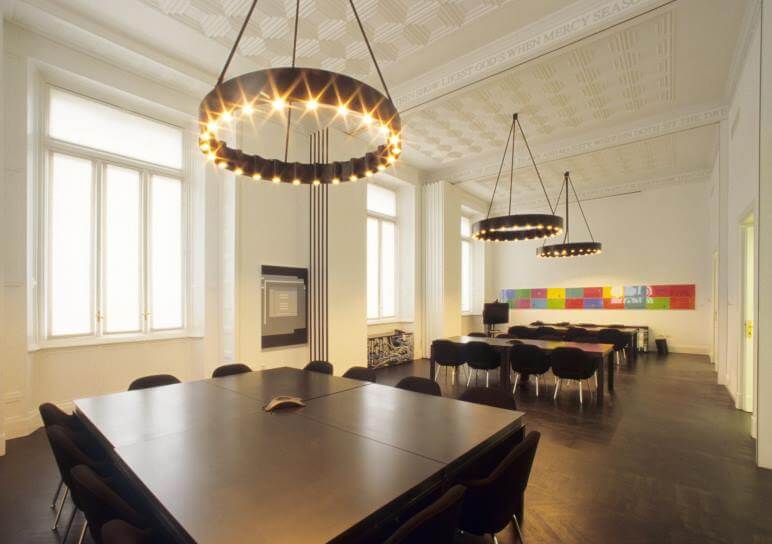
There are a few ways you can cover your popcorn ceiling, all being relatively cost-effective and looking much better than the original popcorn ceiling look. The easiest and most aesthetically pleasing method of covering up an old popcorn ceiling is with ceiling tiles.
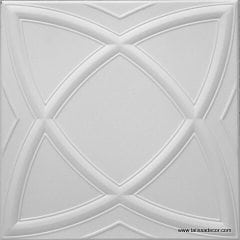
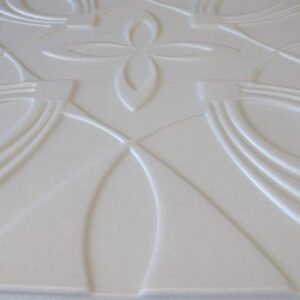
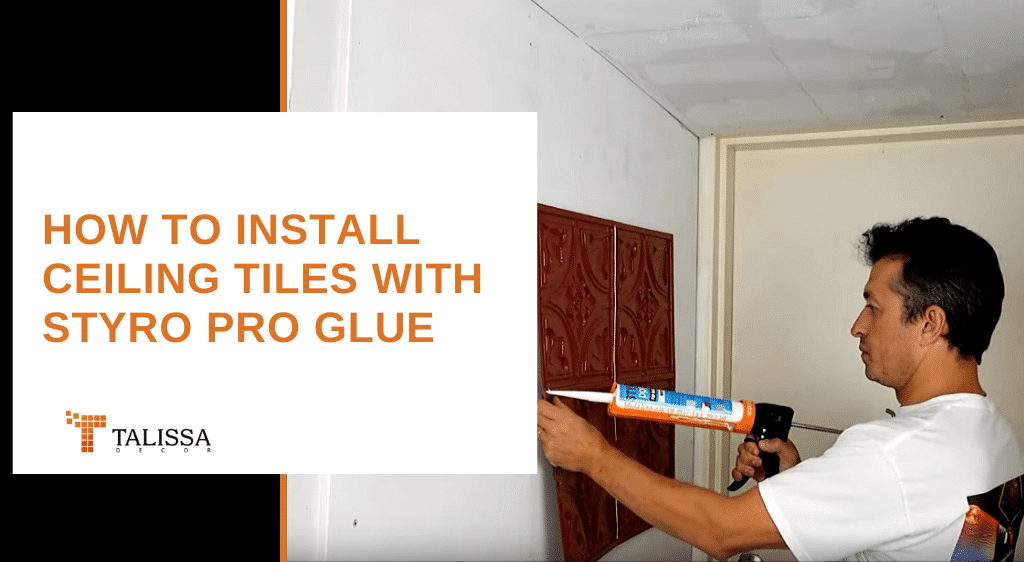
Prepare the Tiles
Dab each corner, in the middle of each corner, and in the center of each tile with the AcrylPro, around one inch from the edge of the tile.
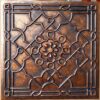
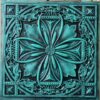
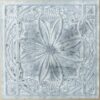
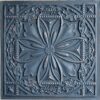
Place the Tiles
Gently place the tile onto the wall, pressing on each corner, being careful not to push too hard or you could leave marks.
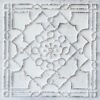
The adhesive takes about an hour to dry, so if you place it incorrectly, you can play around with it a bit and make sure it is in the right place. 

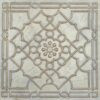
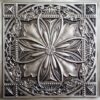
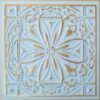
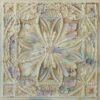
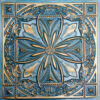
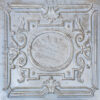
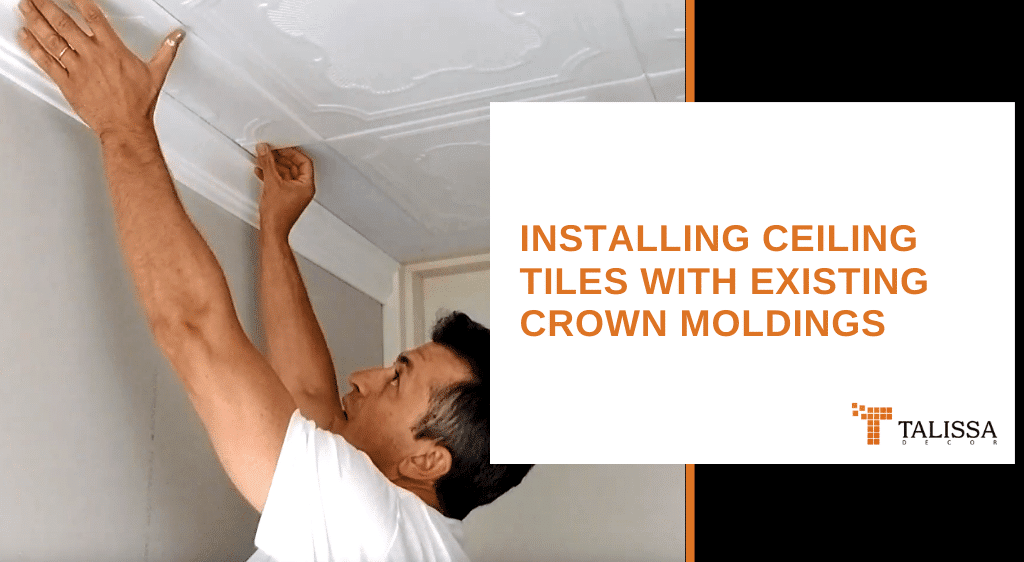
Place the Remainder of the Tiles
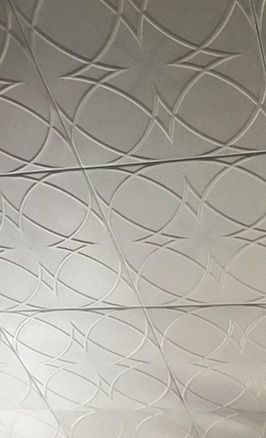
Use your first tile as a guide for the remaining tiles, using the bevels to properly place each tile.

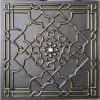
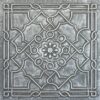
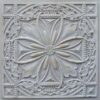
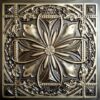
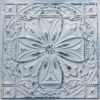
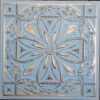
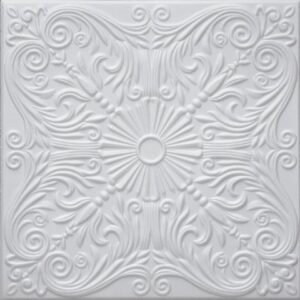
 Use Caulking to Seal Tiles
When you have places all of the tiles, applying caulking to all of the joints of the tiles so the edges of the tiles seamlessly mend together.    

BEST SELLERS

Aged Rosewood - Special orderAged Rosewood - Special order
Aged SilverAged Silver
Ancient GoldAncient Gold
Reclaimed Tin - Special orderReclaimed Tin - Special order
Rustic CopperRustic Copper
Shabby Chic - Special OrderShabby Chic - Special Order
Smoked GoldSmoked Gold
Vintage Champagne - Special OrderVintage Champagne - Special Order
+1
yes
(4)
USD $14.99USD $16.99

20" x 20" Ceiling Tiles

RM23 Polystyrene ceiling tile

yes
(4)
USD $3.49
Aged CopperAged Copper
Anodized Copper - Special orderAnodized Copper - Special order
Antique WhiteAntique White
Archaic CopperArchaic Copper
Arctic SunArctic Sun
Classic Aged BronzeClassic Aged Bronze
Classic Aged SilverClassic Aged Silver
Coffee Swirl - Special orderCoffee Swirl - Special order
+4
yes
(1)
USD $14.99USD $16.99
Aged BrassAged Brass
Aged CopperAged Copper
Anodized Copper - Special orderAnodized Copper - Special order
Antique WhiteAntique White
Archaic Copper - Special OrderArchaic Copper - Special Order
Arctic SunArctic Sun
Rustic CopperRustic Copper
Salt and PepperSalt and Pepper
+1
yes
(2)
USD $14.99USD $16.99
Aged CopperAged Copper
Aged Rosewood - Special orderAged Rosewood - Special order
Aged SilverAged Silver
Aged TaupeAged Taupe
Ancient GoldAncient Gold
Antique WhiteAntique White
Archaic CopperArchaic Copper
Archaic Cyan - Special OrderArchaic Cyan - Special Order
+20
yes
(95)
USD $14.99USD $16.99
Aged BrassAged Brass
Aged CopperAged Copper
Aged Turquoise - Special orderAged Turquoise - Special order
Archaic CopperArchaic Copper
Archaic GoldArchaic Gold
Arctic SunArctic Sun
Spackled Copper - Special orderSpackled Copper - Special order
Vintage Champagne - Special OrderVintage Champagne - Special Order
yes
(1)
USD $14.99USD $16.99
Sale!

20" x 20" Ceiling Tiles

RM39 Polystyrene ceiling tile

yes
(6)
USD $2.99
Sale!

20" x 20" Ceiling Tiles

RM80 Polystyrene ceiling tile

yes
(3)
USD $2.69

WHY COVER POPCORN CEILINGS?

While using ceiling tiles to cover popcorn ceilings is a little more costly than using drywall, it is a permanent solution that will look great directly after installation. It is a quick and easy installation due to ceiling tiles being perfectly uniform and fitting together nicely. You also do not need to paint following the installation as you would with drywall because ceiling tiles come in a variety of colours and patterns to suit any taste.

WHY CHOOSE TALISSA DECOR?

By choosing Talissa Decor you will have a vast selection of tiles to choose from you cover up your popcorn ceiling and give your space a fresh look for a good price. In addition to the wide variety of patterns, colors and designs, our tiles are low maintenance and high durability. Talissa Decor can also custom paint tiles according to your preferences. 

CHECK OUT OUR INSTALLATION VIDEO GUIDES!

how-to-convert-2x4-ceiling-grids-to-2x2-ceiling-grids
How to Repaint Polystyrene Ceiling Tiles
How to Remove Ceiling Tiles
How To Install Ceiling Tiles Glue with Styro Pro
Installing Ceiling Tiles with Existing Crown Moldings
How to Install 3D Wall Panels Around Outlets and Light Switches