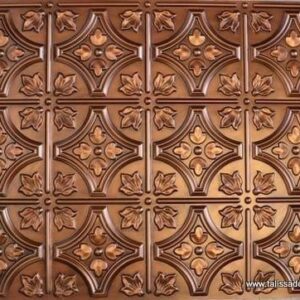
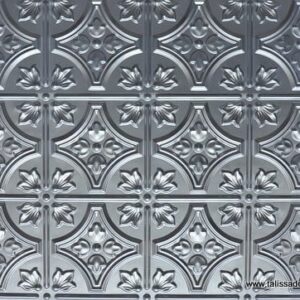
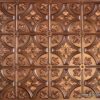
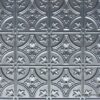
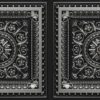
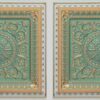
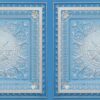
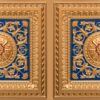
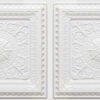
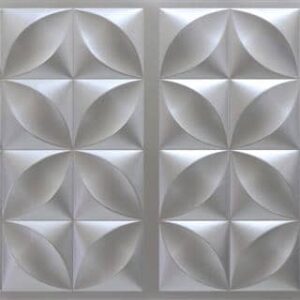
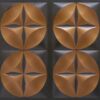
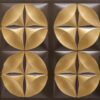
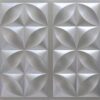
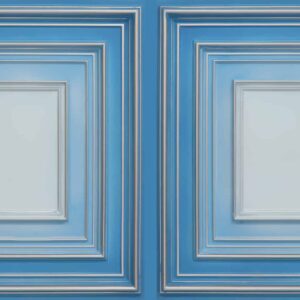
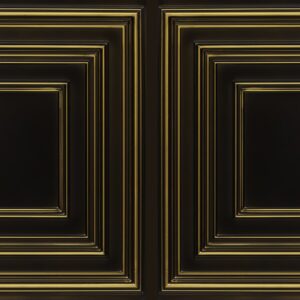
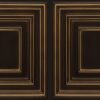
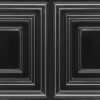
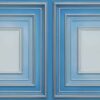
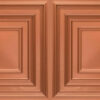
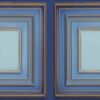
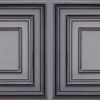
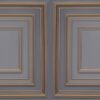
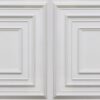
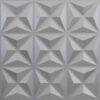
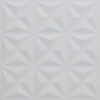
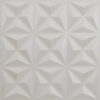
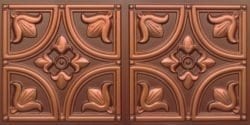
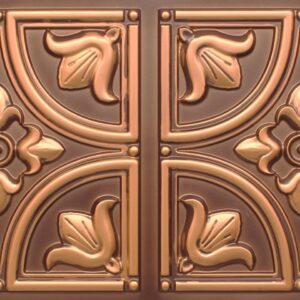
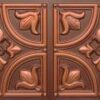
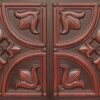
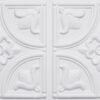
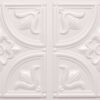
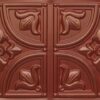
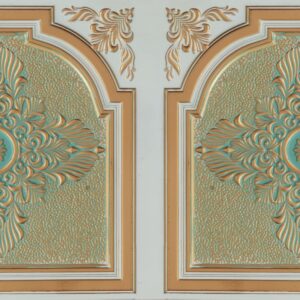
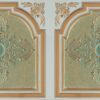
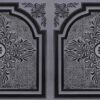
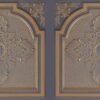
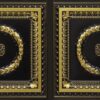
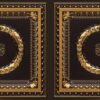
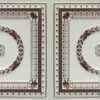
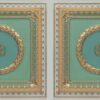
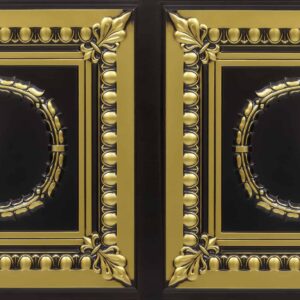
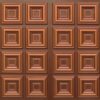
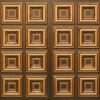
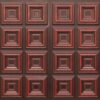
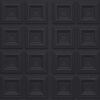
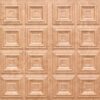
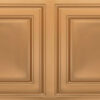
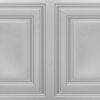
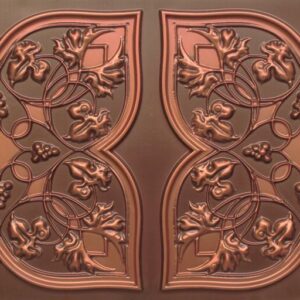
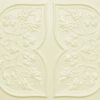
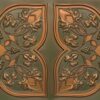
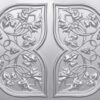
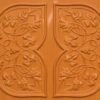
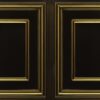
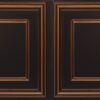
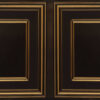
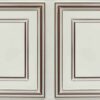
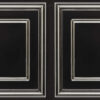
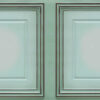
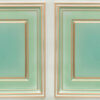
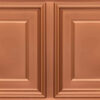
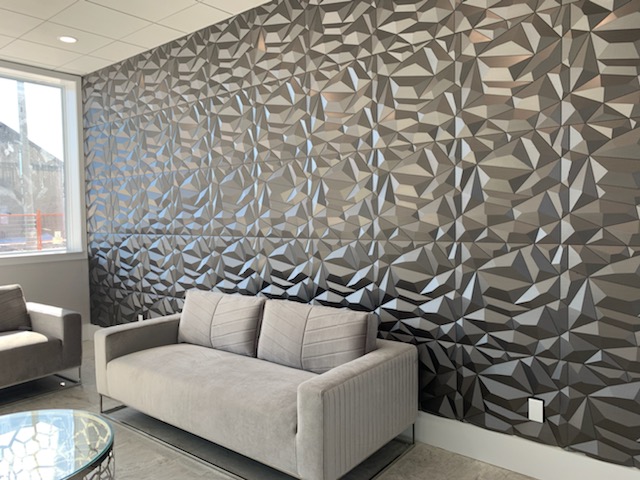
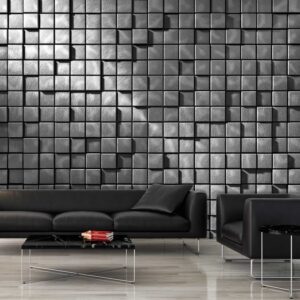
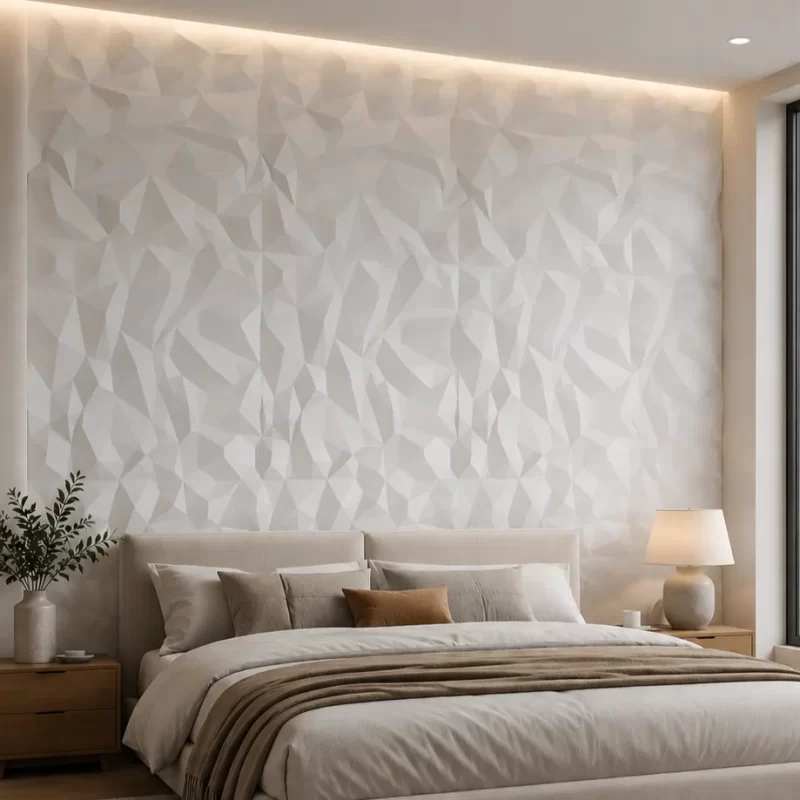
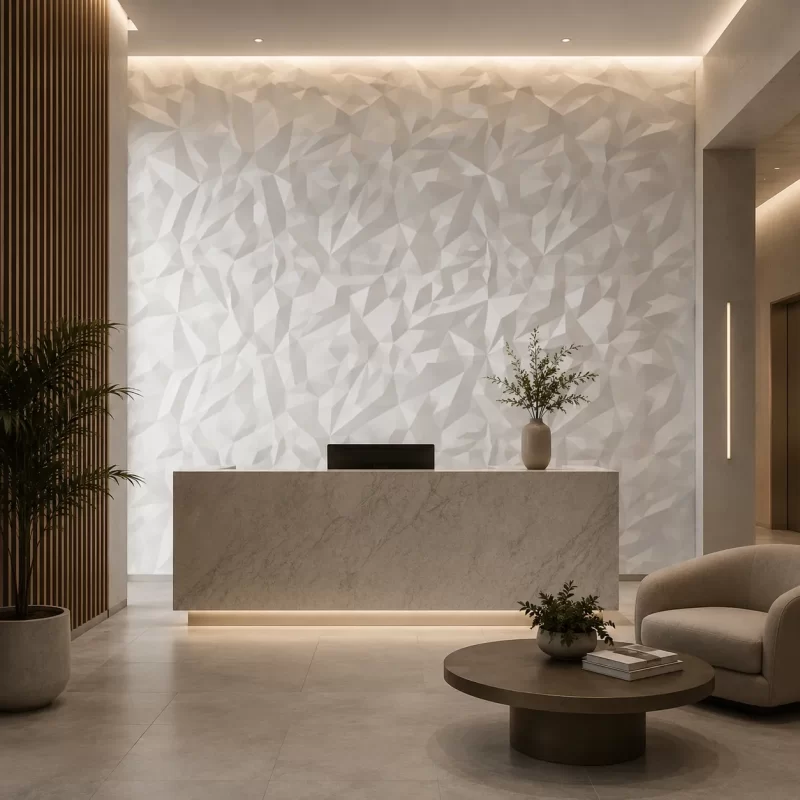
Transform your interior with our stylish 3D wall panels, designed to bring a modern, high-end look to any space. Each 3D wall panel brings contemporary style to homes, offices, or commercial spaces while remaining practical, affordable, easy to clean, and simple to install.
Whether you’re covering an entire room or creating a bold accent wall, our 3D wall panels instantly elevate your décor with depth and texture. Loved by interior designers, they offer endless possibilities to refresh your space with a sleek, sophisticated finish that stands out.
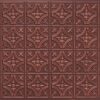
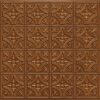
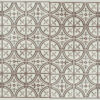
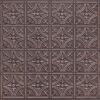
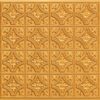
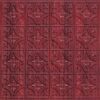
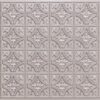
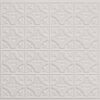
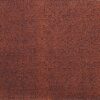
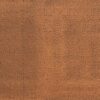
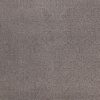
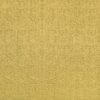
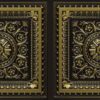
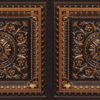
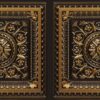
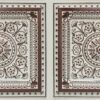
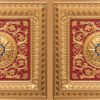
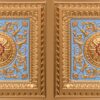
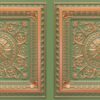
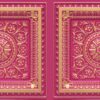
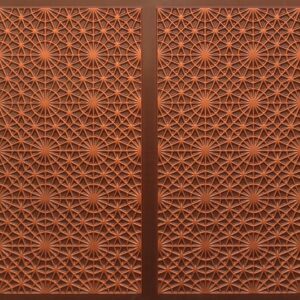
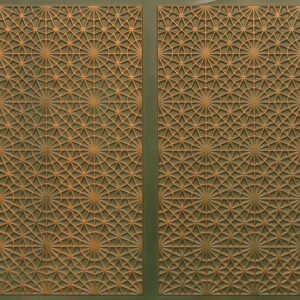
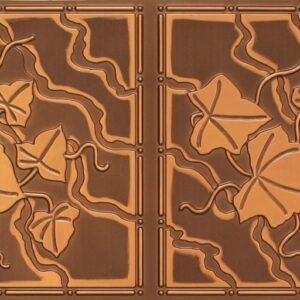
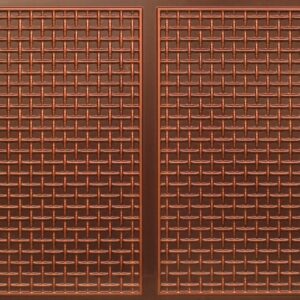
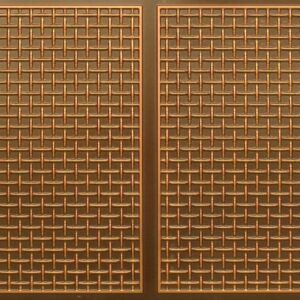
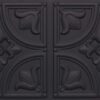
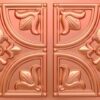
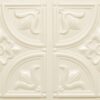
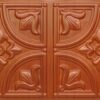
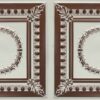
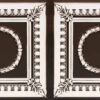
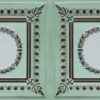
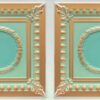
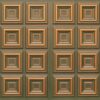
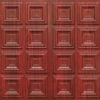
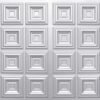
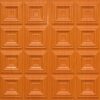
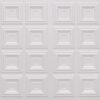
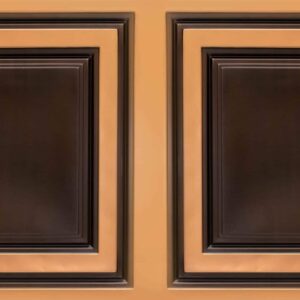
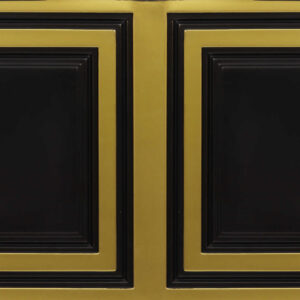
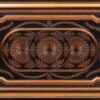
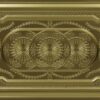
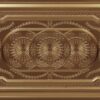
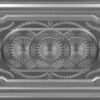
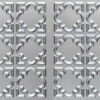
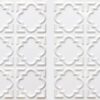
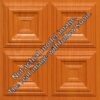
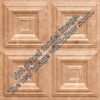
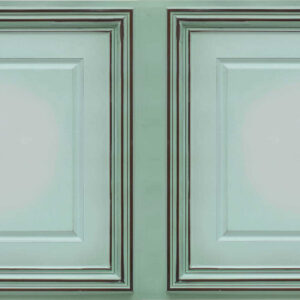
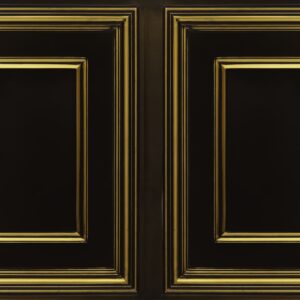
With our 3D wall panels, you can give any room a stunning makeover that will wow your guests. Talissa Decor panels are really easy to install and available in different materials: MDF, Thermoplastic, and PVC. Visit our FAQ section below for more information on the product, measuring, installation and shipping. Here's everything you need to know about them.
HOW TO USE 3D WALL PANELS
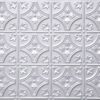
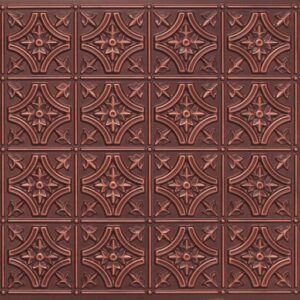
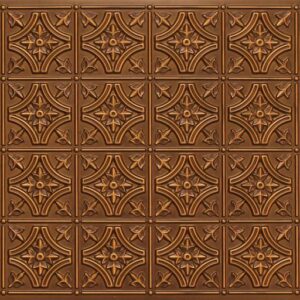
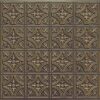
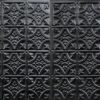
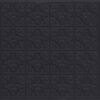
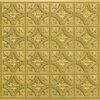
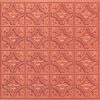
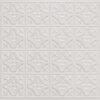
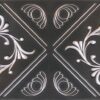
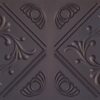
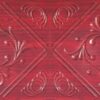
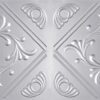
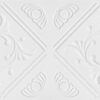
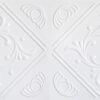
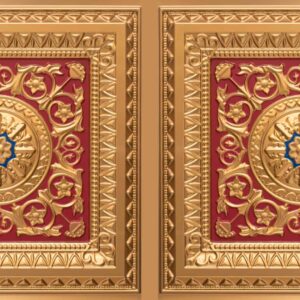
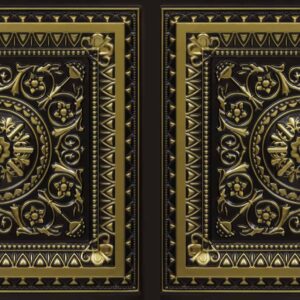
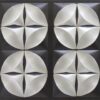
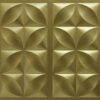
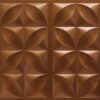
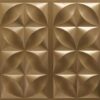
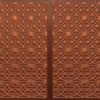
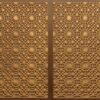
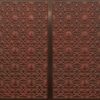
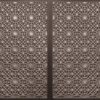
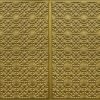
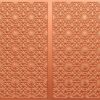
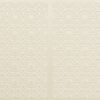
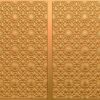
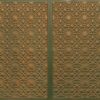
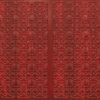
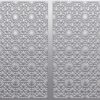
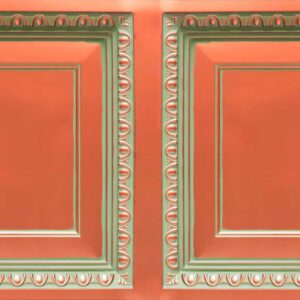
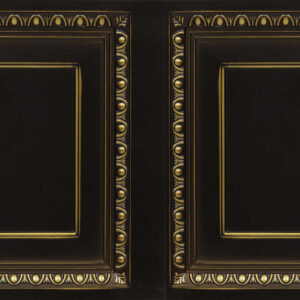
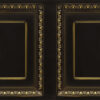
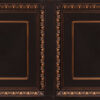
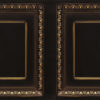
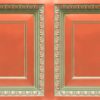
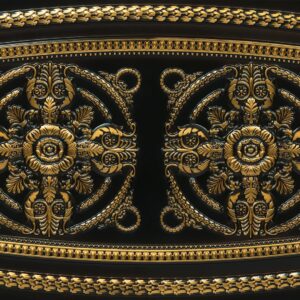
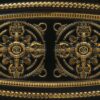
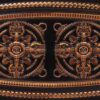
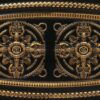
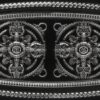
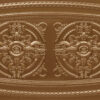
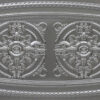
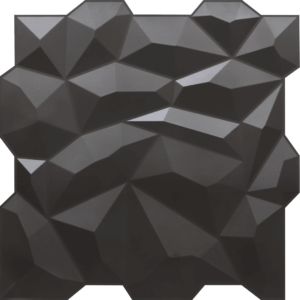
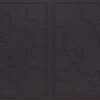
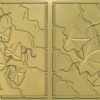
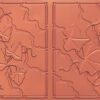
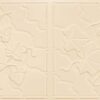
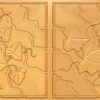
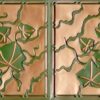
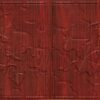
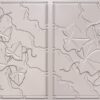
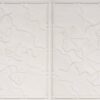
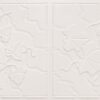
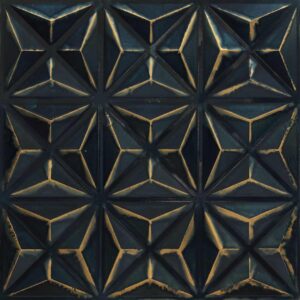
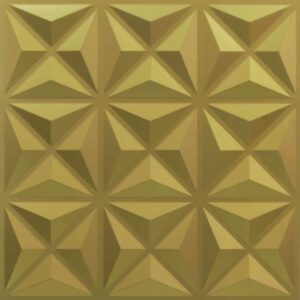
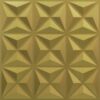
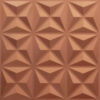
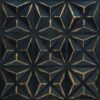
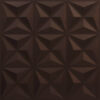
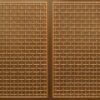
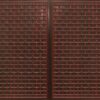
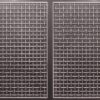
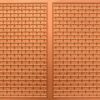
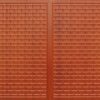
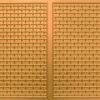
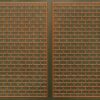
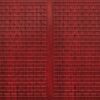
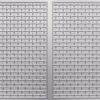
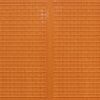
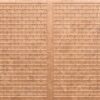
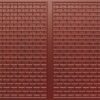
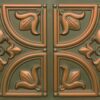
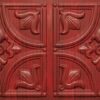
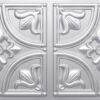
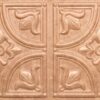
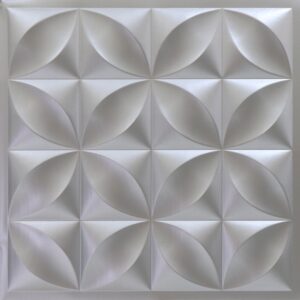
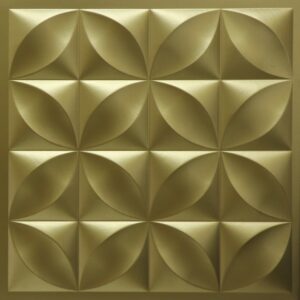
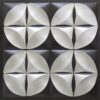
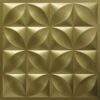
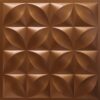
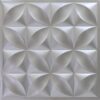
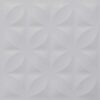
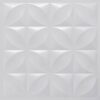
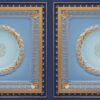
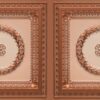
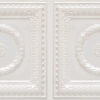
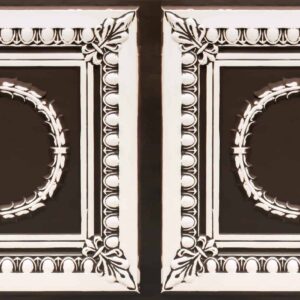
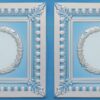
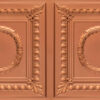
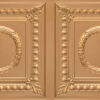
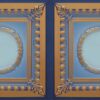
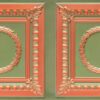
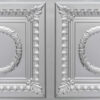
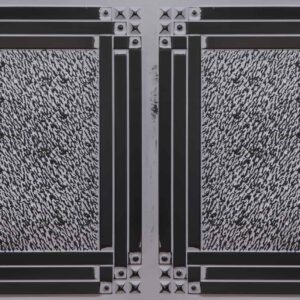
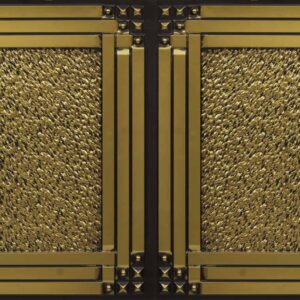
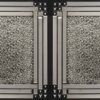
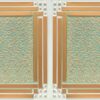
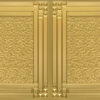
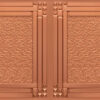
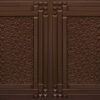
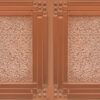
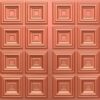
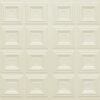
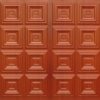
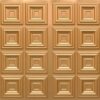
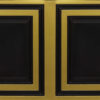
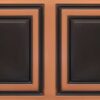
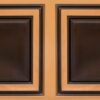
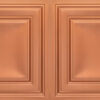
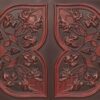
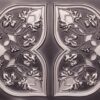
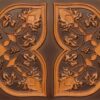
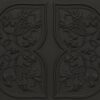
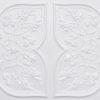
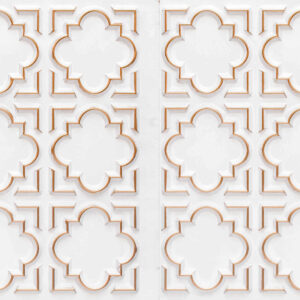
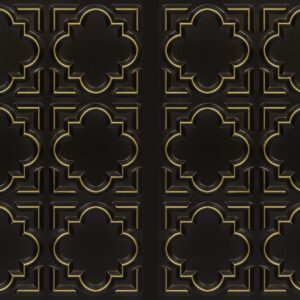
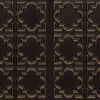
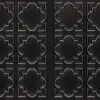
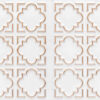
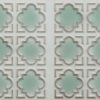
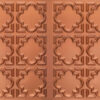
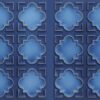
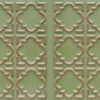
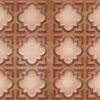
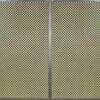
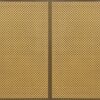
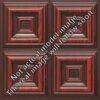
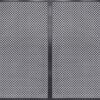
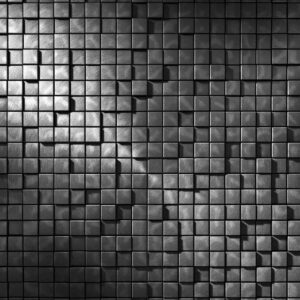
Enhance your interior with our premium 3D wall panels. Made from high-quality materials such as bamboo, MDF, and durable plastics, these panels offer a stylish way to add depth and texture to any room. With a variety of patterns, textures, and effects, 3D wall panels bring a unique, multi-dimensional look that transforms the atmosphere of your space.
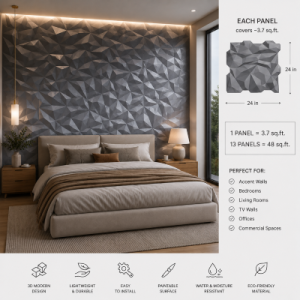
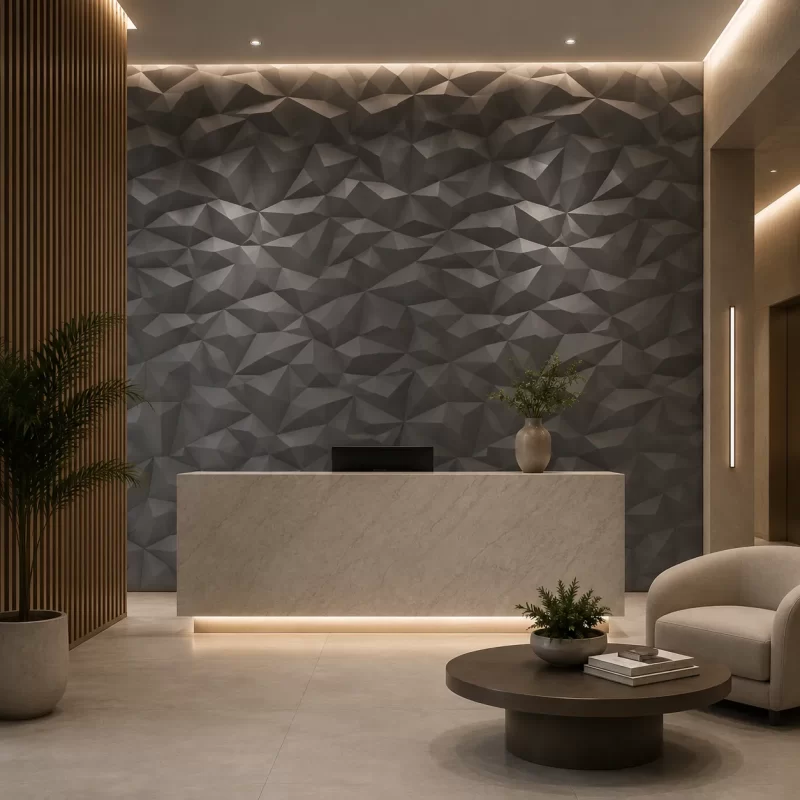
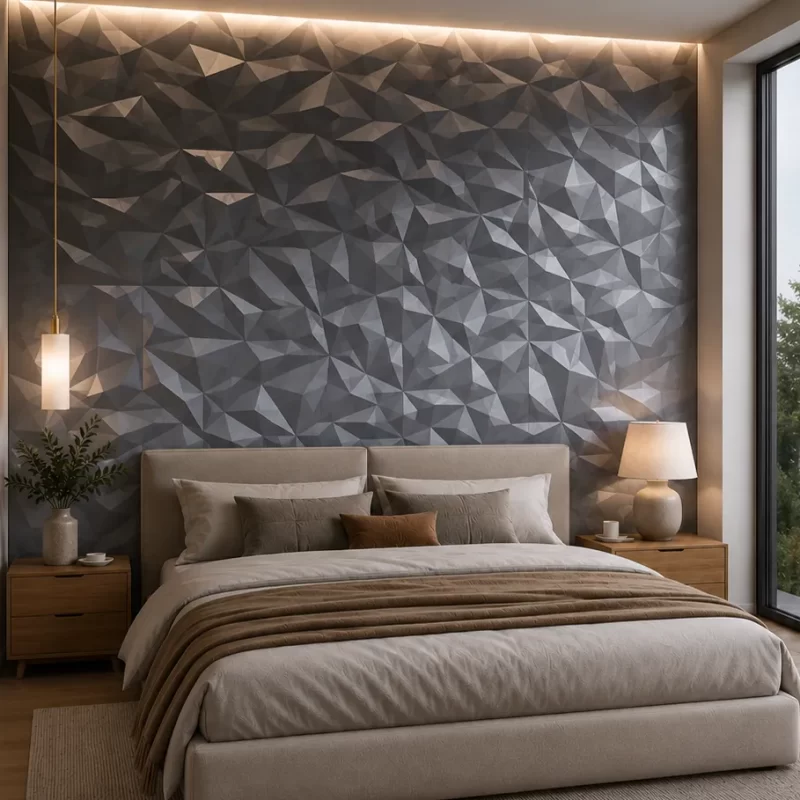
Because 3D wall panels can dramatically change the perception of a room, lighting is key. Use spotlights, wall sconces, floor lamps, or LED strips to highlight the embossed texture, draw attention to focal points, and emphasize your design’s uniqueness. Whether you want a bold feature wall or subtle elegance, our 3D wall panels make it easy to create a stunning, personalized interior.
Where can I use 3d Wall Panel?
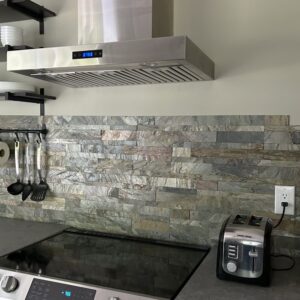
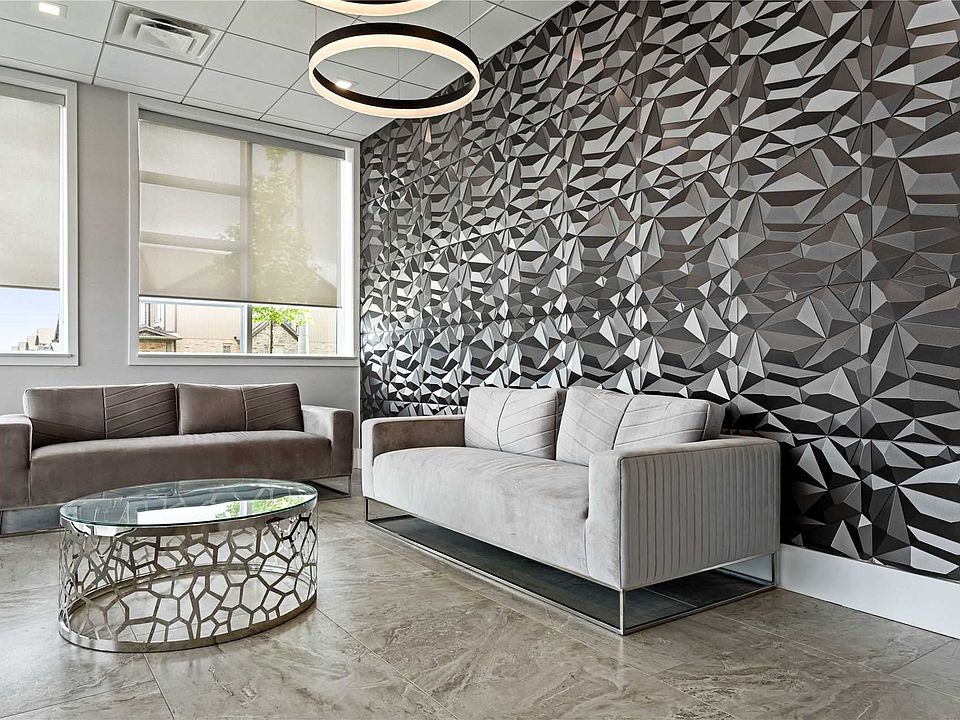
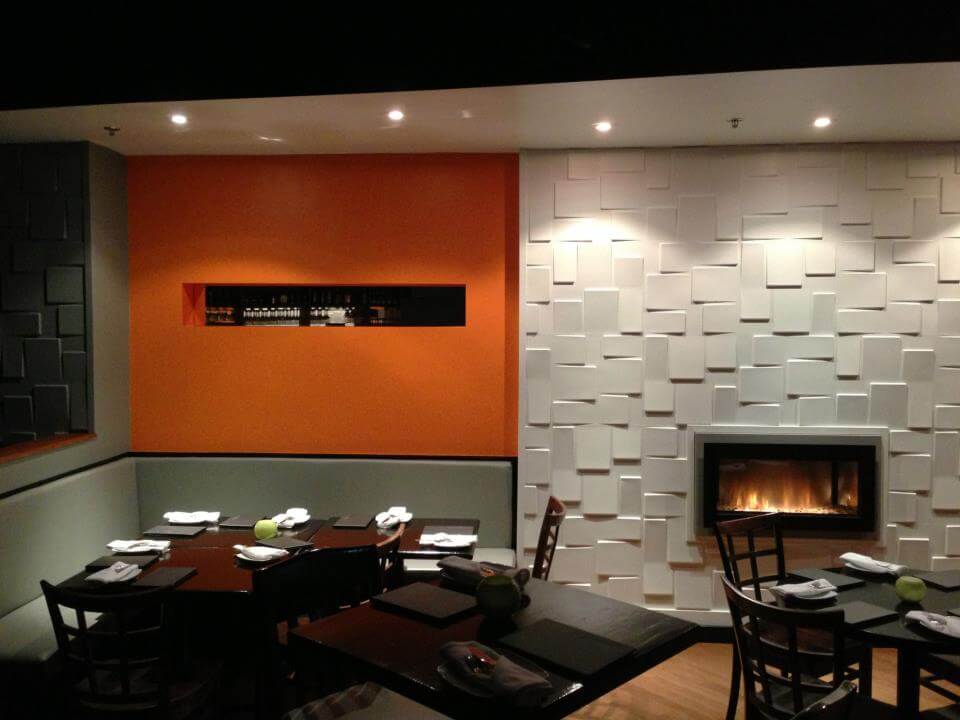
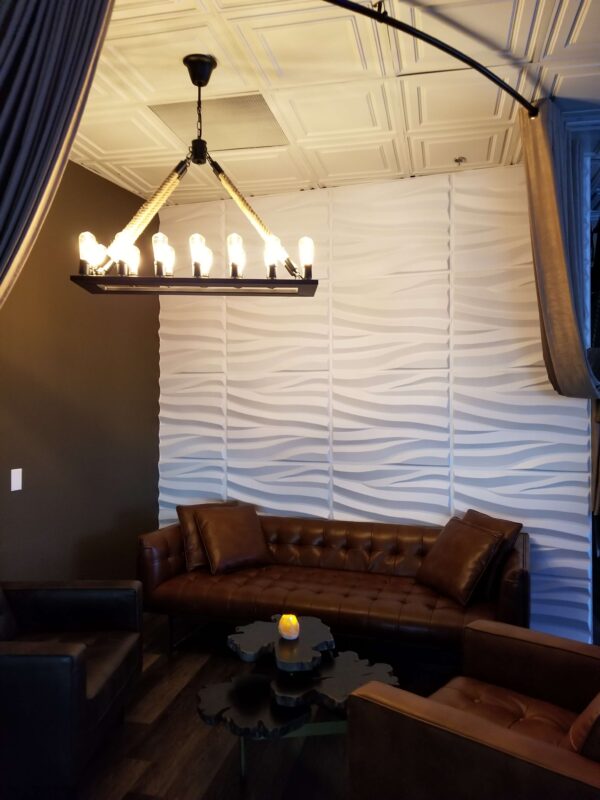
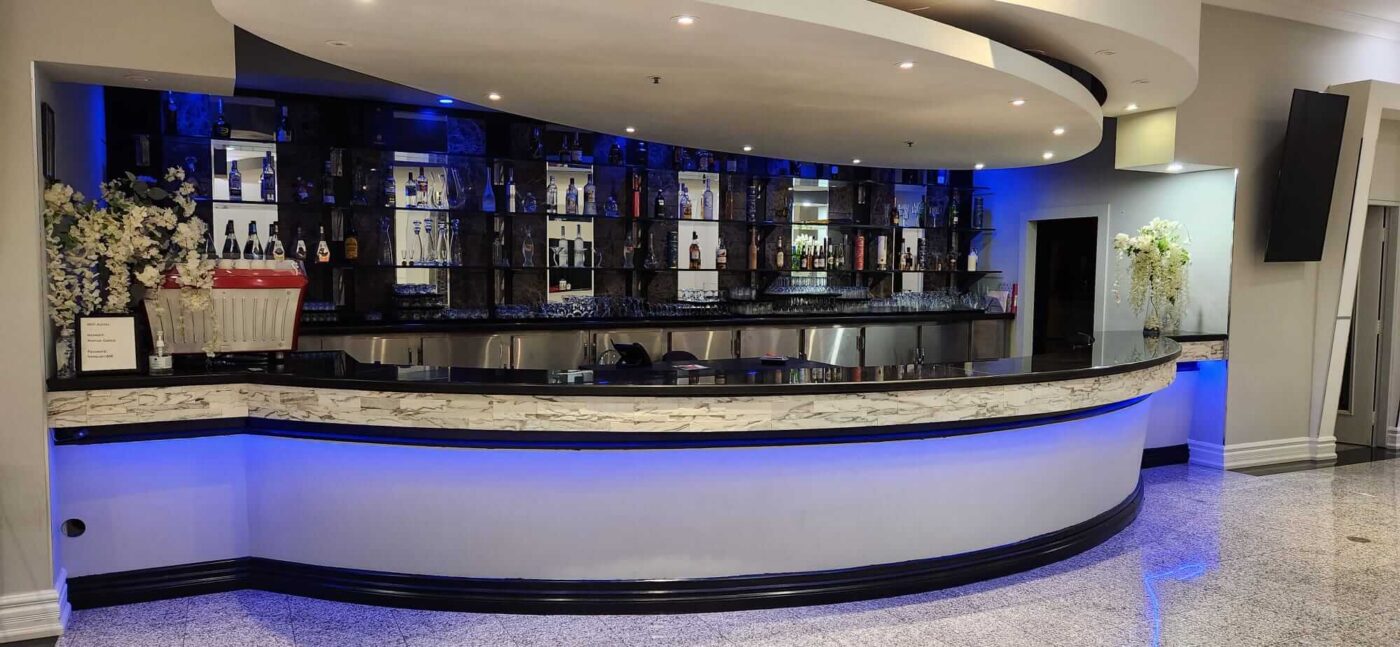
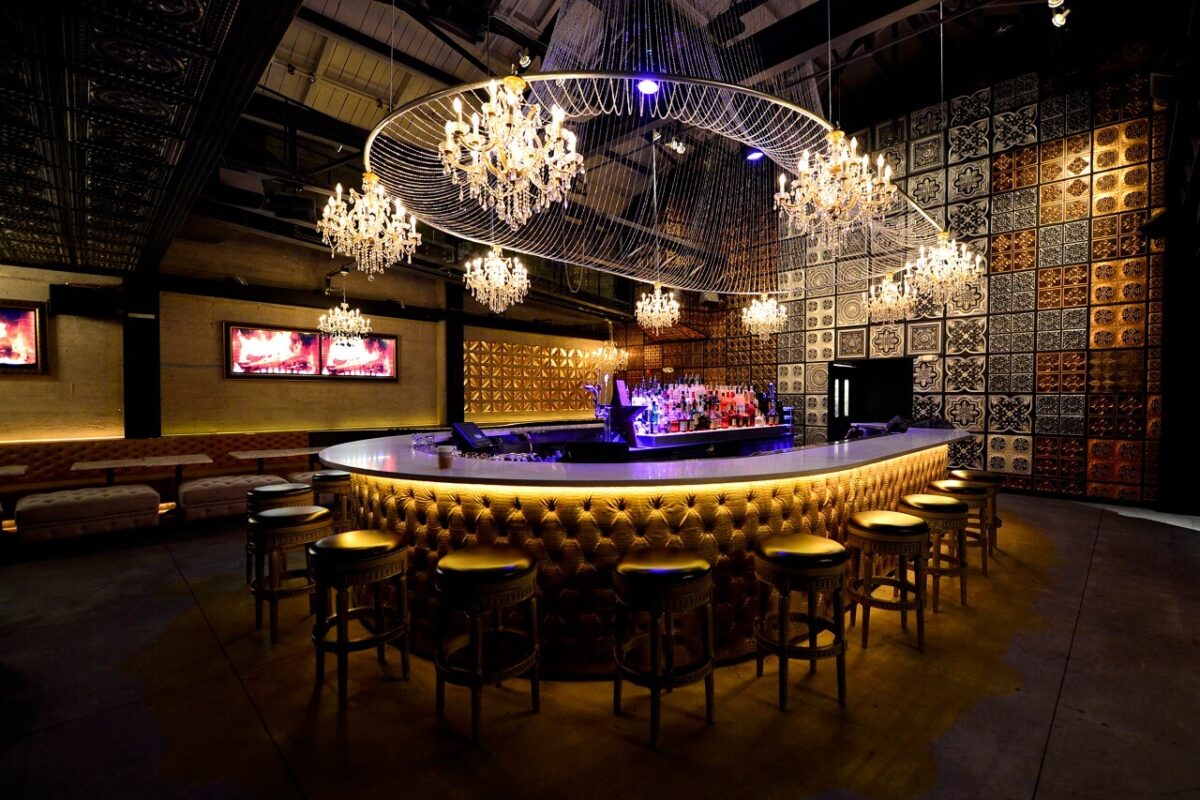
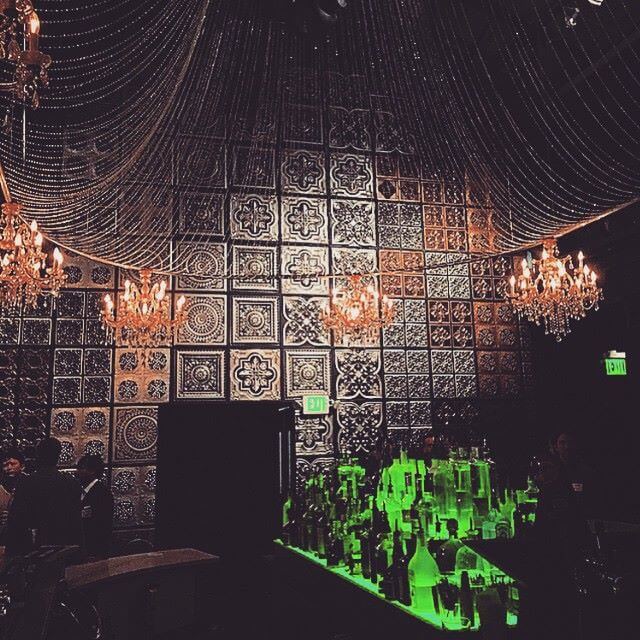
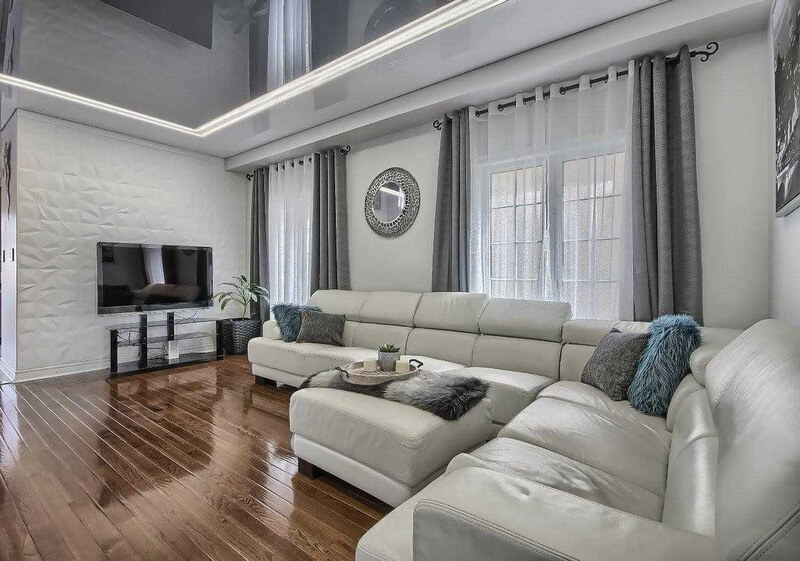
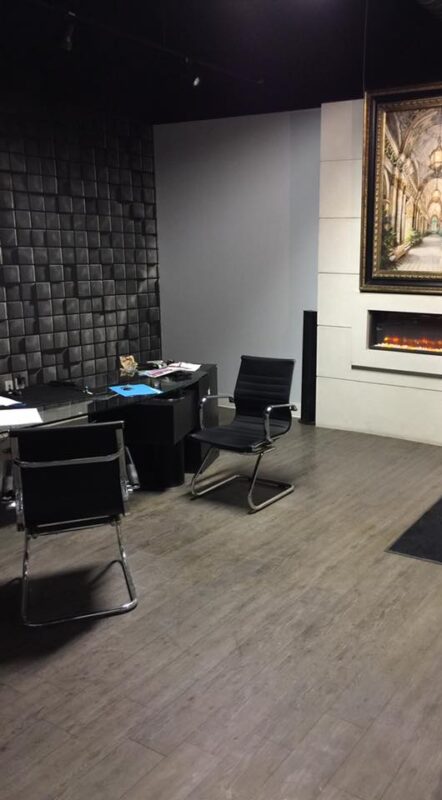
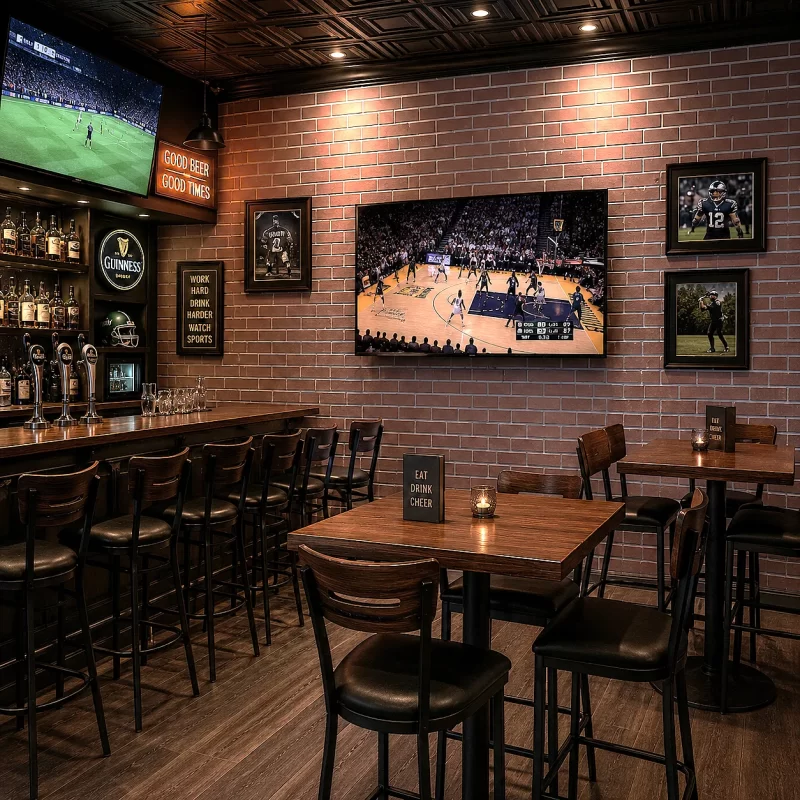
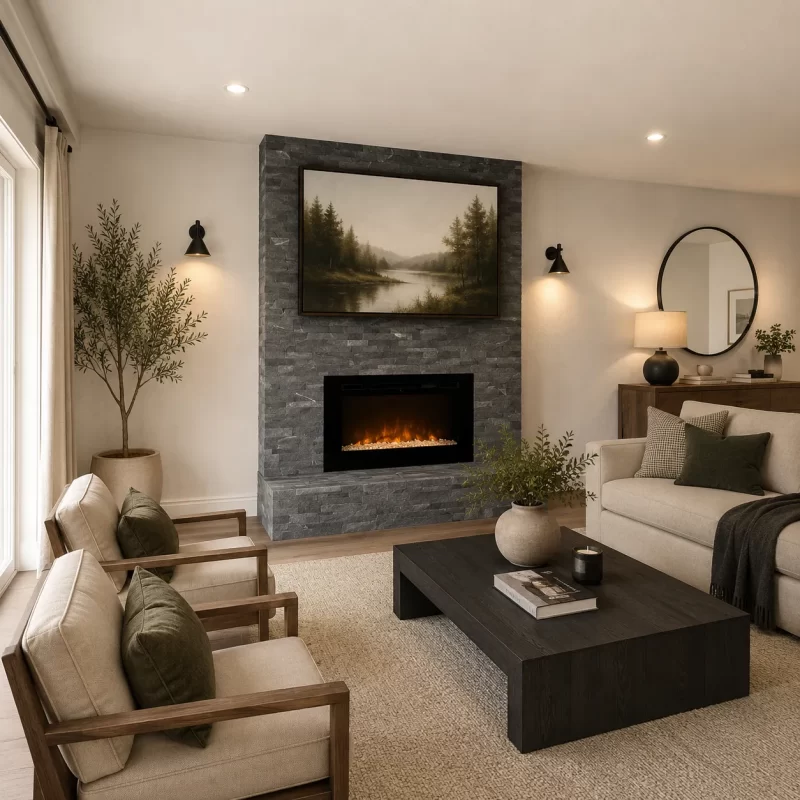
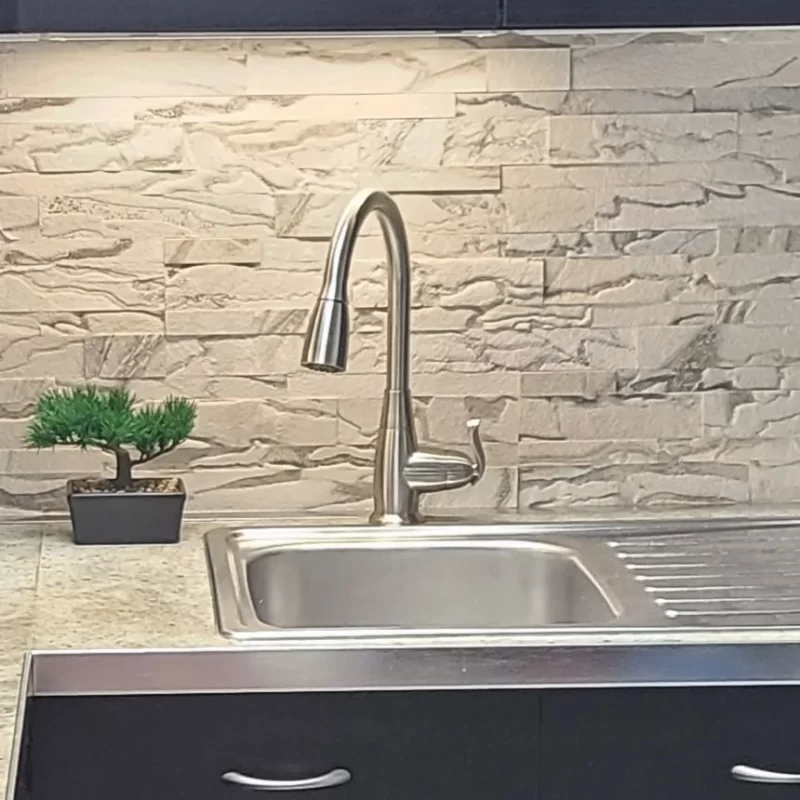
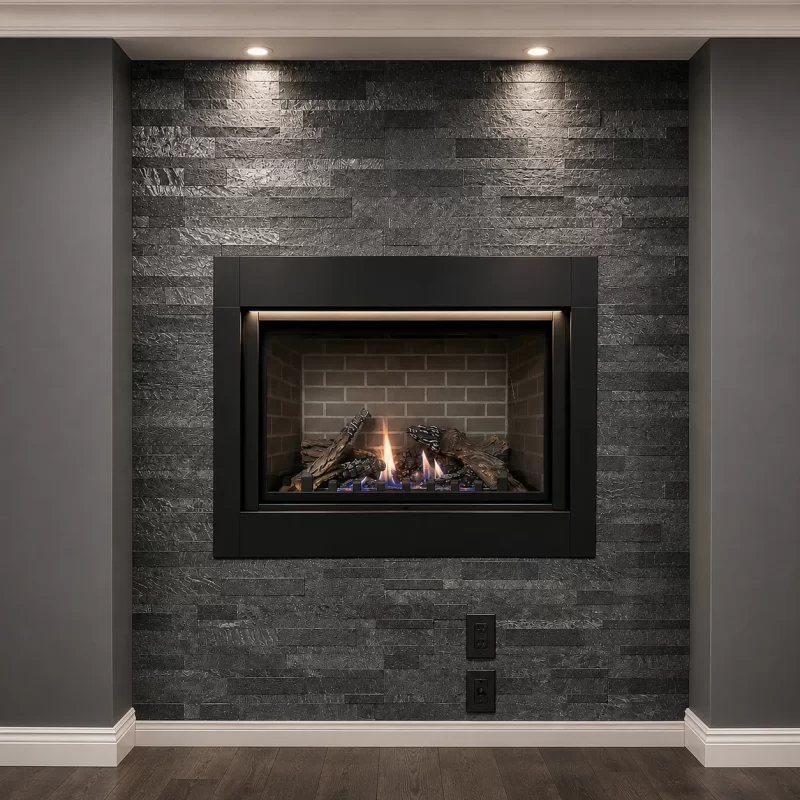
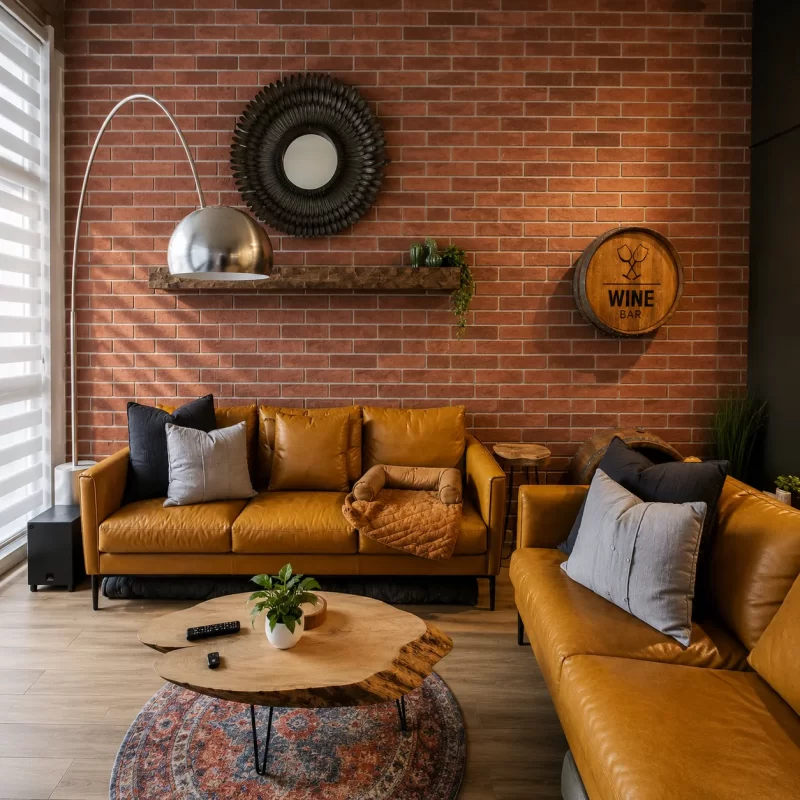
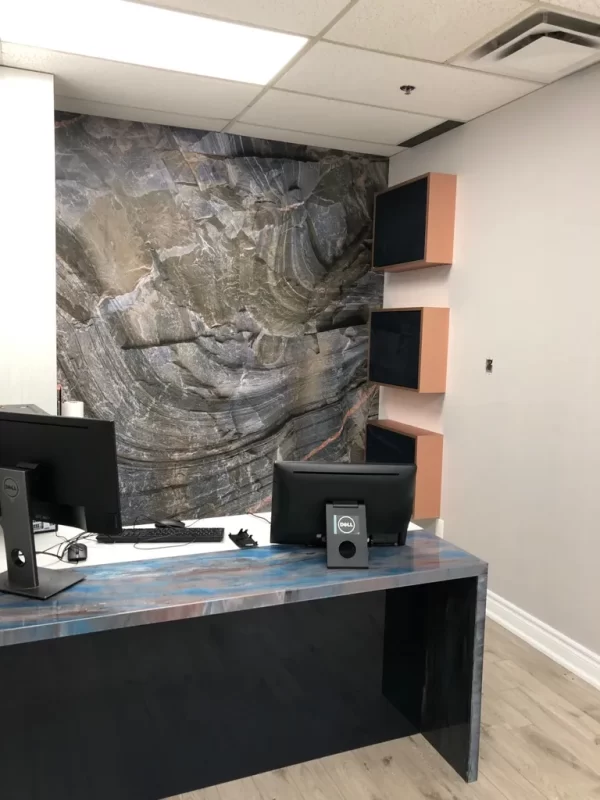
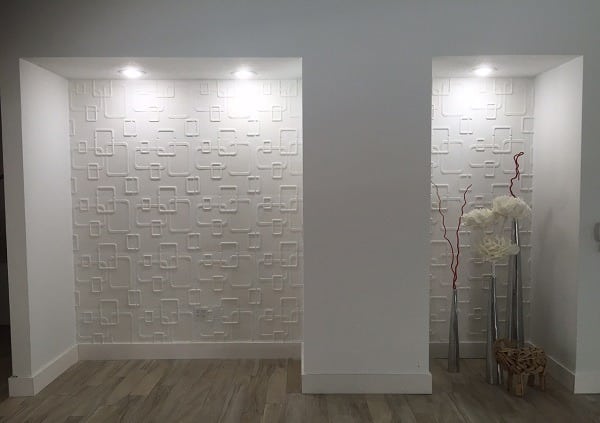
3D wall panels can be used anywhere as a way to decorate the walls in your home or office but would also look great in places of business or commercial settings like bars, restaurants or hotels.
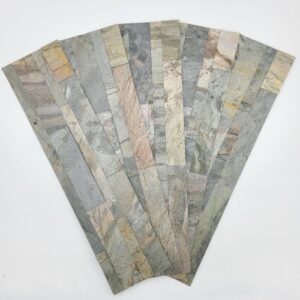
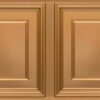
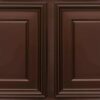
They are commonly used to design a single wall, column, arch or partition in a room and can be used for interior or exterior walls and ceilings. They offer high flexibility and can fit any design aesthetic.
3D panels will give your space a multi-dimensional look. The goal is to create a spectacular emphasis that will complement and harmonize with the overall theme of your space.
Advantages OF 3D WALL PANELS
In addition to the variety of drawings, colors, designs and the ability to fit the facing material into any interior, our 3D panels have a number of other advantages:
• Originality. The unique patterns on 3D wall panels attract attention and give depth to the space. • Environmentally friendly. The composition does not contain chemical impurities and harmful elements, and the material is safe for decoration of residential premises. • Noise and heat insulation. 3D wall panels maintain indoor temperature and reduce audibility. • Strength and durability. Do not require specific care and during normal use will last for many years.
Finding the Right Choice
When shopping for 3D panels, you should consider the layout and design of your current space to find a particular design that will complement its already established theme. Whether you’re looking to design a wall, a ceiling or a smaller section like a column, arch or partition, you should be sure that the design chosen will fit with the rest of the space.
Our online catalog is organized by colour, size, material and style, allowing you to filter your search and quickly find the perfect match for your space! Atlernatively, you can visit our stores and speak with our sales experts to design the room you've always dreamed.
Benefits of Using 3D Wall Panels
When using these panels you will emphasize the selected portion of your space while also giving it depth. Other benefits include:
Variety of Styles - Giving your room a unique look and design that will attract the attention of those who visit.
Providing soundproofing and insulation - They reduce both the temperate and the amount of sound that escapes the room.
Durability - 3D panels are easy to maintain and will last for years.
WHY CHOOSE TALISSA'S 3D WALL PANELS?
At Talissa Décor, we offer solutions that will make even the most prosaic room incredibly sophisticated. With the help of our panels, your space will take on a completely different look.
We use the latest technology and are constantly looking for innovative solutions to help our clients find the right option for their space. Decorative 3D panels are an opportunity to create unique images and designs in your home. Environmentally friendly and extremely practical, 3D wall panels will fit any decorative concept.
HOW TO CHOOSE THE RIGHT DESIGN?
When choosing patterns, it is worth using the recommendations from designers. Here is a shortlist of basic rules:
Use horizontally oriented patterns to visually lengthen short walls, and vertical ones to adjust low ceilings.
If the interior style requires the use of natural materials, look for panels with smooth lines.
Futuristic reliefs should be left for hi-tech interiors.
Abstract designs look good only as an accent in a restrained and not too expressive interior, otherwise, they will only overload the space.
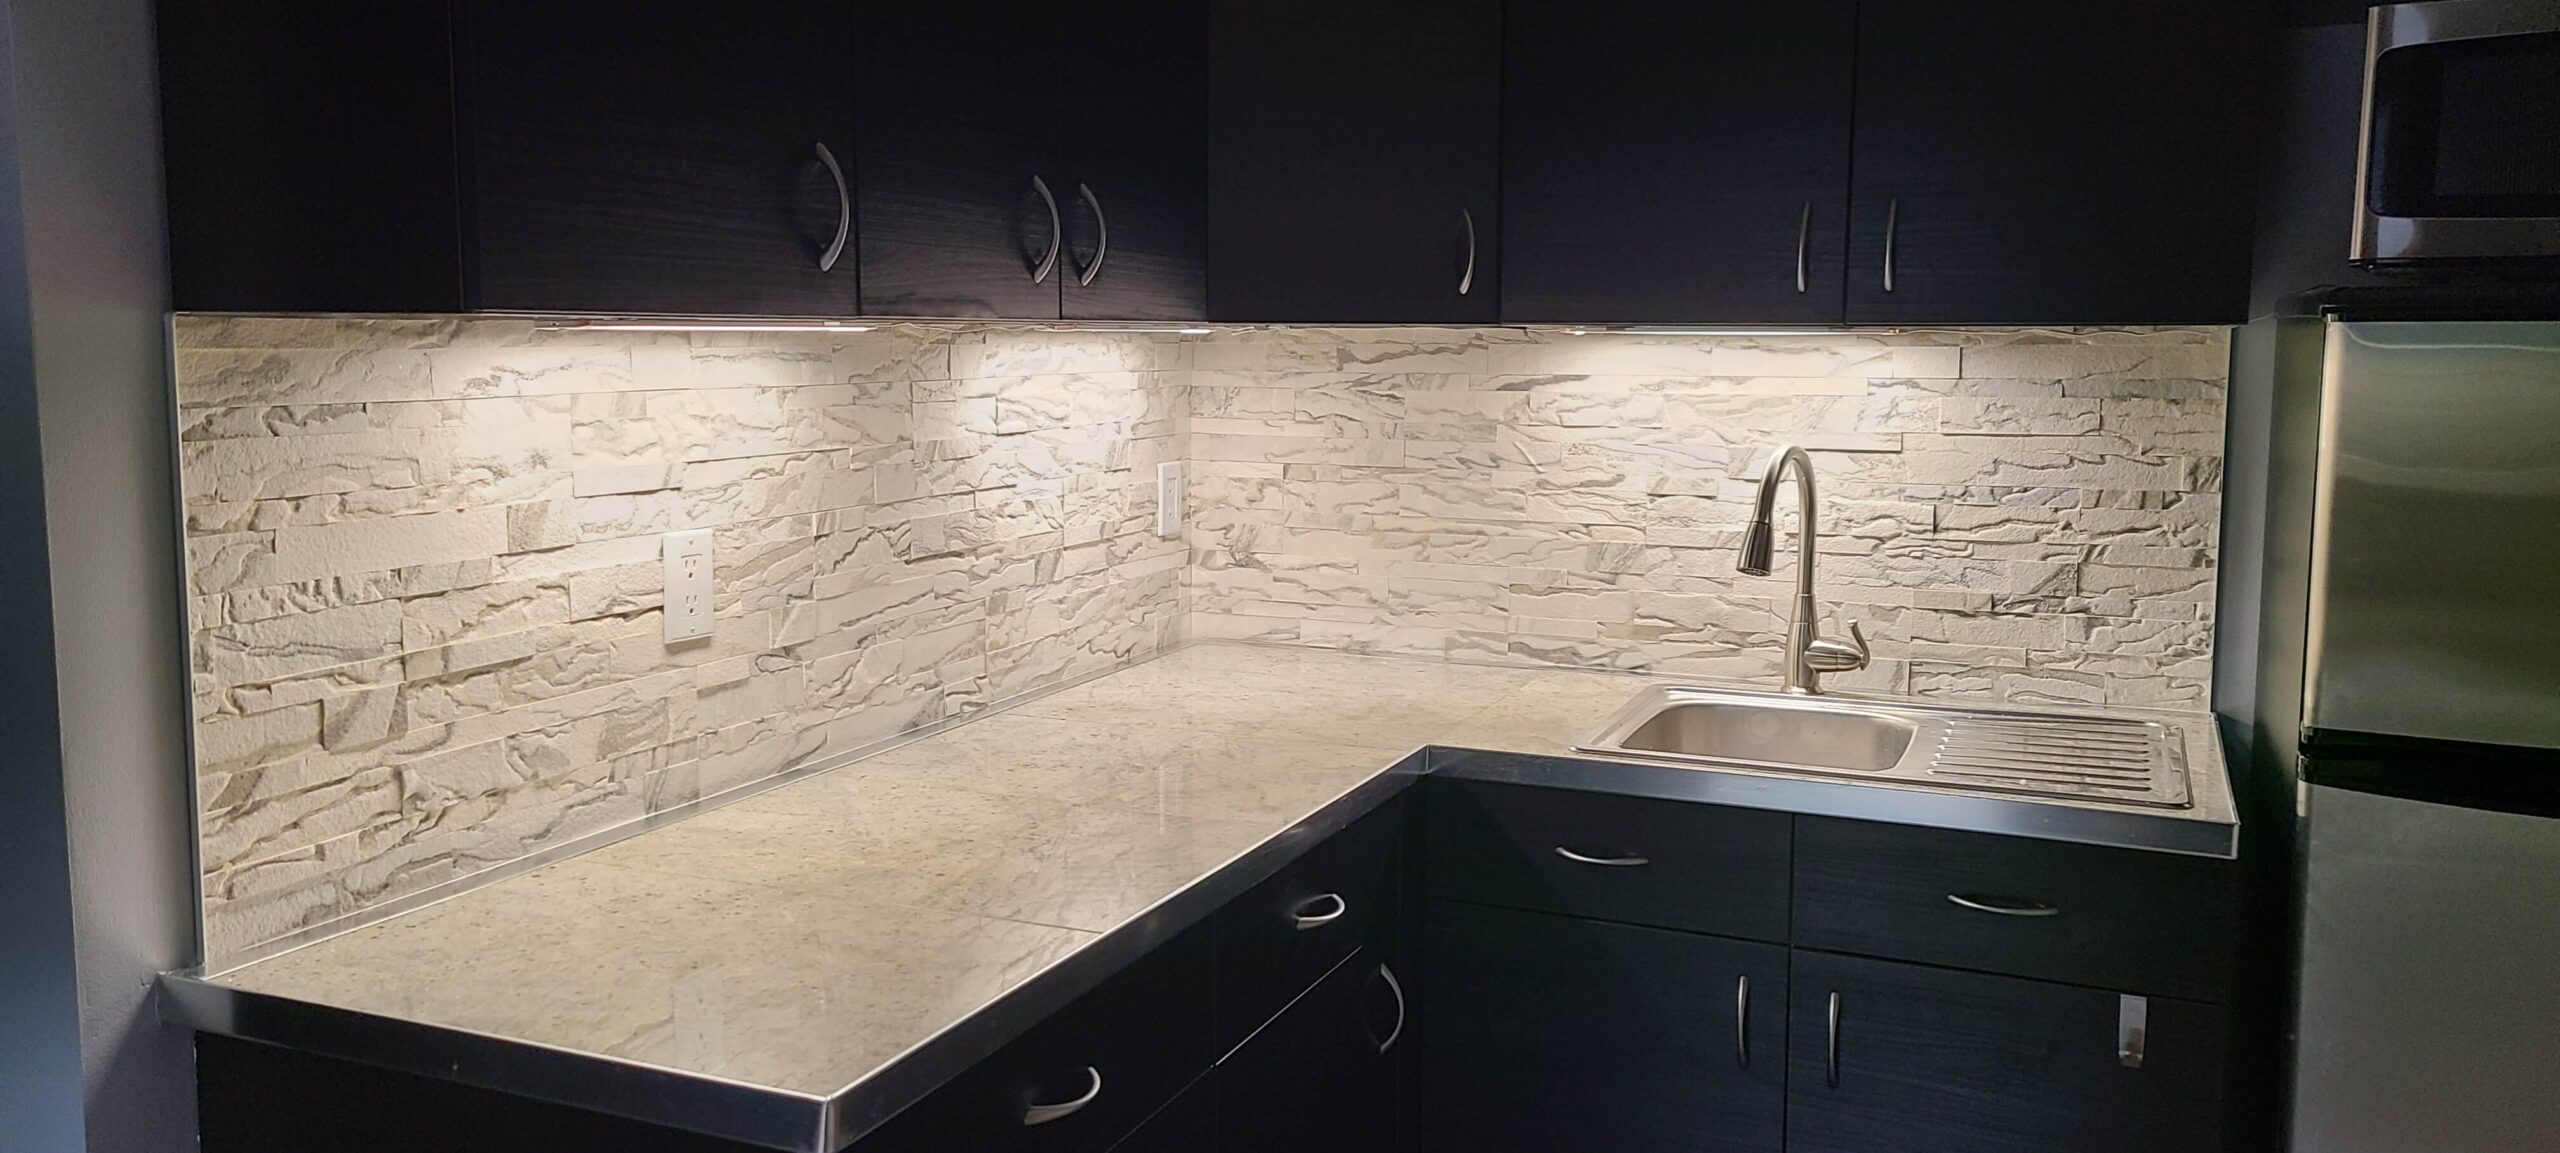
MDF panels will work better in bedrooms and living rooms. Thermoplastic can be used in higher humidity areas (like bathrooms).
Whether decorating your home or office space, you will most likely consider a number of decorative elements including colour, fixtures, and other extras that will impress visitors. The right décor can turn a house into a home while professional spaces can also benefit from appropriate inspiration.
Design Your Walls
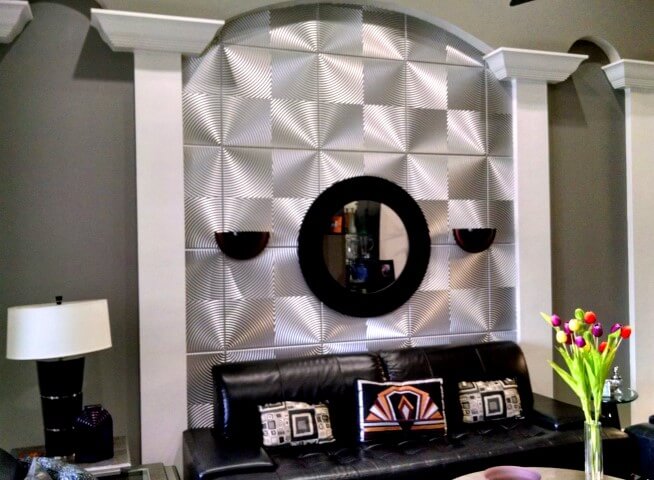
It's one thing to paint and change the carpets or flooring. You might consider hanging a piece of art or photographs on a particular wall but, somehow, it still feels like there is something missing. This is where 3D wall panels come in! They have proven consistently if not increasingly popular over the years and can be used in both personal and professional settings.
Not only are they a real pleasure to look at, but these panels are also extremely easy to install. Since they are lightweight, they can simply be glued directly onto a flat surface. They are available in various colours and texture patterns which means that you can easily find at least one option you love. These panels are made from various materials and, depending on the type of material you choose, some of them can also be painted. Those that can be painted usually arrive unfinished which means that they are white and buyers can choose to leave them as they are or apply a fresh coat of paint.
3D Panel Design
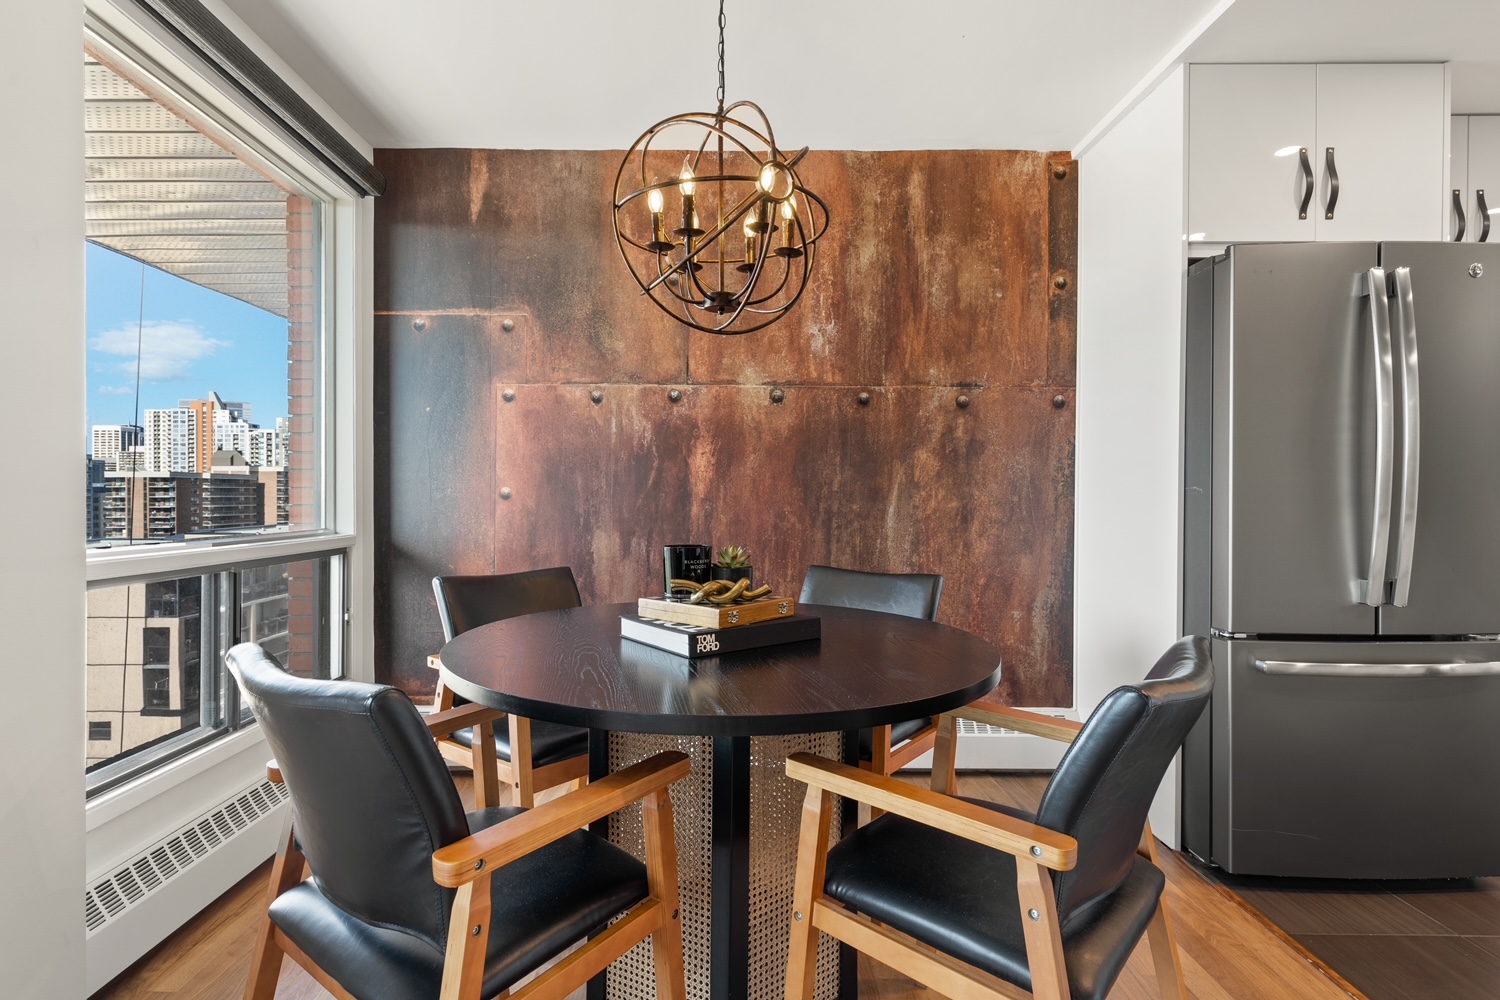
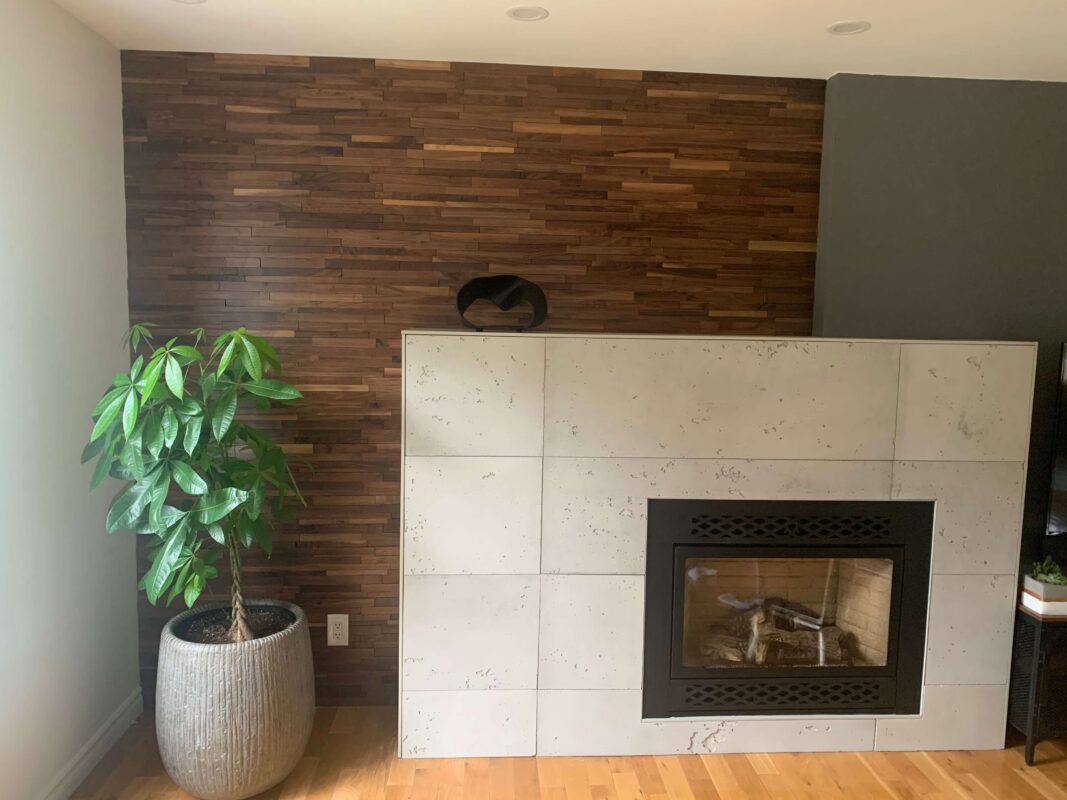
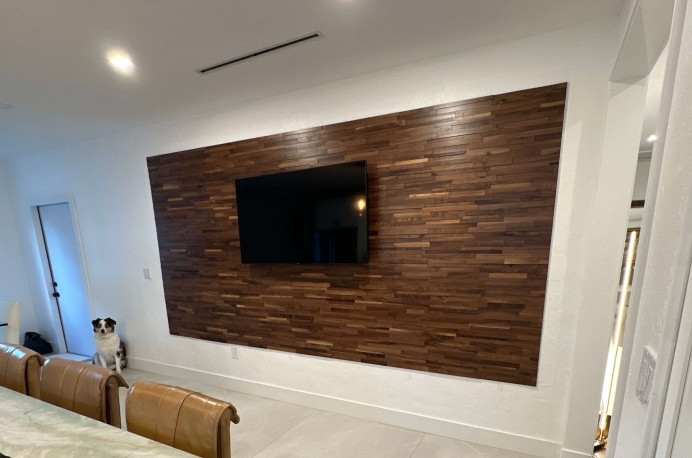
When choosing a 3D wall panel design, it's important to consider the current as well as the potential future style of the room. Versatility is key for many home and business owners. You might not want to feel forced to redo a panel covered wall just because you change the colour or style of the room. It's also important to remember that, unlike ceiling tiles, these panels do not need to cover the entire room. In fact, they look best when used to create a kind of accent or focal wall.
In the past, accent walls were usually walls painted or decorated in another colour. Later, wall murals started becoming popular – and they have remained incredibly popular today. 3D wall panels, however, take it to the next level with designs that quite literally jump out at you! The amazing visual effect of these panels are their greatest advantage.
Final Designing Steps
After considering your colour options, make a list of these colours to help you stay on track while browsing and shopping. For a subtle look, choose a light colour that will almost blend into the background. You can then apply some soft spotlights in this area to make the contours stand out. If you love the idea of greater contrast, you can choose a shade that is significantly lighter or darker than the rest of the room.
Another important tip to remember is to ask for help whenever you are in doubt. An expert will be able to help you enhance any living or work space by suggesting the best panel designs to suit the room.
The walls of your home or business are a canvas and they should be treated as such. There are countless choices when it comes to decorating your wall, paint, wallpaper, art. However, there is a fast and easy way to bring elegance to your walls with little effort and at a great price - 3D wall panels.
These wall decor panels come in a wide variety of styles, spaces, and colours so finding some that will perfectly complement your space is as easy as it is enjoyable. Where and when is it best to install this decorative solution and why choose them over other wall decor options?
When to Install 3D Wall Panels
If you have one room in your home or business that you would like to highlight, 3Dl panels are a great way to turn it into a focal point. Another great time to install this decorative solution is when your home or business is lacking in personality. They will add character to your space and create depth to the wall that will draw in the eyes.
Why Install 3D Wall Panels
3D panels are the perfect option for those looking to elegantly design their space without putting in too much time or effort. Compared to other wall decorating options, this decorative solution is incredibly easy to install. Things such as painting and wallpaper installation will require a lot of planning and can cause a large mess. To install panels you only need a small amount of adhesive and then gently press them on to the wall.
Where to Install 3D Wall Panels
As stated previously, these panels can be installed on a wall you want to highlight or a ceiling that you want to give some character. However, you could install the panels throughout an entire room to create a luxurious cohesive feel that will surely impress.
So the answer to ‘where to install 3D wall panels’ is anywhere in your commercial or residential space. They would work well in a bar, restaurant, cafe, living room, bedroom, bathroom, anywhere that needs a little extra personality.
3D panels are a fantastic, affordable wall decoration option that is easy to install and takes very little in the way of maintenance. The large selection of choice you will find ensure that they will fit in any space you desire. When, why, and where to install them is self-explanatory, they are a beautiful choice for any wall that brings a touch of luxury to any space they are installed.
Decorating your walls and ceiling is a must if you want your space to have a luxurious look while also looking complete and cohesive. Thanks to the large selection of 3D wall decor options you’ll find at Talissa Decor, finding the tile that will perfectly complement your space is as easy as giving us a call or visiting our location.
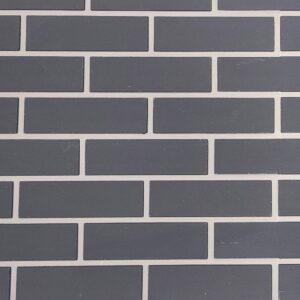
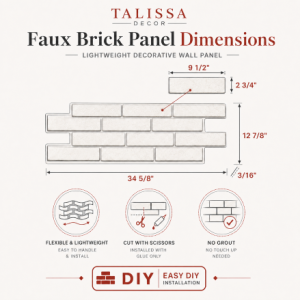
3D wall panels usually come in large lightweight tiles and are made from environmentally friendly products like coconut husk, sugarcane stalks or other recycled products. They are really easy to work with and installing them is not very different from installing wall paper, except that you work with smaller pieces that are solid and easier to manoeuvre. Once you trim and glue the tiles to the wall, you will need to fill the joints and sand them back. Getting the individual pieces to form a large pattern is easy as all the designs come with a simple join detail. Let us take a look at how you can put together the panels on your own without any professional help:
What do you need? - Here are a few items you will need for installing 3D panels:
Bucket of water
Damp cloth
Sandpaper (350 grade)
Stanley knife
Spirit level
Metal rule (to help with the cutting)
Pencil
Primer paint
Plastering filler
Paint (for finish)
Sealer
Adhesive (for gluing the tiles to the wall)
Preparing the wall – The finish depends on how well you prepare the surface. You must smoothen the walls before you install the panels. Follow these tips:
Clean surface – Make sure you clean the surface of the wall with a dry cloth or paintbrush. The surface must be smooth, dry and fee of all manner of loose debris.
Fill the holes – if there is a large hole or any other major damage to the wall, it can interfere with the installation. If the hole is larger than 15mm in diameter, it has to be repaired before installation.
Rough up the surface – If you are planning to install the tiles over a wall with glossy paint, ensure that you rough up the surface with 350 grade sandpaper to create a jagged surface for better bonding.
Allow it to dry – If the wall has been wet in any way whatsoever; give it 24 hours to dry off.
Painting – Once you have zeroed in on the design idea, then you need to pre-prime the panels to protect them during the installation process. Bear in mind that the preparation time will be a bit long as the tile will need to dry out before installation. If you want to prime the tile before installing, make sure that you prime both the sides. If you prime only one side, then the tile will end up absorbing moisture from the primer and warp and buckle when drying.
Set out – Small cut tiles do not look visually appealing, but if you are going to cover an entire wall, you’ll need to cut some of the tiles. So, you need to make sure that you get the set out point right. This is usually the most visible point on your wall. To find this point, just walk into the room and note down the part of the wall that you are drawn to first. It might be the window, or where the ceiling meets the walls. Make this the set out point, and start using full, uncut panels starting from this point.
Installation – Once you have the set-out point, keep the tape measure, spirit level, a pencil and a 2x4 piece handy.
Mark out a horizontal and vertical point with the 2x4 piece and pencil, and make sure that the lines are level with the spirit level.
Once you have a level starting point, take the first panel and apply adhesive as per the manufacturer's instructions. Press down on it for at least ten seconds. The first panel will act as a guide for the others and direct the installation from thereon. If you want to install the panels permanently, go for liquid nails, adhesive spray or double-sided tape. Always follow the instructions of the manufacturer as they know which adhesive bonds best to what product.
Take the second panel and marry/butt it into the first one. Make sure they are butted as closely together as possible. This will help minimize any visible seams. Have a damp cloth on the side to wipe off excess glue.
If you want to cut the panels, a Stanley knife should suffice. Make a pass on the panel using a metal rule and cut deeper with every cut. Once you are done, use the sandpaper to sand out the cut edge. Installing 3D panels on your own might seem overwhelming, but you will be surprised with how easy it is once you get going. Just follow the steps outlined above and you have your own feature wall in no time.
3D wall panels are a simple, modern and unique solution to interior decor. With just a little bit of effort, you can create a vibrant, inviting atmosphere in both commercial and residential spaces. But how do yougive your walls that impeccable finish? We've decided to let you in on a little trick and show you how you can cover up the joints quickly and repaint them in no time. All you need to do is find a suitable edging, glue it over the joints and then secure it with a nail gun. Check out how easy this is in our quick video tutorial.
Wall panels are a quick and effective way to change up the aesthetics of any living area. If you’re looking to spruce up your walls, 3D wall panels are the way to go. Not only does the texture add dimension to a room, it also transforms an otherwise subtle space into something worth a double take. Even simple wall panels can create a type of dramatic appeal that will make all the difference.
The best part about installing 3D wall panels is that it is extremely easy to do so, particularly if you are doing it across a plain wall. Simply gather your adhesive (glue or finishing nails), measure and cut the panels according to the length and width of your walls and join them side by side.
On the other hand, if you are faced with a wall that contains a receptacle or a light switch, then the process gets a little tricky. At this point, you’re left with two options. You could either remove the outlet entirely and fill in the hole in the wall - or install your wall panels around it. In most instances, removing a receptacle isn’t the best solution. Especially if you’re about to remove the only light switch in the room. So now you’re left with option number two. Put your walls panels up, and work around the receptacle.
Now here’s the thing, wall panels are fairly hollow from behind. In some cases, they can be one inch deep. This means that even if you cut up a section from the wall panel, for the receptacle, you will be left with a gaping hole. That is definitely not what you want, a hole taking away from the aesthetic appeal of your new wall panels. Luckily, you can replace your standard plate around any switch with a starter electrical box - which happens to be about an inch deep. You can purchase this at any hardware store, such as a Home Depot or Rona.
Once you make your necessary purchases, and you have your equipment gathered, you can begin your installation process.
Take the necessary measurements in order to cut the hole in your wall panel. Make sure to measure and mark the wall panel, this way there are no mistakes.
Use a utility knife to carefully cut the panel according to your measurements.
Put the panel against the wall to check if everything is good and there’s enough space for the receptacle.
Use a roller to apply glue on the wall as well as on the wall panel. Wait a couple of seconds until the adhesive is dry, and almost tacky to the touch before putting the panel to the wall.
Once you apply the panel to the wall, use your hands to thoroughly push every inch of it against the wall properly.
Once the panel is up, you can apply the base of the box through the hole you made, and then the starter box on top. Good then about this starter box is that it is paintable - so you’ll be able to blend it into your wall panel.
Lastly, use a caulking gun and an Alex Plus paintable caulk around the edges of the portion of the panel you had cut in order to seal the gaps. This will make the wall panel and switch box look seamless.
If you want to follow along to a step-by-step tutorial, check out the following video created by the owner and expert at Talissa Decor.
We have been servicing residential and commercial clients for a number of years, with our beautiful products installed in hundreds of homes, offices, restaurants, hotels and resorts across the globe. If you have installed wall panels but aren’t sure how to cover up the joints in between panels, check out this video. So if you have any questions, don’t hesitate to call our team at 1 (888) 717-8453. Not only will we be able to guide you, we can also show you our extensive inventory of beautiful 3D wall panels, made for each and every room!