 Largest Ceiling
  CALL :
  About us
 FAQs
FAQs Gallery
 Contact


 Ceiling Planks
 2×2 PVC Ceiling Tiles
 Styrofoam Ceiling Tiles
 Wall Mural
 3D Wall Panels
 Crown Moldings
 Faux Wood Beams
 Other Products
Plank Ceiling Installation: The Easy Alternative to Wood
A wood plank ceiling is one of the warmest upgrades you can give a room. The catch is that traditional plank ceiling installation with real timber is a serious carpentry job, not a casual weekend project. Between furring strips, a nail gun, a miter saw, and the weight of solid boards held over your head, plenty of homeowners give up before they start. The good news: lightweight glue-up ceiling planks deliver the same look with a fraction of the work.
This guide walks through why real wood is so hard to put up, then shows the simpler alternative: lightweight styrofoam planks that glue straight onto your ceiling. You will find a full side-by-side comparison chart, a clear list of advantages, and honest detail on where the two options actually differ.
In this article
Why real wood plank ceiling installation is so hard
Real wood looks incredible on a ceiling, and nobody is arguing otherwise. The problem is everything that happens between the lumber yard and the finished room. A solid wood plank ceiling is a framing and finishing job rolled into one, and most of the difficulty comes from working overhead with heavy material.
You are fighting gravity the entire time
Solid wood boards are heavy, and you install them above your head. Each plank has to be lifted, aligned, held steady, and fastened before you can let go. That usually means two people: one to hold, one to nail. Do it alone and you will be balancing a board on your scalp while you reach for the nailer.
The tool list is long and loud
A proper wood install calls for a miter saw to cut clean ends, a brad or finish nailer, an air compressor to run it, a stud finder to map your joists, a chalk line, and a good level. Most homeowners do not own all of that, so you are renting tools, which adds cost and a pickup-and-return trip at each end of the project.
You often have to build a base first
Wood planks need something solid to nail into. If your joists do not line up with your layout, you have to screw furring strips across the ceiling first, then shim them flat so the finished surface does not wave. That is a whole prep stage before a single visible plank goes up.
Then comes the finishing
Bare wood is not done when it is fastened. It needs sanding, staining or painting, and sealing, often across several drying windows. Add the sawdust, the offcuts, and the filler over every nail hole, and a real wood ceiling can stretch across a long weekend or more.
It gets expensive once labour is added
All of that work carries a cost. Most homeowners do not own a miter saw, a nailer, and a compressor, so they either rent the kit or hire a finish carpenter, and overhead carpentry is some of the most labour-intensive work in a house. Holding heavy boards above your head, cutting around every fixture, and keeping long runs dead straight is slow, careful work, and it is priced that way. Between the lumber, the tool rental or a carpenter day rate, and the finishing materials, a real wood plank ceiling commonly runs several times what the same room costs in lightweight glue-up planks. The boards are rarely the expensive part. The labour is.
Pro tip
Order a free three-plank sample kit before you buy a full room. Hold the finish against your ceiling in daylight and again under your evening lights. Wood-look finishes can shift tone depending on the bulbs you use, and seeing it in your own space takes the guesswork out of the decision.
The simpler way: lightweight glue-up planks
Talissa Decor makes ceiling planks from lightweight styrofoam (polystyrene) molded and finished to look like real wood. Each plank measures 39.4 by 6.5 inches and weighs only about 21 grams, less than an ounce, so a full pack of 12 weighs about half a pound and covers roughly 21.5 square feet. Instead of nailing into the structure, you glue them straight onto a flat ceiling.
Because there is no fastening into joists, the entire hard part of a wood install disappears. That single change is what turns plank ceiling installation into a beginner-friendly project. You run a bead of foam-safe adhesive on the back of each plank, press it to the ceiling, and move on. The recommended adhesives are StyroPro or AcrylPro, both formulated so they will not eat the foam. To cut a plank around a light or a wall, you use a utility knife, not a saw.
The planks even glue directly over popcorn, stucco, and other textured ceilings, so in many rooms you skip scraping altogether. They come two ways. Most are pre-finished in wood-look tones such as Rustic Timber and Nordic Ash, plus whitewash, concrete, and grey. Talissa also offers plain white planks made to be painted, so you can either drop in a ready-made wood look or start blank and paint any colour you like with water-based paint.
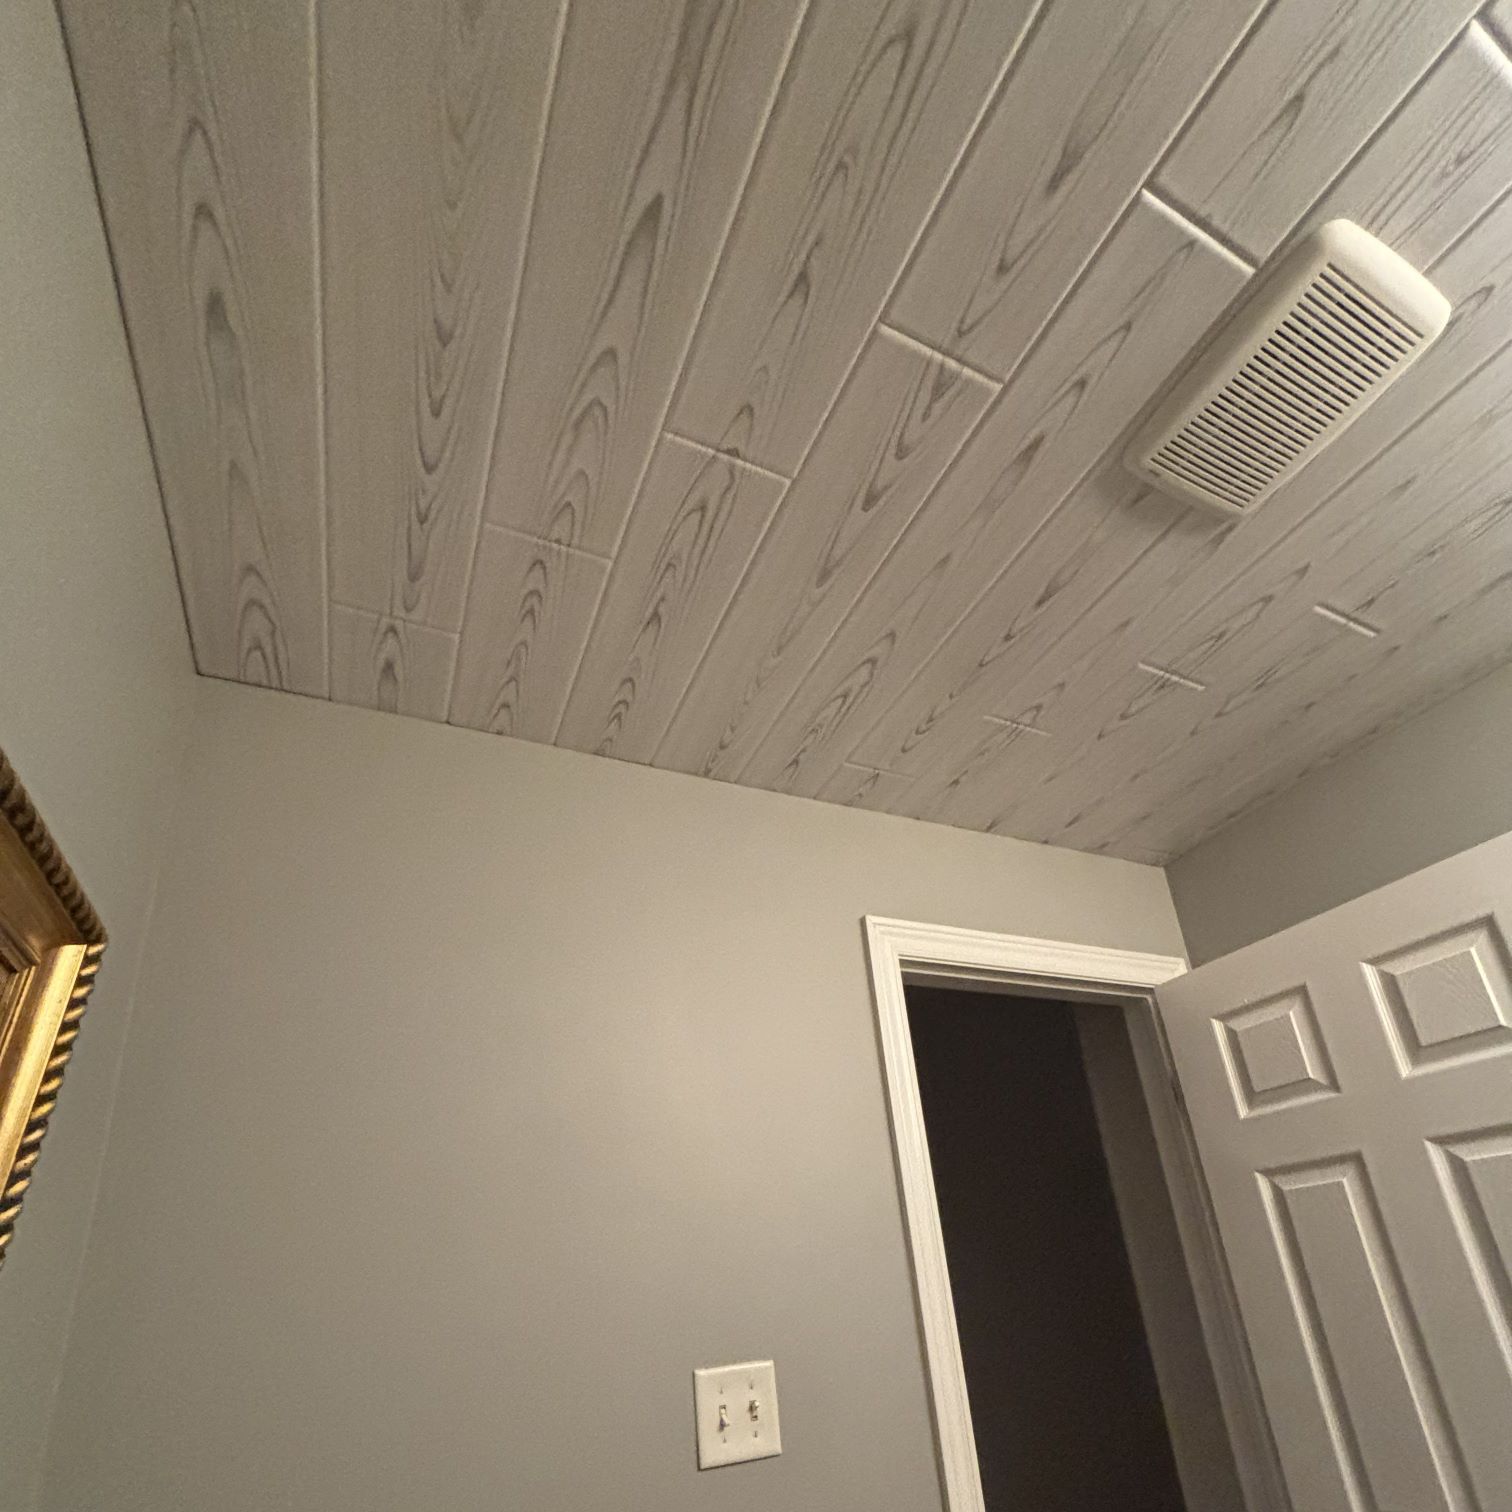
Wood planks vs foam glue-up planks, side by side
Here is the honest comparison. Real wood wins on being genuine timber. Foam glue-up planks win on weight, tools, time, mess, and cost, while matching the look closely enough that most people cannot tell from the floor. Weighed as a whole project, plank ceiling installation with foam is the lighter lift in every column that matters except raw authenticity.
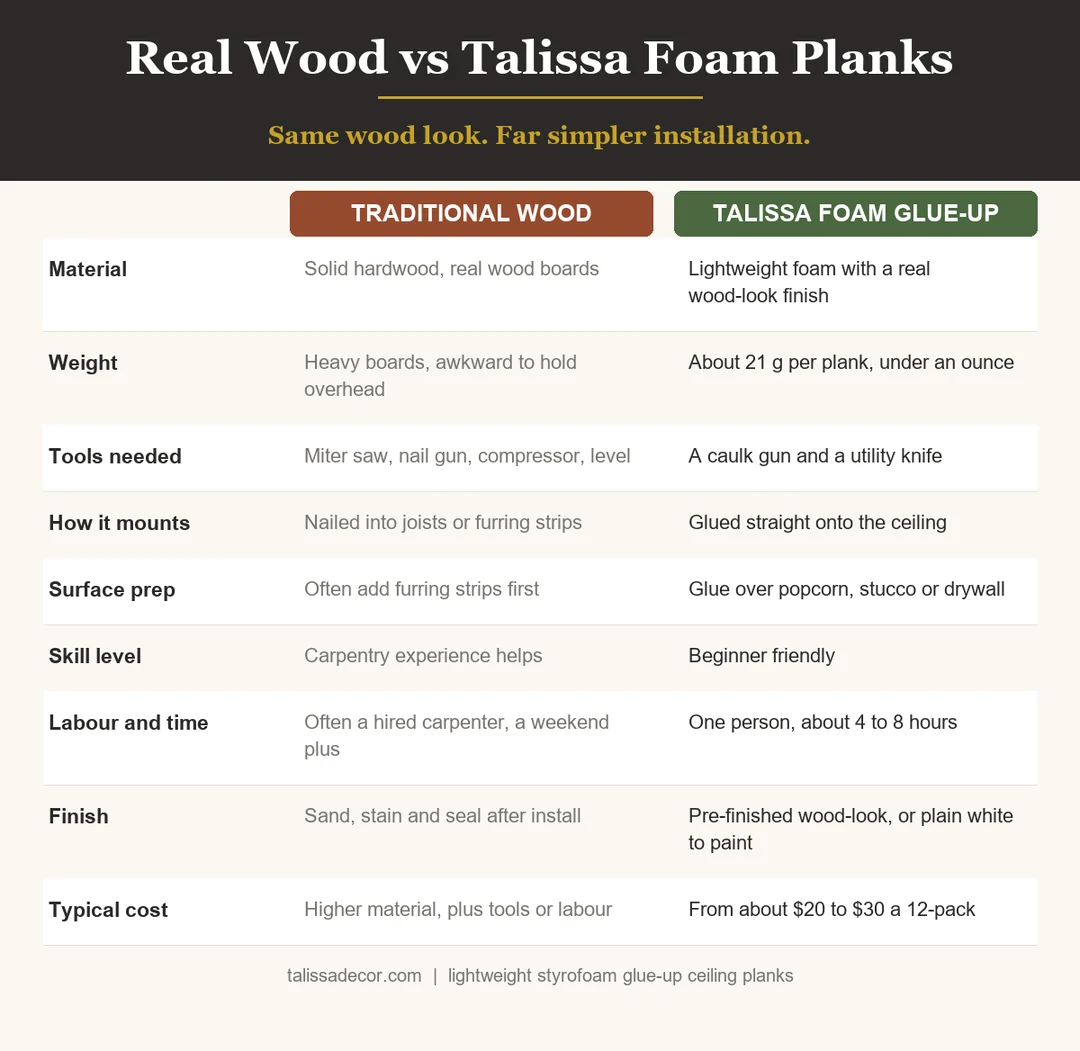
| Traditional wood planks | Talissa foam glue-up planks | |
|---|---|---|
| Material | Solid hardwood or real wood boards | Lightweight styrofoam with a wood-look finish |
| Weight per plank | Heavy, awkward to hold overhead | About 21 g, less than an ounce |
| Tools you need | Miter saw, nail gun, compressor, stud finder, level | A caulk gun and a utility knife |
| How it mounts | Nailed into ceiling joists or furring strips | Glued straight onto the ceiling |
| Surface prep | Often add furring strips and level the frame | Glue over popcorn, stucco, or drywall |
| Skill level | Carpentry experience really helps | Beginner friendly |
| Crew and time | Usually two people, a full weekend or more | One person, about 4 to 8 hours |
| Labour | Often a hired finish carpenter | A DIY job for almost anyone |
| Finishing | Sand, stain, and seal after install | Pre-finished wood-look, or plain white to paint |
| Mess | Sawdust and offcuts everywhere | Minimal, cut cleanly with a knife |
| Typical cost | Higher material, plus tools or a carpenter | From about $20 to $30 per 12-pack (~21.5 sq ft) |
The look is the same, the work is not
This is the part that surprises people. From standing height, a quality wood-look foam plank reads as real timber. The finishes carry a printed grain and a molded surface texture, so they catch light the way boards do rather than looking like a flat photo. Rustic Timber gives you the warm, weathered barn-wood feel, Nordic Ash and Driftwood Ash lean bright and Scandinavian, and the whitewash and grey tones suit a more modern room.
What changes is everything above the finish. No structural fastening, no overhead wrestling with heavy boards, no rented compressor, no stain that has to cure. You get the ceiling people compliment without the project people dread. The video below walks through a complete glue-up install so you can see how little is actually involved.
If you want to see how the grain looks up close before you commit, order a three-plank sample kit first.
Advantages of switching to glue-up planks
- One-person job. At about 21 grams per plank, less than an ounce, you can lift, place, and hold each one without a helper.
- No power tools. A caulk gun and a utility knife replace the saw, the nailer, and the compressor.
- No carpenter to hire. Because there is no fastening into the structure, this is a DIY job for almost anyone, which is where the biggest savings come from.
- Glue over what is already there. The planks go directly over popcorn, stucco, and textured ceilings in many rooms, so you often skip scraping.
- Faster. Most rooms take about 4 to 8 hours instead of a full weekend or more.
- Cleaner. Cutting foam with a knife makes far less mess than sawing hardwood.
- Two finish routes. Pick a pre-finished wood-look plank, or start with plain white and paint it any colour. Either way there is no sanding, staining, or sealing.
- Lighter on the structure. Foam adds almost no load to the ceiling compared with solid wood.
- Easier on the budget. From about $20 to $30 a pack, roughly a dollar a square foot, with no tools to rent and no labour to pay for.
Save your money
The biggest hidden cost of a real wood ceiling is not the wood, it is the tooling. A brad nailer, a compressor, and a miter saw can cost more than the planks themselves, and renting them eats your weekend on pickup and return. Glue-up planks skip that line item entirely. A caulk gun you already own and a fresh utility knife blade are the whole kit.
One safety point worth flagging before you glue over an old ceiling: homes built before the mid 1980s can have asbestos in popcorn texture. The U.S. Environmental Protection Agency advises testing before you disturb it, and you can read its guidance on protecting your family from asbestos exposure. If a ceiling tests positive, gluing planks over an intact, sealed surface is often safer than scraping.
Frequently asked questions
Disclaimer: Recommendations in this article are general guidance only. Confirm product specifications, surface suitability, and installation requirements for your space before purchase or installation. Talissa Decor is not liable for outcomes based on this content.
Talissa Decor ships lightweight styrofoam glue-up ceiling planks in a range of wood-look and modern finishes. Done this way, plank ceiling installation is closer to a single afternoon than a renovation. Browse the ceiling plank collection, order a sample to confirm your finish, and give your room the wood-ceiling look without the wood-ceiling project.