 Largest Ceiling
  CALL :
  About us
 FAQs
FAQs Gallery
 Contact


 Ceiling Planks
 2×2 PVC Ceiling Tiles
 Styrofoam Ceiling Tiles
 Wall Mural
 3D Wall Panels
 Crown Moldings
 Faux Wood Beams
 Other Products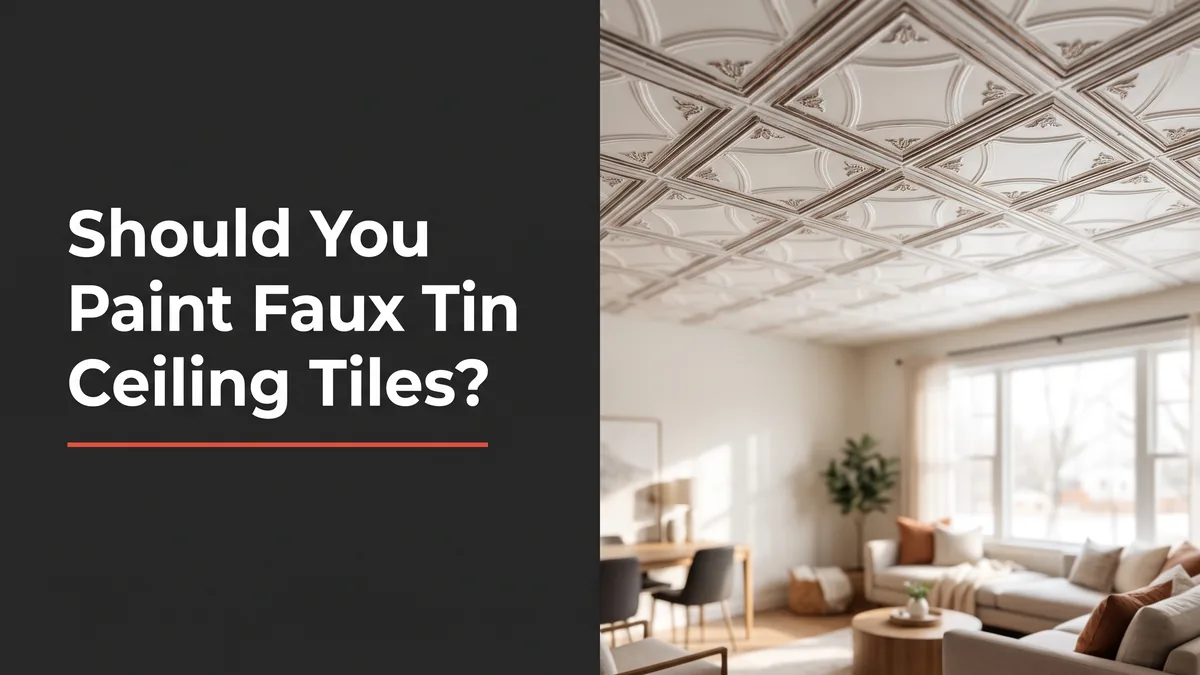
Should You Paint Faux Tin Ceiling Tiles? A DIY Guide for 2026
Yes, you can paint faux tin ceiling tiles, and in most cases they take paint beautifully. The trick is knowing which tiles handle paint well and which primer and paint to reach for. Get that right and you can turn an off-the-shelf faux tin ceiling tile into a custom color that looks like it cost ten times what you paid.
Get it wrong and the paint peels at the seams or fills in the embossed detail that made the tile worth buying. This guide walks you through when to paint, when to leave the finish alone, and exactly how to do it so painted tiles read as custom rather than cheap.
Should you paint faux tin ceiling tiles at all?
Start with the honest question. Talissa Decor already sells faux tin tiles in dozens of finishes, from weathered copper to brushed nickel to matte white. If one of those factory finishes fits your room, painting is extra work for no gain. The molded color and antiquing on a good faux tin tile is hard to beat with a can of paint and a roller.
So paint when you have a specific reason. Maybe you fell for the pattern but not the color. Maybe you found a clearance batch in a finish that clashes with your walls. Maybe you want a color no manufacturer offers, like a deep forest green or a soft blush to match a nursery. Those are the moments painting earns its keep.
People often ask: does painting ruin the metal look?
Not if you keep the coats thin. The embossed relief is what fools the eye into seeing real pressed tin, so the pattern has to stay crisp. A single heavy coat drowns the detail and the tile flattens into a plastic panel. Two light coats, or a base coat plus a rubbed-on highlight, keeps the depth and adds the color you want.
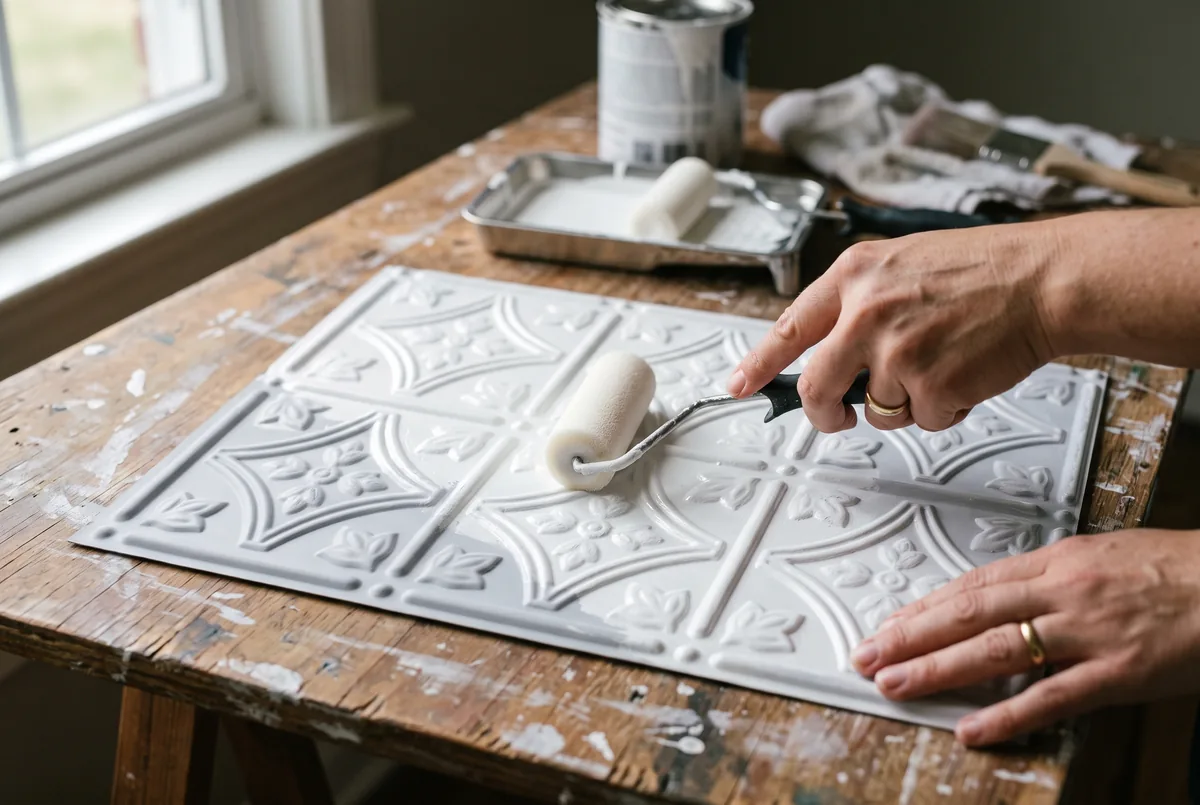
Here is the deciding factor most people miss: paint before you install. Coating tiles flat on a table is faster, cleaner, and gives a far better finish than fighting gravity overhead. If you have already glued tiles up, painting in place is still doable, it just takes more patience and drop cloths. Either way, the surface you paint matters more than the room it ends up in.
Which tiles can you paint, and which you shouldn’t
Faux tin is a category, not a single material. The two most common versions Talissa Decor carries are rigid PVC and lightweight styrofoam, and they react to paint very differently.
PVC faux tin tiles: paint away
PVC is the easy one. It is a stable plastic that takes primer and paint without warping, and it can handle both water-based and, with the right prep, oil-based products. Our decorative ceiling tiles in PVC are the most forgiving surface to customize, which is why most painted-tile projects start here.
Styrofoam faux tin tiles: water-based only
Styrofoam tiles are lighter and cheaper, and they paint fine, but only with water-based paint. Solvent-based paints and sprays eat foam on contact, leaving pitted craters. If your tile is a soft, slightly spongy foam, stick to a latex or acrylic paint and never use an oil-based primer or an aerosol spray unless the can specifically says it is safe for styrofoam.
Red flag: the fingernail test
Not sure what you have? Press a fingernail gently into a corner. If it dents and stays dented, it is styrofoam, go water-based only. If it feels hard and springs back, it is PVC and you have more options. When in doubt, treat it as foam. Water-based paint works on both, so it is the safe default.
What kind of paint works on faux tin ceiling tiles
For nearly every project, reach for a water-based acrylic or latex paint. It bonds well to primed plastic and foam, dries fast, cleans up with water, and stays flexible so it will not crack when the tile flexes slightly during handling. Skip flat wall paint that chalks, and skip cheap craft paint that streaks.
Sheen is a design choice with real consequences. A matte or eggshell finish hides seams and small imperfections, which is why it is the go-to for a large ceiling. A satin finish adds a soft glow that catches light and plays up the embossed pattern. High gloss looks striking on a small feature but shows every flaw, so save it for an accent.
The one product you should never skip is a bonding primer made for slick surfaces. Plastic and foam are not naturally grippy, so a plastic-friendly primer is the layer that keeps your color from peeling at the edges a year later. This is the single biggest reason DIY painted tiles fail, and it takes ten minutes to prevent.
| Paint choice | Best on | Why |
|---|---|---|
| Water-based acrylic or latex | PVC and styrofoam | Safe on foam, flexible, easy cleanup |
| Bonding primer | Every faux tin tile | Grips slick plastic so color will not peel |
| Metallic acrylic | Raised pattern highlights | Rub onto the relief for a real aged-metal look |
| Oil-based or spray | PVC only, never foam | Eats styrofoam, use only if the can says foam-safe |
The takeaway is simple. Water-based paint plus a bonding primer covers almost every project safely. Reach for metallic acrylics only when you want to make the raised pattern pop.
“Painted my plastic drop-in tiles with two coats of latex over a shellac primer and they still look perfect three years later. The primer is the whole game.”
r/HomeImprovement homeowner, 2024
How to paint faux tin ceiling tiles step by step
Please note
This section is general guidance for a DIY decor project. Always test your paint and primer on a spare tile first, work in a ventilated space, and follow the instructions printed on your primer and paint cans. Talissa Decor is not liable for outcomes from actions taken based on this content.
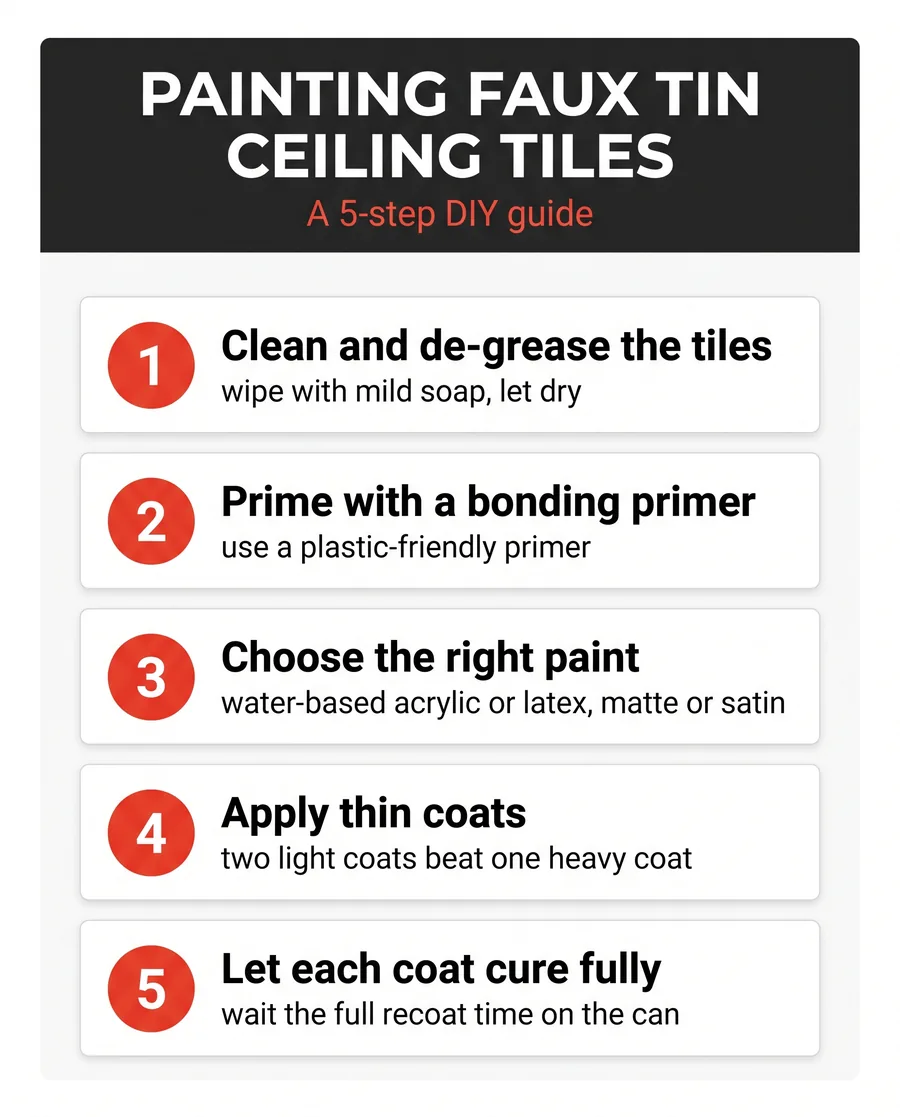
- Clean and de-grease every tile. Wipe each tile with mild soap and water and let it dry completely. Kitchen and bathroom tiles pick up grease that stops paint from bonding.
- Lay the tiles out flat. Cover a table or the floor with a drop cloth and work on tiles flat whenever you can. It is faster than painting overhead and gives a smoother finish.
- Prime with a bonding primer. Apply one thin, even coat of a plastic-friendly bonding primer. This is the layer that keeps your color from peeling later.
- Apply your first thin color coat. Use a small foam roller for the flat areas and a soft brush to work paint into the embossed detail. Thin is the word to remember.
- Let it cure, then add the second coat. Wait the full recoat time on the can before the second coat. Rushing it lifts the first coat and leaves streaks.
- Add a highlight if you want a metal look. Once dry, lightly drag a near-dry brush of metallic paint across the raised pattern so only the high points pick up color.
Pro tip
A small foam roller for the flat field and a soft artist brush for the recessed pattern gives you the cleanest result. Load the brush lightly and dab, do not flood the detail. If paint pools in a recess, blot it right away with a dry brush before it sets.
Color and finish ideas that look custom
This is where painting pays off. A base coat plus a rubbed highlight is the technique that turns a flat plastic tile into something that reads as genuine aged metal from the floor.
Try a deep matte black base with gold or bronze dragged onto the raised pattern for a dramatic dining room. A soft white base with a whisper of silver looks bright and modern in a bathroom. A charcoal base with copper highlights suits a moody study or a home bar. The color-theory move is to keep the base quiet and let the metallic highlight do the talking.

Save your money
Buy one tile in the finish you think you want before you commit to a paint project. Half the time the factory finish is close enough and you save yourself a weekend. If it is not right, you now have a test tile to practice your paint technique on before you touch the rest of the batch.
Whatever palette you land on, painting lets you match your ceiling to a specific wall color, a piece of art, or a room’s mood in a way no catalog can. That flexibility, not cost, is the real reason to reach for the brush.
Download the free painting quick guide
Save the full 8-step checklist as a PDF and keep it beside you while you paint.
Painting faux tin ceiling tiles, free PDF guideFrequently asked questions
Ready to start? Browse the full range of paintable faux tin ceiling tiles and PVC panels, then use the free ceiling tile calculator to work out how many you need. Talissa Decor ships across Canada and the United States, from Mississauga and Ottawa to Seattle and Dallas, so your custom-painted ceiling is only a weekend away.