 Largest Ceiling
  CALL :
  About us
 FAQs
FAQs Gallery
 Contact


 Ceiling Planks
 2×2 PVC Ceiling Tiles
 Styrofoam Ceiling Tiles
 Wall Mural
 3D Wall Panels
 Crown Moldings
 Faux Wood Beams
 Other Products
A Complete Planning Checklist for Decorative Ceiling Tiles
The difference between a ceiling that looks custom and one that looks off is almost never the tiles. It is the plan. Whether you want your ceiling tiles decorative and bold or quiet and subtle, the same handful of measuring and ordering decisions made before you buy will settle the outcome. Get the square footage, the method, and the overage right, and installation day is easy. Skip them, and you are back at the ceiling tile shop mid-project, short two boxes and holding up the whole room.
This is the planning checklist to run before a single tile goes up: how to measure, how to choose between drop-in and glue-up, how much extra to order for cuts, and the prep that keeps a weekend project a weekend project.
In this article
Start with the numbers: measuring your ceiling
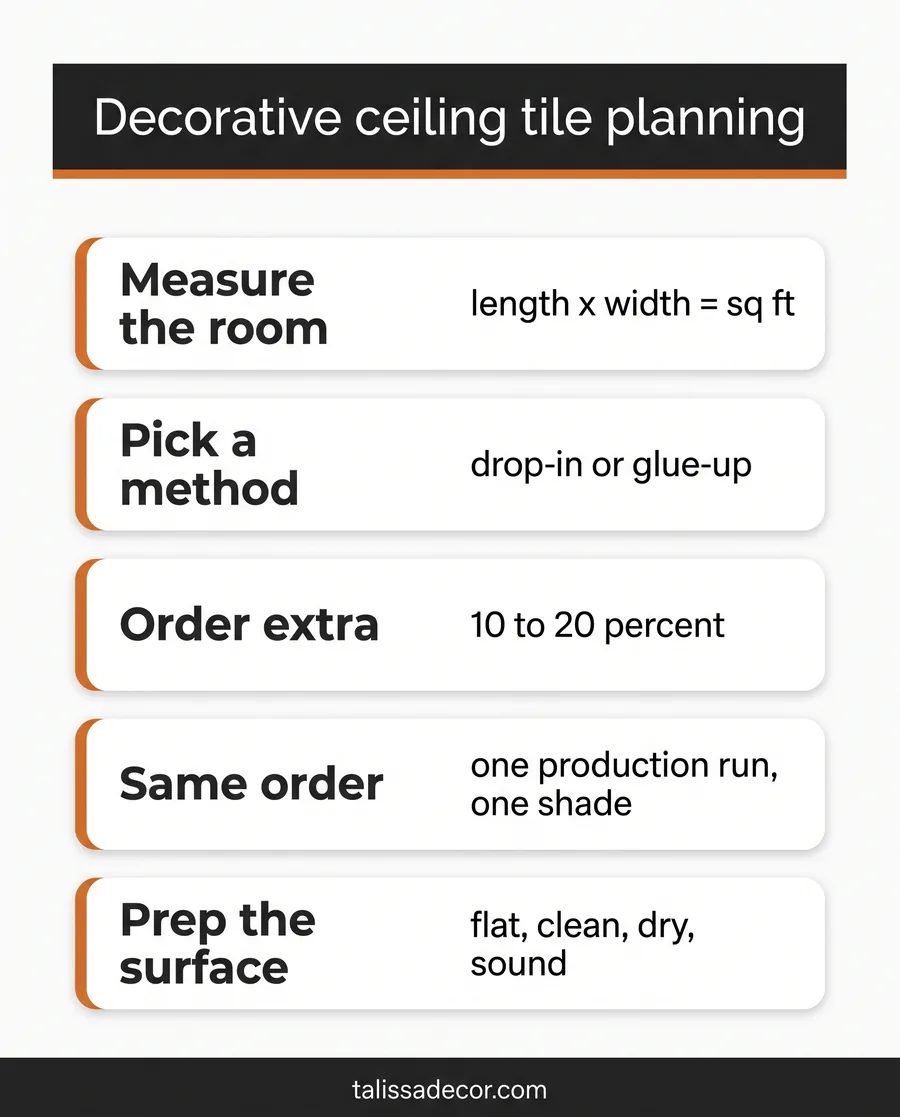
Every good decorative ceiling starts with a tape measure, not a mood board. Measure the length and width of the room, multiply for square footage, and write it down. That single number drives everything that follows: how many tiles you need, how much the project costs, and how much waste you should plan for.
Most decorative tiles come in standard sizes, commonly 2 by 2 feet for drop-in and a range of sizes for glue-up. Divide your room square footage by the coverage of one tile to get your base count. Then account for the layout. A centered pattern almost always looks better than one that starts flush in a corner, and centering means the border tiles get cut, which changes how many full boxes you need.
Quick take
Measure the room, multiply length by width for square footage, then divide by the coverage of one tile to get your base count. Add overage on top of that number, never instead of it. The overage is what covers cuts, mistakes, and the odd damaged tile.

Drop-in or glue-up: choosing your method
There are two main ways to put decorative tiles on a ceiling, and the right one depends on what is already up there. Drop-in tiles sit in a suspended metal grid. Glue-up tiles bond directly to a flat, sound surface. Neither is better in the abstract. They solve different problems.
If you have an existing suspended grid, like a basement or an office, drop-in is usually the fastest route, and you can often lay new decorative tiles straight into the old grid. If you have a flat drywall or plaster ceiling in good shape, glue-up gives you a tight, finished look with no grid lines. Talissa’s glue-up installation guide and the broader ceiling tile installation guides walk through each method step by step.
| Consideration | Drop-in (grid) | Glue-up |
|---|---|---|
| Best for | Existing suspended grid, basements, offices | Flat, sound drywall or plaster |
| Access above ceiling | Keeps access to pipes and wiring | Permanent, no access after |
| Look | Visible grid lines | Seamless, tile to tile |
| Difficulty | Beginner friendly | Beginner to intermediate |
| Ceiling height | Drops height slightly | Keeps full height |
People often ask: can I glue tiles over an existing popcorn ceiling?
Not directly. Glue needs a flat, sound, clean surface, and popcorn texture is none of those. You either scrape and smooth the ceiling first, or you go with a grid or a furring-strip method that bridges the texture. Many people cover popcorn this way on purpose because it hides the texture without the mess of scraping. Confirm the right approach for your ceiling before you buy adhesive.
How much to order and why you buy extra
Here is the mistake that ends more ceiling projects than any other: ordering exactly the number of tiles your square footage says you need. You will come up short. Every ceiling has border tiles that get cut, and every cut wastes part of a tile. Cutting around a light fixture, a vent, or a beam wastes more.
Order overage on top of your base count. The right amount depends on the layout, but these are the ranges most installers plan for.
| Ceiling situation | Extra to order | Why |
|---|---|---|
| Simple square or rectangular room | 10 percent | Standard border cuts and a few spares |
| Room with angles, alcoves, or a bay | 15 percent | More border cuts, more waste per cut |
| Lots of fixtures, vents, or beams | 15 to 20 percent | Cutting around obstacles wastes tile |
| Bold or directional pattern | 15 to 20 percent | Pattern matching forces more cuts |
Save your money
Buy your overage in the same order, not later. Tiles from different production runs can vary slightly in shade or finish, and a replacement box ordered three weeks later may not match the ceiling you already installed. Order it all at once, and keep the leftovers. A few spare tiles are cheap insurance against a future scuff or a damaged tile.
The tools and prep you actually need
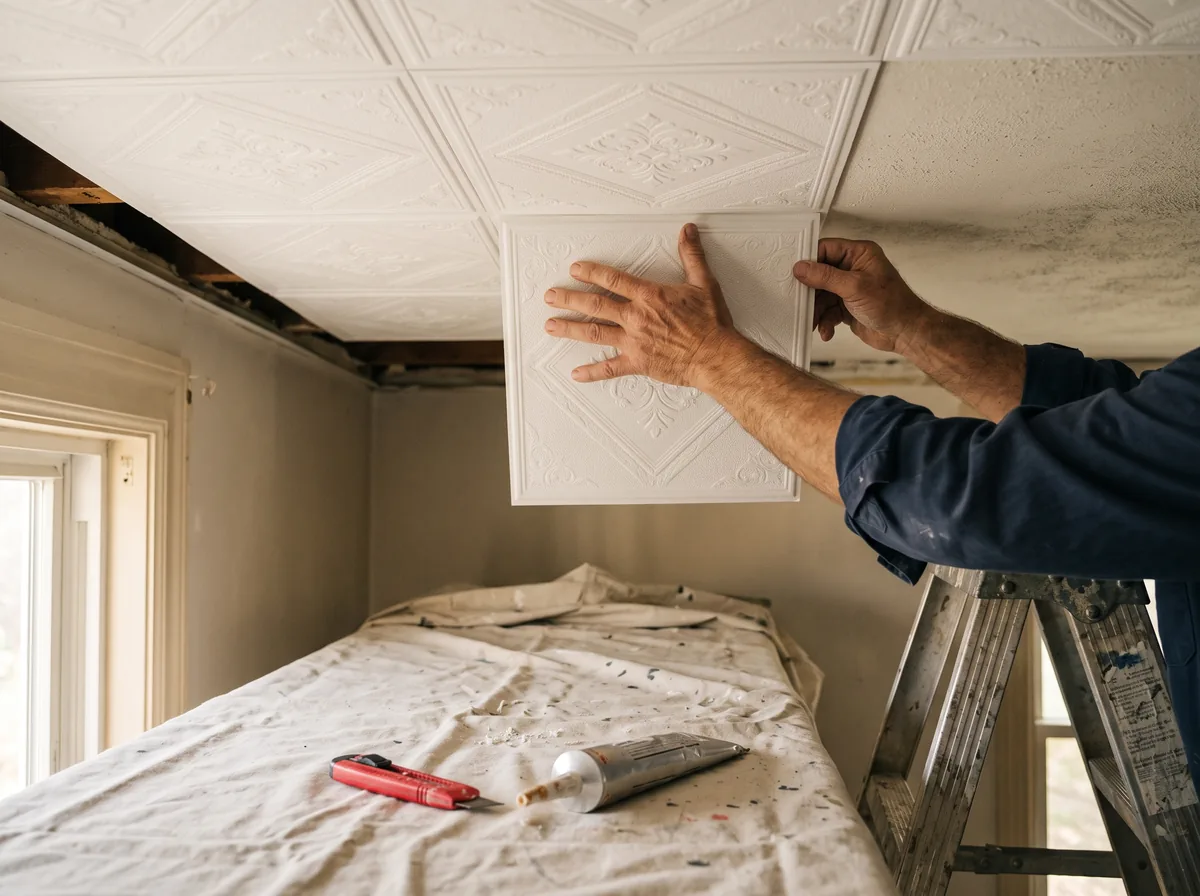
One reason decorative tiles are a popular DIY job is that the tool list is short and the tiles are light. You are not framing anything. Most of the work is measuring, cutting, and pressing tiles into place. Here is the core kit for a glue-up job.
- A tape measure and a chalk line to snap your center lines and keep rows straight.
- A sharp utility knife or fine-tooth scissors for cutting PVC and foam tiles. No power saw needed for most lightweight tiles.
- A quality construction adhesive rated for your tile material, applied per the product instructions.
- A straightedge and a pencil for marking clean cut lines around borders and fixtures.
- A clean, dry, flat surface. Wipe down dust and grease first so the adhesive actually bonds.
- A helper for the ceiling rows. It is doable solo, but a second set of hands keeps tiles aligned.
Pro tip
Dry-lay a few tiles on the floor first to confirm the pattern direction and how the seams line up before any adhesive comes out. Two minutes of dry-fitting saves you from gluing a tile up backward and discovering it once it has already grabbed.
Fire rating and other things people forget
A ceiling is a big surface, so the material overhead matters for more than looks. If your tiles are going in a commercial space, a rental, or near a heat source, check the fire rating on the product before you order. Many decorative tiles carry a Class A fire rating, and the listing will say so. For a plain-language primer on why ceiling and surface materials factor into home fire safety, the National Fire Protection Association home fire safety resources are a solid reference, and your local building department can confirm any code requirements for your space.
A couple of other things people forget until it is too late: keep tiles flat and acclimated in the room for a day or two before install, and plan your lighting and vents into the layout so a fixture does not land in the ugliest possible spot. The ceiling has been an architectural feature for centuries, as the Britannica overview of the ceiling shows, so it is worth planning yours with a little care.
Red flag: skipping the surface check
Glue-up only works on a surface that is flat, clean, dry, and sound. Peeling paint, water damage, heavy texture, or a chalky old ceiling will cause tiles to let go weeks later. If your ceiling fails that check, fix the surface or switch to a grid method before you spend a dollar on tiles.
Your complete planning checklist
This checklist is general planning guidance only. Product suitability, surface requirements, and installation methods vary by tile line and by ceiling. Always follow the manufacturer instructions for your specific tiles, confirm the material and method suit your space, and check local building and fire requirements before you buy or install. Talissa Decor is not responsible for outcomes from decisions made based on this article.
- Measure the room. Length times width for square footage, and note any angles, alcoves, or bays.
- Pick your method. Drop-in for an existing grid, glue-up for a flat, sound ceiling.
- Check the surface. For glue-up, confirm the ceiling is flat, clean, dry, and free of heavy texture.
- Choose your tile and finish. Order a sample first if color accuracy matters to you.
- Calculate the base count. Room square footage divided by the coverage of one tile.
- Add overage. 10 percent for simple rooms, 15 to 20 percent for angles, fixtures, or bold patterns.
- Order it all at once. Same production run means a consistent shade across the whole ceiling.
- Confirm the fire rating. Especially for commercial spaces, rentals, or areas near heat.
- Gather your tools. Tape measure, chalk line, sharp knife, the right adhesive, a straightedge, and a helper.
- Acclimate and dry-lay. Let tiles sit in the room, then dry-fit a few to confirm the pattern before gluing.
Pro tip
Snap a chalk line to find the true center of the room and start your first full tile there, working outward. Centering the pattern puts the cut border tiles at the edges where they are least noticeable, and it is the single biggest thing that separates a professional-looking ceiling from an amateur one.
“Wish someone had told me to order 15 percent extra. Ran out three tiles short around the light fixtures and the second box I ordered was a slightly different shade.”
r/DIY homeowner, 2023
Download the free quick guide
A one-page checklist to measure, choose a method, and order the right amount before your project starts.
Frequently Asked Questions
Ready to plan your decorative ceiling? Talissa Decor ships lightweight ceiling tiles, samples, and matching trim across the United States and Canada, with fast delivery for shoppers in Vancouver, Calgary, and cities throughout North America. Order a sample pack to check the finish in your own room, then reach out to our team if you want a hand planning your tile count.