 Largest Ceiling
  CALL :
  About us
 FAQs
FAQs Gallery
 Contact


 Ceiling Planks
 2×2 PVC Ceiling Tiles
 Styrofoam Ceiling Tiles
 Wall Mural
 3D Wall Panels
 Crown Moldings
 Faux Wood Beams
 Other Products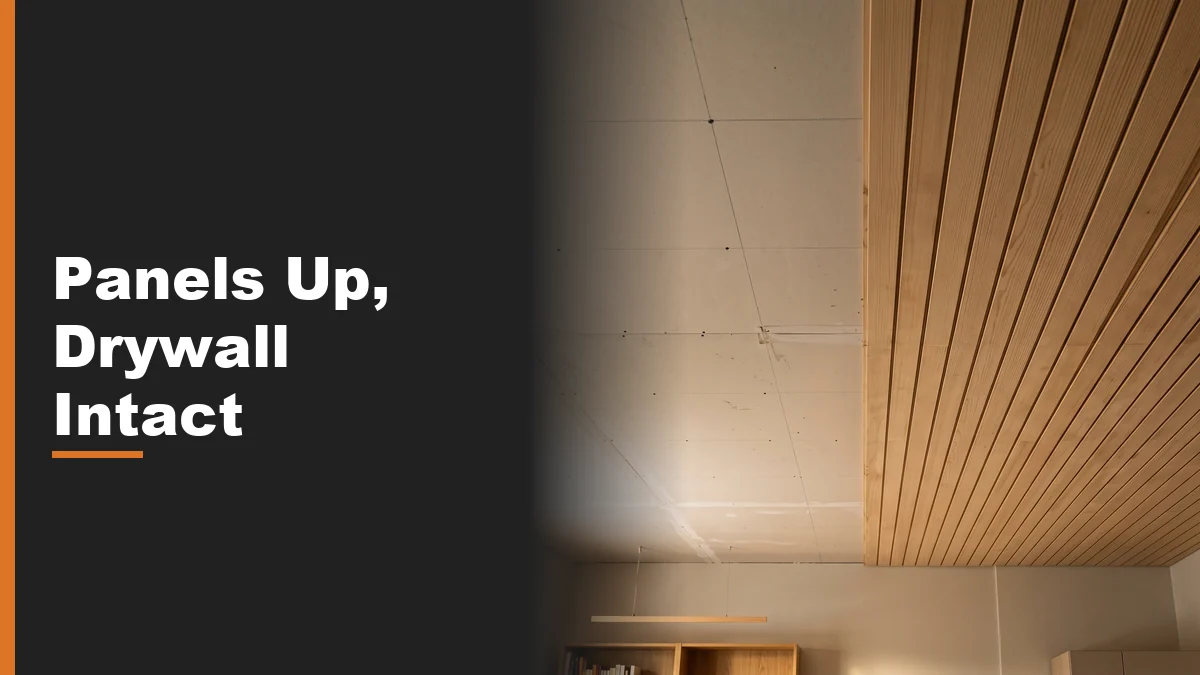
How to Install Thin Wood Panels for Ceilings Without Damaging Drywall
Can you actually install thin wood panels for ceilings without turning the job into a drywall repair project? In most rooms, yes, but the outcome comes down to where the ceiling joists really run, not to how good the panel looks in the box. This guide walks through a full installation from layout to finish, and if you would rather compare a few ceiling materials side by side first, our full installation guide library covers several of them in one place.
Below: what a thin wood panel actually is, why the drywall behind it usually takes the damage, a step-by-step install that avoids that, and a lighter glue-up alternative for anyone who would rather skip hunting for every joist.
What a thin wood panel actually is
A thin wood ceiling panel is usually a tongue-and-groove board, commonly cut from pine, cedar, or poplar and thin enough to add very little depth to the room, that interlocks edge to edge as you work across the ceiling. It is real wood, so it takes a stain or a clear finish the way any solid board does, and its grain and colour will vary slightly from board to board.
It is worth being clear about what Talissa Decor does and does not carry here. There is no solid wood board in the lineup. What does exist is a range of wood-look foam ceiling planks finished to read as wood grain from normal viewing distance, and separate faux wood beams for an exposed-beam look, both lighter and installed differently than a real board. The steps below cover the genuine solid-wood method first, since that is what most people picture when they hear the term, then the foam alternative afterward.
Why the drywall usually takes the damage
The drywall almost never fails because a wood panel is too heavy for a ceiling in general. It fails in three much more specific ways: a screw missed the joist and only bit into drywall paper and gypsum, a fastener was driven too hard and blew out a crater around the screw head, or panels went up without any plan for where the framing actually sat and ended up relying on drywall alone to carry weight it was never meant to hold.
None of that is really a wood-panel problem. It is a find-the-framing problem, and it applies just as much to a lightweight foam plank as it does to a solid board, which is why the joist-finding steps below matter regardless of which material ends up on the ceiling. Most of the drywall damage blamed on thin wood panels for ceilings traces back to one of those same three mistakes, not to the wood itself.
Red flag
If the existing drywall is already sagging, soft to the touch, showing a water stain, or you suspect mould behind it, stop before adding anything to the ceiling. Covering a compromised ceiling with a wood panel does not fix what is happening behind it, and it can hide a problem that is getting worse. Have a qualified professional look at the ceiling and deal with the underlying cause first.
Good to know
This is general installation guidance, not an inspection of your ceiling. Framing layout, drywall condition, and any nearby wiring, ductwork, or fixtures are different in every home, so confirm your own joist locations and the panel or adhesive manufacturer's specific instructions before you start. If a licensed electrician needs to move a fixture or junction box first, get that done before the panels go up. Talissa Decor is not responsible for a ceiling installed outside a product's own manufacturer instructions.
Step by step: installing thin wood panels for ceilings
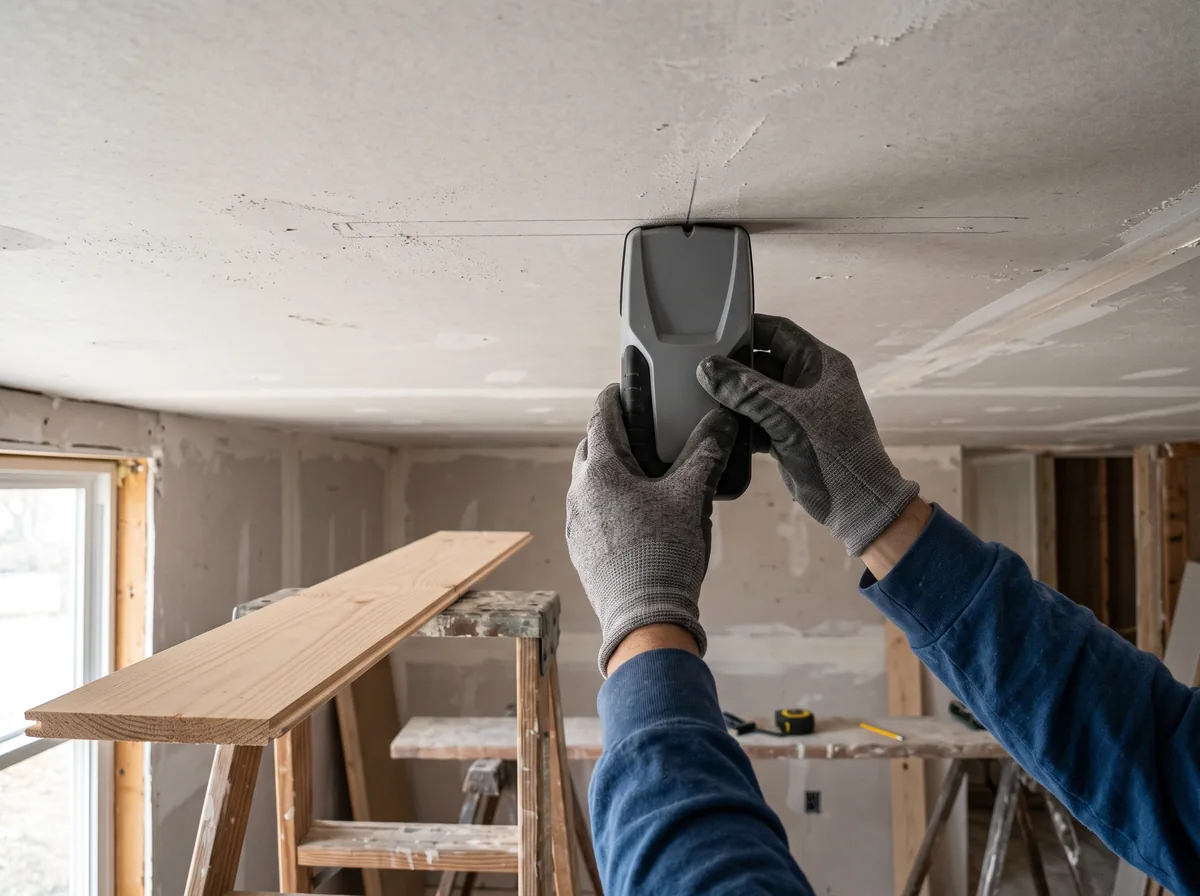
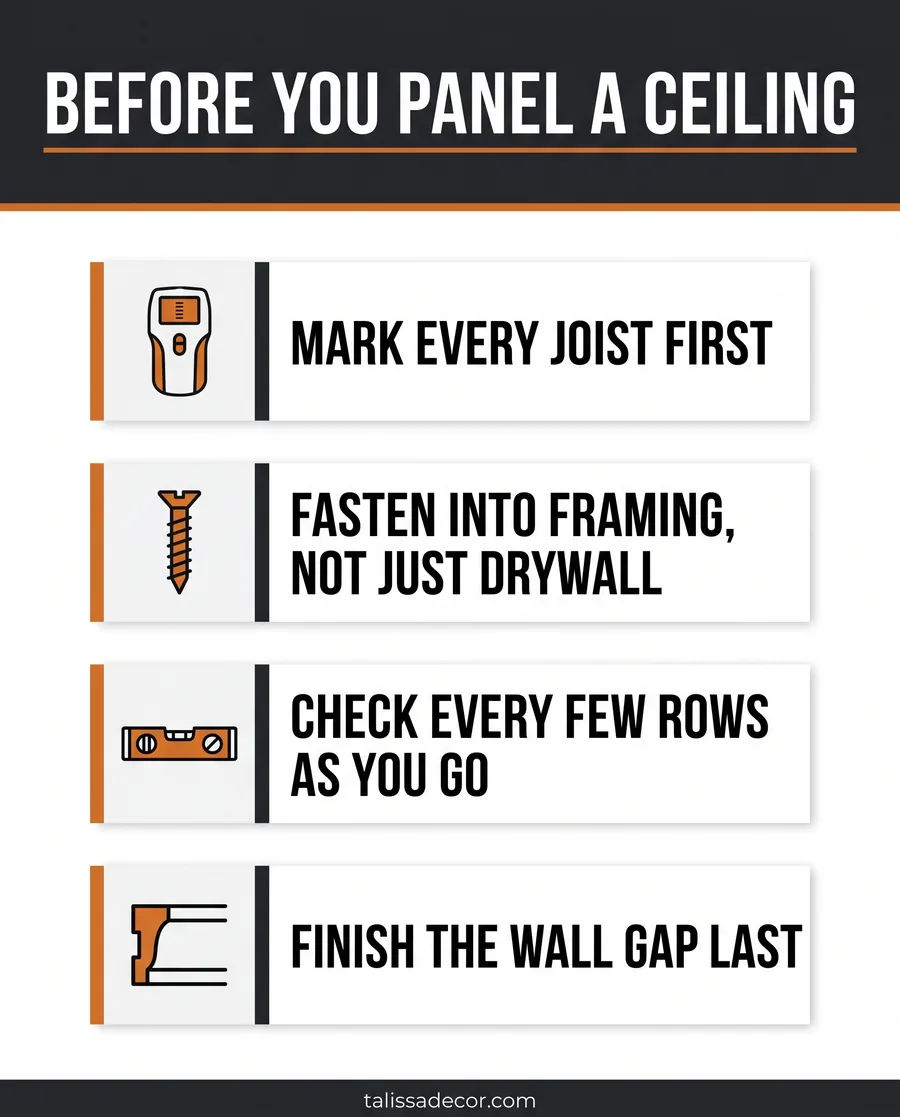
- Find and mark every ceiling joist across the room with a stud finder, then snap a chalk line so each joist stays visible once panels start covering it.
- Pick a layout direction and dry-fit the first two or three panels without fastening them, so you can check the reveal at both walls before committing to that direction.
- Cut the first panel to length, leaving a small gap at each wall for seasonal movement, and set it in place with the tongue edge facing the direction you plan to keep working in.
- Fasten into the joists you marked in step one, not just the drywall, using a screw long enough to bite solid framing behind the panel, then set the head just below the surface so the next panel's groove seats flush against it.
- Where a joist does not line up with a panel edge, run a thin furring strip perpendicular to the framing first and screw that into the joists, so every panel edge has solid wood to grab instead of open drywall.
- Work panel by panel across the room and check every few rows with a level, so a small gap at one end does not turn into a visible lean by the far wall.
- Cut around light fixtures, vents, or other ceiling hardware last, tracing a template from the actual opening rather than measuring it from memory.
- Fill fastener holes, caulk the wall gap, and finish or seal the wood according to that product's own instructions before calling the ceiling finished.
A lighter glue-up alternative to solid wood
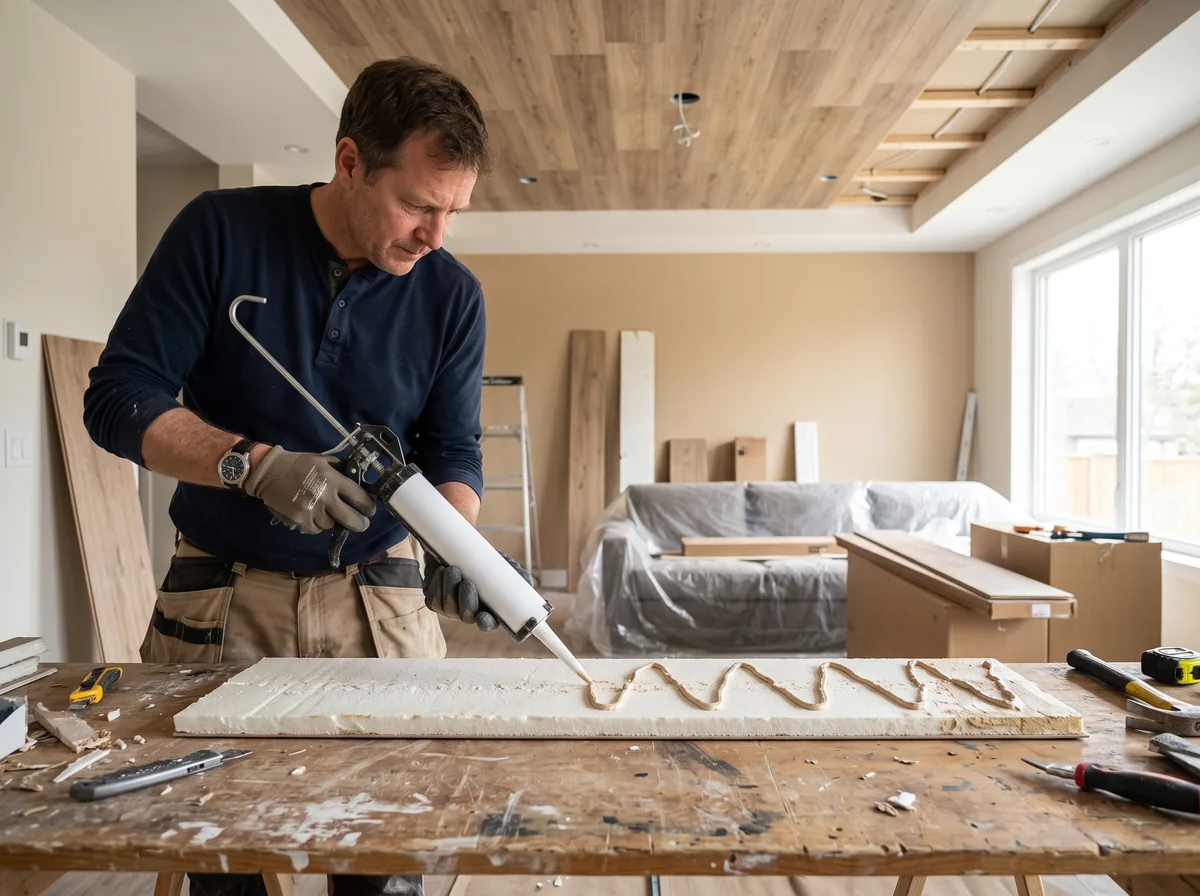
Not everyone wants to spend an afternoon chasing joists across an entire ceiling. That is the gap Talissa's own wood-look ceiling plank collection and faux wood beam gallery are built for: a similar visual result from a lighter material, generally installed with an adhesive the panel manufacturer recommends for the ceiling surface rather than a screw at every joist. That does not remove the need for planning altogether, since a heavier run of panels or a long beam still benefits from some mechanical support, but it changes how much of the ceiling has to be opened up to get there. If chasing every joist is the part holding you back, that tradeoff, not the look itself, is exactly what a lighter alternative to thin wood panels for ceilings is meant to solve.
Pro tip
Before covering a full ceiling, glue up one panel in an inconspicuous spot and let it cure for the time the manufacturer's instructions call for. Checking adhesion on a small test patch first, using an adhesive built for this, costs a few minutes and tells you far more than guessing at how the ceiling surface will behave.
Finishing touches that protect the drywall
The wall-to-ceiling gap left for seasonal movement is usually the first place a rushed install starts to look unfinished. Edge filler and border trim covers that gap cleanly without relying on caulk alone to hide it, and for a heavier, more traditional look at the same junction, the crown moulding installation guide walks through fitting moulding around the room instead.
Humidity and temperature swings through the year will move wood slightly no matter how well it was installed, which is part of why that wall gap exists in the first place. A room that runs consistently humid, like a bathroom or a basement with poor ventilation, is worth thinking through carefully before committing to solid wood on the ceiling at all. Getting this last stretch right is what makes thin wood panels for ceilings read as intentional, not as an unfinished DIY project.
When to call a professional instead
A flat ceiling in a standard room is a reasonable weekend project for someone comfortable with basic tools. A steep vaulted ceiling, a room dense with recessed lighting or HVAC registers that need to be relocated, or any ceiling where the drywall condition is already in question, generally calls for more than a solo DIY attempt. Moving a light fixture or junction box is electrical work for a licensed electrician, not a step to improvise around the panels, and a ceiling with suspected structural or moisture problems needs that problem solved before any covering goes up over it.
Frequently asked questions
Do I need to find every single ceiling joist before I start?
For a full run of solid wood panels, yes, effectively. A stud finder combined with a visual check at an existing opening, like a light fixture or vent, will confirm the spacing pattern for the room. Where a panel edge does not land on a joist, a furring strip screwed into the framing first gives that edge something solid to fasten into instead of leaving it to the drywall alone.
Can thin wood panels go over a textured or popcorn ceiling?
It depends on how uneven the texture is. A thin layer of furring strips run across the joists first commonly creates a flatter, more predictable surface to fasten panels into than working directly over heavy texture. If the texture or the drywall beneath it is sagging, soft, or water-stained, that is a separate problem a professional should look at before anything gets covered over it.
Is adhesive alone enough to hold a panel to a ceiling?
That depends on the specific adhesive and the weight of the panel, which is exactly why the manufacturer's own technical instructions for that product are the source to check, not a general rule. Many installers pair adhesive with a mechanical fastener for anything overhead as extra insurance against the panel's own weight working loose over time.
Download the free quick guide
A one-page checklist covering what to check before, during, and after installing thin wood panels or planks on a ceiling.
The short version: the ceiling joists, or a furring layer built off them, decide whether thin wood panels for ceilings stay flat and tight for years or start showing gaps at the seams. Find the framing first, fasten into it, and leave the drywall doing what it was meant to do, holding paint and texture, not holding up a ceiling's worth of wood.
Still weighing solid wood against a lighter glue-up option before you buy materials? Reach out to our team and we can talk through which one fits the room you have in mind.