 Largest Ceiling
  CALL :
  About us
 FAQs
FAQs Gallery
 Contact


 Ceiling Planks
 2×2 PVC Ceiling Tiles
 Styrofoam Ceiling Tiles
 Wall Mural
 3D Wall Panels
 Crown Moldings
 Faux Wood Beams
 Other Products
Can You Really Install Ceiling Tiles in an RV? Here’s How
Picture this: you climb into your RV for the first trip of the season and the ceiling is the same dated, stained vinyl panel it came with twenty years ago. You want it to feel like the cozy little home it is, not a rental from another decade. Good news, you absolutely can install lightweight ceiling tiles in an RV, and because foam and PVC panels weigh so little, they are one of the best upgrades for a vehicle where every pound and every inch counts.
This is a doable weekend project. Follow it in order, respect the few RV-specific cautions, and you will roll out with a ceiling that looks custom.
In this article
Why lightweight tiles suit an RV
Weight is the obvious win. Foam ceiling tiles add almost nothing to your rig, so you are not eating into your cargo capacity or fuel economy. They also forgive the curved and irregular surfaces you find in an RV better than rigid materials, they cut with a utility knife in a tight space, and they come in finishes that instantly warm up the interior. If you want the durability details, our piece on how durable styrofoam ceiling tiles are covers how they hold up over time.
Did you know
RV interiors swing through big temperature and humidity changes, baking in summer heat and chilling overnight across North American climates. Lightweight foam and PVC panels handle moisture better than paper-faced materials, which is part of why they have become a go-to for camper and van refreshes.
Before you start: plan and prep
Please note: The tips here are for general guidance only. Talissa Decor is not responsible for any damage, injury, or cost resulting from action taken based on this content. Adhesives, primers, and tiles vary by product, so always confirm the manufacturer’s specifications, including fire rating and ventilation requirements, and follow your local fire and building codes. If a step is beyond your comfort level, hire a qualified contractor.
Do not skip this part. An RV ceiling is not a flat drywall box, so a little planning saves a lot of frustration.
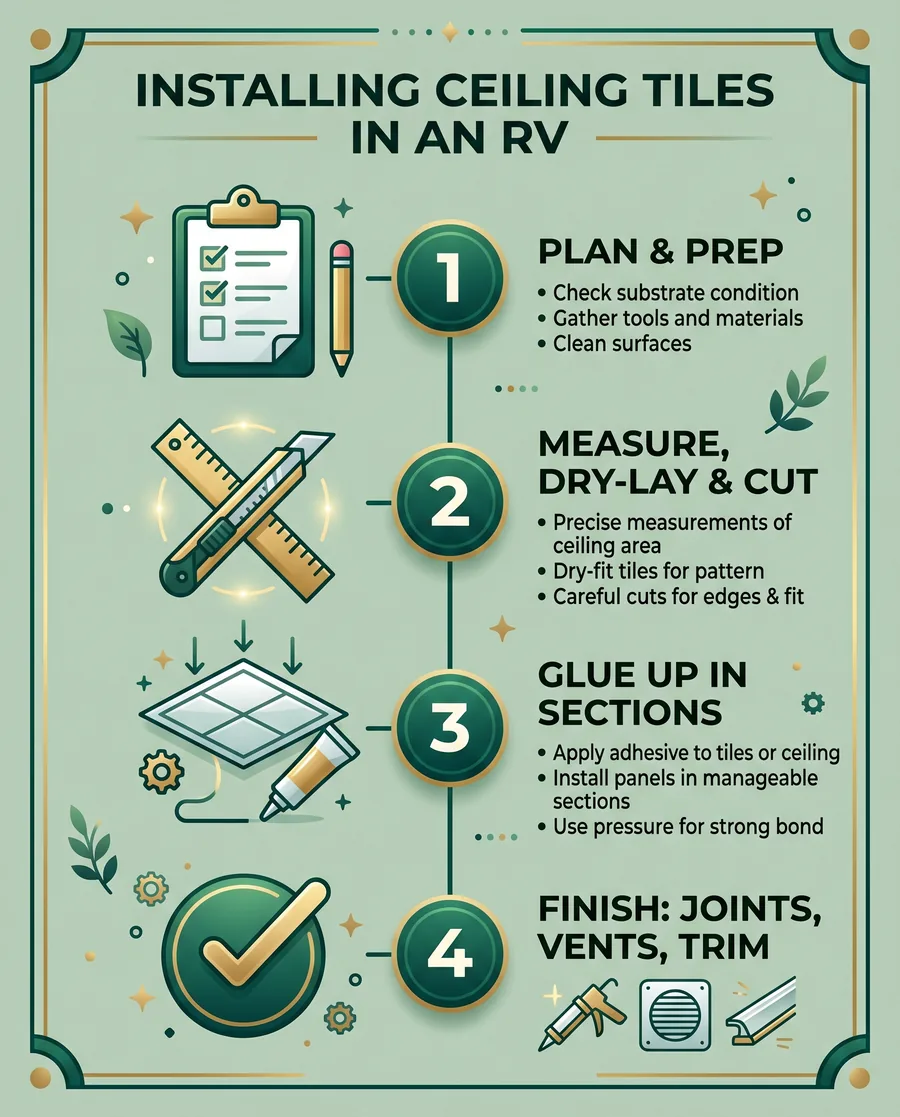
- Map the obstacles. Note every vent, light, speaker, and AC unit. These all need cuts.
- Check the existing surface. Many RV ceilings are vinyl or a glossy laminate that adhesive struggles to grip. You may need to clean thoroughly, scuff, or prime first.
- Pick the right adhesive. Solvent glues can melt foam, so use a product made for the tiles. Just as importantly, ensure it is temperature-resistant. RV interiors bake in the summer sun, and standard indoor adhesives can soften and fail in high heat.
- Ensure proper ventilation. RVs are enclosed spaces. Keep windows, doors, and roof vents open during installation to maintain airflow and avoid inhaling adhesive fumes.
- Acclimate the tiles. Let them sit inside the RV for a day so they adjust to the space before you cut and glue.
Step 1: measure, dry-lay, and cut
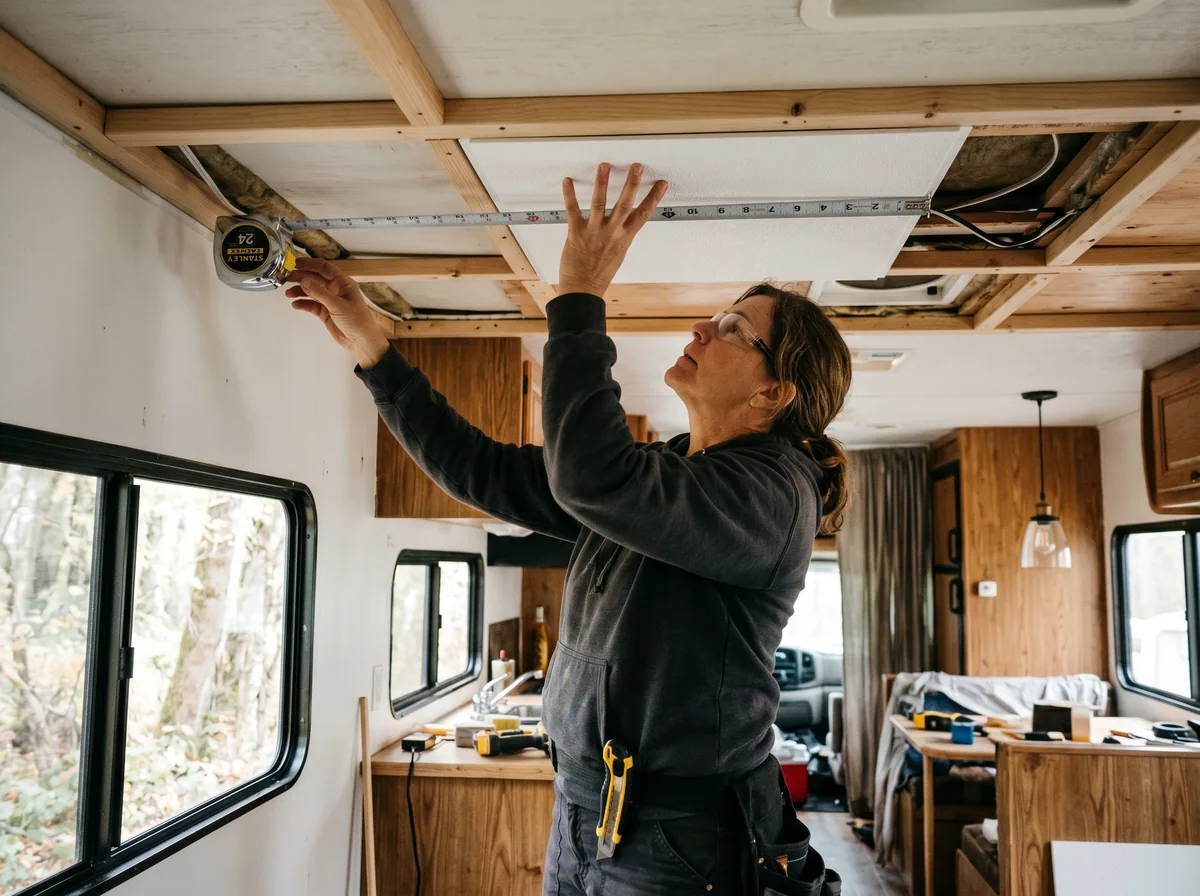
Start by finding the center line of the ceiling and dry-laying tiles without glue. This shows you how the borders fall and where your obstacle cuts land before you commit. In an RV, working from the center keeps the pattern balanced even though the walls curve.
- Snap or mark a center line down the length of the ceiling.
- Dry-lay tiles outward so you can see the border widths on each side.
- Make paper templates for vents, lights, and the AC return, then trace them onto the tiles.
- Cut with a sharp utility knife on a flat surface; change blades often so foam edges stay clean.
Step 2: glue up, working in sections
Work in small sections rather than spreading glue everywhere at once. Apply the adhesive per the product instructions, then press each tile straight up. Do not slide it, or you will push glue into the seams. The same method as our glue up ceiling tile guide applies here, just in a tighter, curvier space, so patience matters more.
Pro tip: prop, do not just press
On a low RV ceiling you can keep gentle pressure on a freshly glued tile using a padded broom or a length of dowel braced against the floor while the adhesive grabs. It frees your hands to position the next tile and helps tiles set flat against a surface that is not perfectly level.
Step 3: handle joints, vents, and edges
Joints and edges are where an RV ceiling looks either finished or homemade. Where tiles meet, keep seams tight and wipe any squeeze-out immediately. Around vents and lights, dry-fit your template cuts before gluing so you can shave them for a snug fit. For panel joints, the technique in the video above translates directly to a camper.
Red flag: do not cover vents or heat sources
Never tile over an active vent, an AC return, a furnace outlet, or anything that gets warm. Blocking airflow in an RV is both a comfort and a safety problem, and heat near foam is a fire concern. Cut clean openings around every vent and fixture, and keep tiles well clear of any heat source. Confirm fire clearances against your RV manufacturer guidance and local code.
Step 4: finishing touches
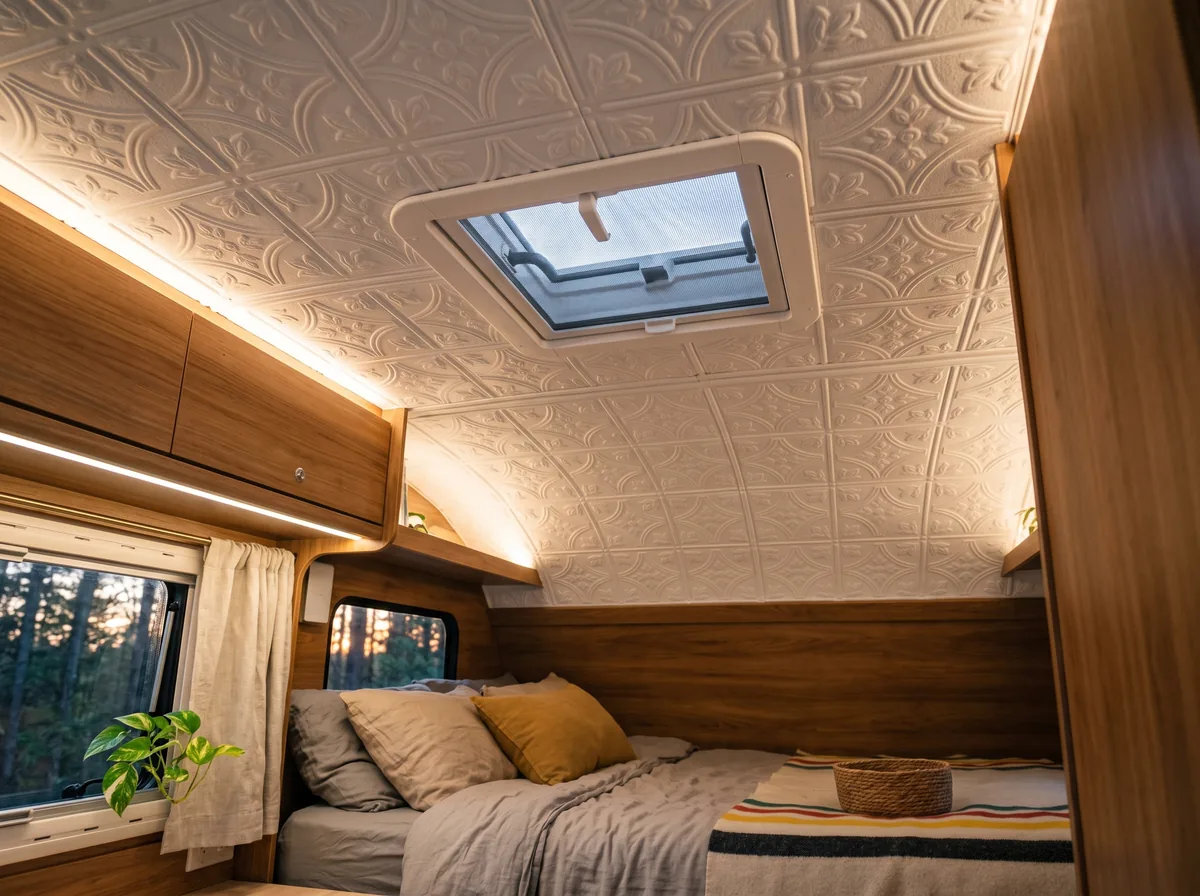
Once the adhesive has cured, run a final pass. Check every seam, touch up any gaps, and trim stray edges. Add edge trim or molding where the ceiling meets the walls for a built-in look. Important reminder: foam and lightweight PVC ceiling tiles are strictly decorative. They cannot bear weight, so do not use them to hang decorations, lights, or mount fixtures.
If you chose paintable foam tiles, you can color-match them to your RV interior; our guide on installing and painting ceiling tiles and planks walks through that.
Sources and further reading
- Talissa Decor product guidance for lightweight foam and PVC ceiling tiles.
- Talissa Decor, “How to Cover Joints on 3D Wall Panels” (video, embedded above).
- General RV-renovation best practice for surface prep, vent clearances, and weight savings.
Frequently asked questions
Will ceiling tiles stay up while the RV is moving?
Yes, provided they are installed correctly and the adhesive has fully cured. The key is surface prep and the right adhesive. RV ceilings are often glossy vinyl or laminate that glue cannot grip, so you may need to clean, scuff, or prime first so the bond is strong. Once a foam-safe adhesive has fully cured against a properly prepped surface, the tiles handle normal road vibration well because they weigh so little. Always give the adhesive its full cure time before you drive, and as a safety best practice, double-check edges and corners before hitting the road so a loose tile does not become a driving distraction.
Do ceiling tiles add much weight to an RV?
Barely any, which is one of their biggest advantages in a vehicle. Foam and lightweight PVC ceiling tiles weigh a tiny fraction of materials like wood or drywall, so a whole RV ceiling adds only a few pounds. That matters because every pound counts toward your cargo and towing limits and your fuel economy. The light weight also makes the install easier overhead in a cramped space and reduces strain on the adhesive bond, since there is very little mass pulling the tiles down from the ceiling.
Are foam ceiling tiles safe in an RV?
Yes, but you must treat fire safety seriously in a small enclosed vehicle. Look for ceiling tile options with a Class A fire rating whenever possible. Keep tiles well clear of any heat source, and never cover vents, furnaces, or AC outlets. Always confirm the specific tile rating and required clearances against your RV manufacturer’s guidance and local codes, since requirements vary across states and provinces. This article is for general guidance; when in doubt about clearances or ventilation in your particular rig, consult a qualified professional before installing.
Can I install RV ceiling tiles over the existing ceiling?
Often yes, which keeps the project quick and avoids a tear-out. Lightweight tiles can bond over many existing RV ceiling surfaces as long as the surface is clean, dry, and stable. The catch is that RV ceilings are frequently smooth vinyl or laminate that adhesive does not grip well, so prep is essential: clean off any grime, scuff a glossy surface, and prime if needed. Crucially: never use tiles to simply hide a water stain. If the existing panel is water-damaged, you must find and seal the roof leak outside first. Covering an active leak will trap moisture and lead to severe structural rot.
What to do next
- Measure your RV ceiling and map every vent, light, and AC unit.
- Order lightweight tiles plus 15 percent extra for cuts, and a temperature-resistant, foam-safe adhesive.
- Prep the surface, ventilate the space, dry-lay from the center, then glue in sections keeping vents clear.
Download the free quick guide
Take our step-by-step RV ceiling checklist on the road with you, including the vent-clearance reminders.
Ready to give your RV a new ceiling?
Talissa Decor ships lightweight, easy-to-cut ceiling tiles across Canada and the United States. Find your style in our ceiling tiles collection, pair them with 3D wall panels for the walls too, or contact our team for help choosing tiles that suit a mobile space.