 Largest Ceiling
 CALL :
 About us
 FAQs
 Gallery
 Contact



 Ceiling Planks
 2×2 PVC Ceiling Tiles
 Styrofoam Ceiling Tiles
 Wall Mural
 3D Wall Panels
 Crown Moldings
 Faux Wood Beams
 Other Products
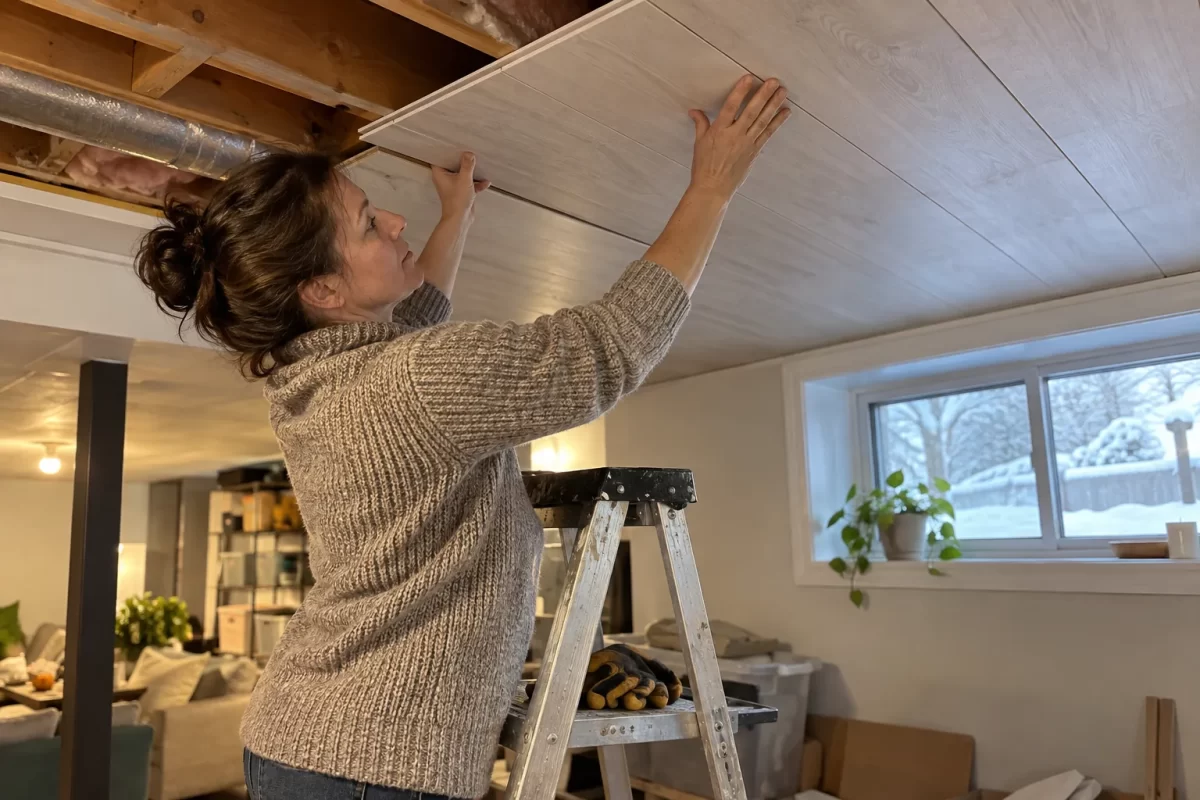
The Adhesive Temperature Mistake That Causes Ceiling Paneling to Sag in Winter
Ceiling paneling that looked perfect in November can start to droop at the edges by January, and cold adhesive is one of the causes people overlook. The planks were fine and the glue was fine. The mistake was spreading the glue when the tube, the ceiling or the room was too cold for it to grip. This guide explains what goes wrong, where the cold hides, and how to set up a winter job so your lightweight foam ceiling planks stay put.
Foam planks are light, which makes them forgiving, but that light weight does not fix a weak bond. The adhesive has to grab and cure properly. Cold changes how well it does both.
The mistake: gluing as if it were summer
Most people install ceiling paneling on a weekend when they have time, and that is often in a cold month. They bring a tube in from a cold garage, spread a bead, press a plank up and it feels fine for a minute. By the next morning a corner has dropped. The mistake is treating glue like a material that behaves the same at any temperature.
Adhesives have a working range. Talissa Decor describes Styro Pro adhesive as a water-based, premixed acrylic paste. Water-based products rely on water leaving the bead while the bond sets, and cold, damp conditions slow that down. Your tube or its technical data sheet will list the temperatures the product is designed for. If you have never looked at that line, look at it before you start.
Why cold turns a good bond into a sag
Three things tend to go wrong at once when the temperature drops.
The bead gets stiff
Pastes thicken when they are cold. A stiff bead is harder to spread, so less adhesive actually contacts the ceiling. You can press hard and still end up with a thin, patchy bond underneath.
The initial grab weakens
A plank on a ceiling is held up by the adhesive alone while it cures, and gravity pulls the whole time. Cold slows the early grab, so the plank has less holding power right when it needs the most.
The surface fights back
A cold ceiling can have a thin film of moisture on it, especially in rooms where warm air meets a cold surface. Glue on a damp or dusty surface bonds to the film instead of the ceiling. Talissa’s own guide is blunt about this: the Styro Pro installation video page says adhesive only bonds well to a clean surface that is free of dust, grease and loose paint.
Put those together, and a plank that felt secure can slowly let go over hours and days.
Cold spots you might not notice
The thermostat reading is not the temperature of the surface you are gluing to. Check these places before you start:
- Ceilings under an attic or a roof. They can be cooler than the rest of the room even when the room feels comfortable.
- Basements. Concrete holds cold, and a ceiling near a rim joist or an exterior wall can be noticeably cooler.
- Rooms where the heat was turned down. Empty rooms during a renovation are often cold, and a ceiling takes time to warm up.
- The adhesive itself. A tube stored overnight in a garage, a shed or a vehicle is colder than the room it ends up in.
- Planks stored outside the room. Packs delivered in winter need time to reach room temperature before you cut and glue them.
A simple way to check is to hold the back of your hand against the ceiling and the tube. If either feels distinctly cold, wait.
Talissa Decor's own glue-up video below shows the adhesive stage described here, so you can compare it with your own plan.
Read the tube before you start
Every adhesive carries its own limits. Look for the minimum application temperature, the cure time and any notes about humidity. If the tube or the product page does not give you a number, ask before you glue. You can contact the Talissa Decor team with the product you plan to use and the temperature of the room.
Talissa’s installation guides also note that the adhesive should cure fully before you paint or touch the tiles. Check the tube for the time, and add extra in a cold room. Cure time written for a comfortable room is not a promise for a chilly one.
A winter game plan that works
- Warm the tube. Bring adhesive indoors the day before so it reaches room temperature slowly. Do not heat it with a hair dryer or a space heater.
- Warm the planks. Let the packs sit in the room for a day so the foam and the ceiling are at similar temperatures.
- Warm the room gradually. Bring the room up to a steady, comfortable temperature a day ahead and keep it there during the work and cure time.
- Check the surface. Wipe away dust and any moisture. If the ceiling has condensation on it, deal with the source and let it dry first.
- Test a small patch. Glue one plank, hold it in place, and check it after an hour and again the next morning.
- Work in smaller sections. Spread a bead on one plank at a time, set it, press and hold it. Talissa’s guide suggests holding a tile for about 20 to 30 seconds. A cold ceiling is a reason to hold longer.
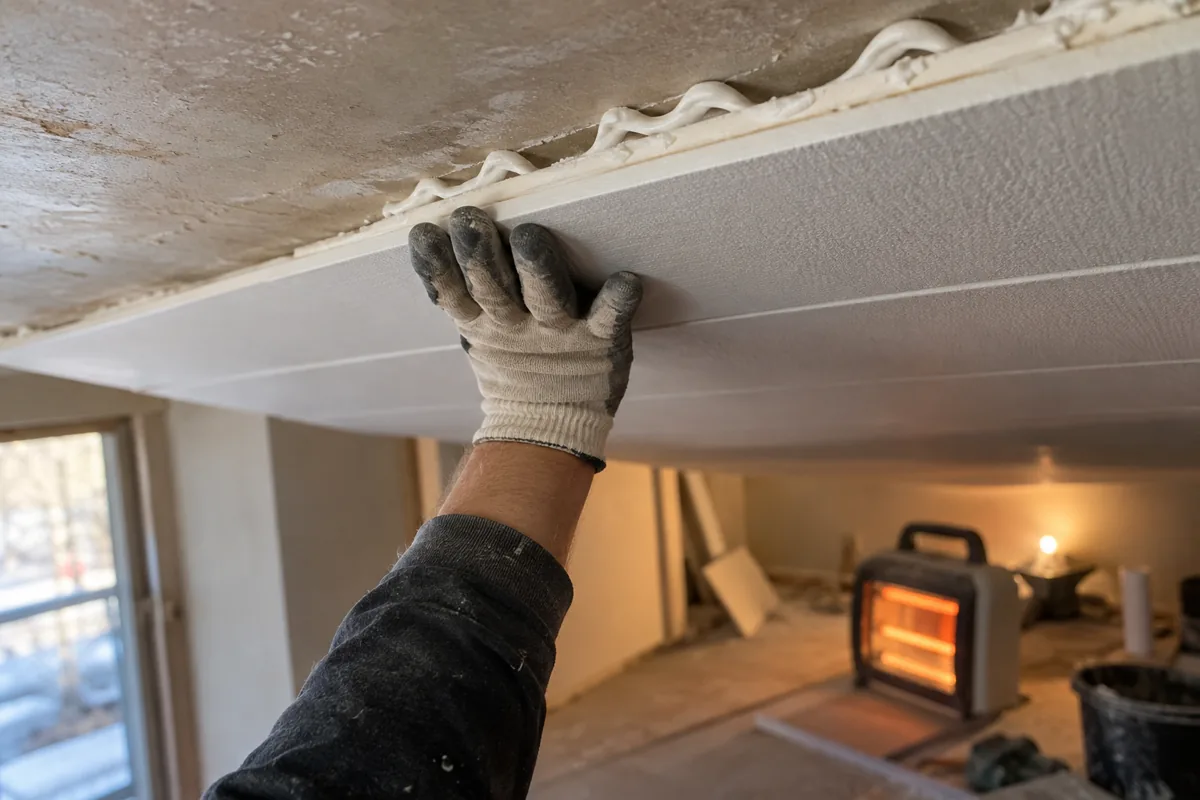
- Avoid heating the ceiling directly. A heater blowing at fresh adhesive can skin the surface of the bead while the layer underneath stays wet.
Keep the temperature steady until the adhesive has cured, and do not paint over the planks until it has.
Do not forget ventilation in a closed winter house
Winter gluing has one more catch. Windows stay shut, so smells linger. Health Canada’s page on volatile organic compounds in indoor air recommends increasing ventilation when you use glues, paints and adhesives. In winter that can mean short bursts of fresh air with the heat turned up a little afterward, instead of a window left open all day, which also chills the ceiling you are trying to keep warm.
Early warning signs and what to do
Walk the ceiling the morning after, and again a week later. Look at the edges first, because that is where problems show up.
- A corner has dropped. Press it back and hold it. If the adhesive is still tacky, it may take. If it has gone dry, remove the plank, scrape the old bead off both surfaces and reglue.
- A plank bows in the middle. Too little adhesive is reaching the surface. Take it down and use a fuller zig-zag bead.
- A joint is opening. Check whether the neighbouring planks are moving too. If they are, look for a cold spot or a patch of poor bond underneath.
Fix one problem at a time and recheck after a day. The fastest repair is usually pulling the plank down, cleaning both surfaces and starting that piece over in warmer conditions.
Quick questions
Can I glue foam ceiling planks in a cold basement?
Often yes, if you prepare first. Basements are cold spots because concrete holds cold, so warm the room gradually to a steady temperature, bring the adhesive and planks in a day early and check the surface for moisture. Read the tube for its minimum temperature and ask the manufacturer if the label is unclear. If the room cannot reach a suitable temperature, wait for a better window.
Why did my planks look fine at first and sag later?
A weak bond can hide for a while. Cold or damp conditions slow the early grab and the cure, so planks may look secure at first and then drop overnight or over a few days as gravity keeps pulling. Check the surface, the bead size and the room temperature, and glue a test plank before committing to the whole ceiling.
Should I use a heater to speed up the cure?
Use gentle, steady warmth for the room, not a heater pointed at the ceiling. Blowing hot air at fresh adhesive can skin the outer surface while the layer underneath stays wet, which weakens the bond. Warm the room ahead of time, hold a steady temperature during the work and cure, and follow the adhesive label for timing.